After the repairs were made, I went at the case with the lacquer once more. This time, the results were acceptable. I laid down 6 total coats, let them dry, and sanded them with 220, 320, and 400 grit sandpaper. I had soaked the 600 grit paper overnight in preparation for wet sanding. If you’ve never wet sanded before, let me assure you: it is tedious and messy. You have to watch the speed and pressure of your sanding, lest you sand clean thru the paint layer down to the primer. You have to make sure the sandpaper stays wet so you’re constantly dipping or spraying the paper to keep it lubricated so the paint won’t clog the paper. You also have a nasty, drippy mess around your workspace (then again, you’d still have a mess with dry sanding, just a dusty, bad for your lungs mess, so pick your poison). You have to be extremely careful around corners and edges or you will sand straight down to the surface with a few swipes. Still, I wanted the paint to shine, so away I went. It wouldn’t have been so bad if I was only going to sand the sides of the case. But I also had the huge (well, huge relative to the task at hand) slab of top panel that had to slowly, methodically be sanded down as well. After about an hour and some change, I was done. The result? I thought it looked like crap. Some of the areas looked lightly sanded, some looked like I spilled wet powder on the surface, and some spots looked like they were barely touched. There simply had to be a better way, I thought as I cleaned up for the day.
At work the next day I took the time to do some research. Turns out I was indeed doing it right, and it was supposed to look milky, but uniform. I then stumbled upon steel wool. This is often used in polishing varnish or polyurethane coats on wood. The finest steel wool was comparable to 1000 grit sandpaper, which was next up for me to use. I decided to give that a shot. I picked up some 0000 grade steel wool from Home Depot (at this point I think the cashiers probably know me by name) and gave it a try. Within seconds I could tell the difference. The paint was now uniformly sanded, with no dusty residue and pretty easy clean-up with the turpentine rag.

Left side done with wool. Right side sandpaper. My son doing Vanna White...
Within 20 minutes I was able to finish the entire case. I cleaned the residue, let it dry for a few minutes, then went back over it again for good measure.
In the midst of the painting and sanding, a small design change popped in my head. Instead of having the case look like a black rounded monolith, I decided to break it up with some pinstriping for an extra touch. My practice R/C cars usually have an offset double pinstripe from the hood to the tail, so I figured it would work on the box as well. The only problem was I don’t have an airbrush and didn’t feel like going through the hassle of masking and painting the stripes, hoping the paint didn’t bleed through the mask, etc. So, I cheated. I went to Autozone and picked up 2 rolls of white pinstriping of different sizes. After eyeballing roughly where I wanted the stripes on the case, I measured spots on all 4 corners and carefully wrapped the pinstripes around the case, neatly trimming the joining edges. The clearcoat would cover and seal the pinstriping, so I wouldn’t have to worry about the stripes moving or getting damaged.
The clearcoat went on the same way as the paint. Since I had used black lacquer paint, I had bought a lacquer clearcoat as well. After 8 or so coats, the case was now a very glossy, if a bit uneven, color. The clearcoat nicely filled in the sanding marks left on the paint.
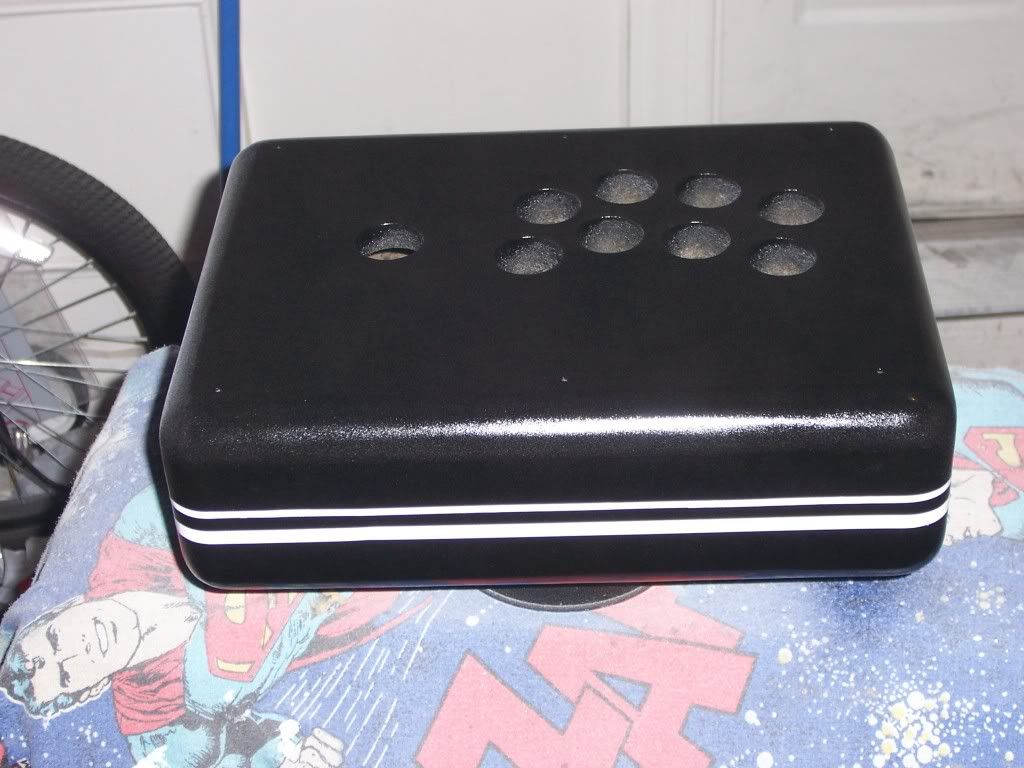
It looks like a retarded bowling ball or a Samsonite right now...
After everything dried, it was time to start the sanding process again. I dry sanded with the 400 and 600 grit paper, used the steel wool to even out those marks, then wet sanded with the 2000 grit sandpaper. Now the clearcoat looked like the paint did (milky powder), but was much more uniform. To bring the shine back, I grabbed two old standbys used for car finished: rubbing compound and polishing compound. With one application of the rubbing compound, my hard work was vindicated.
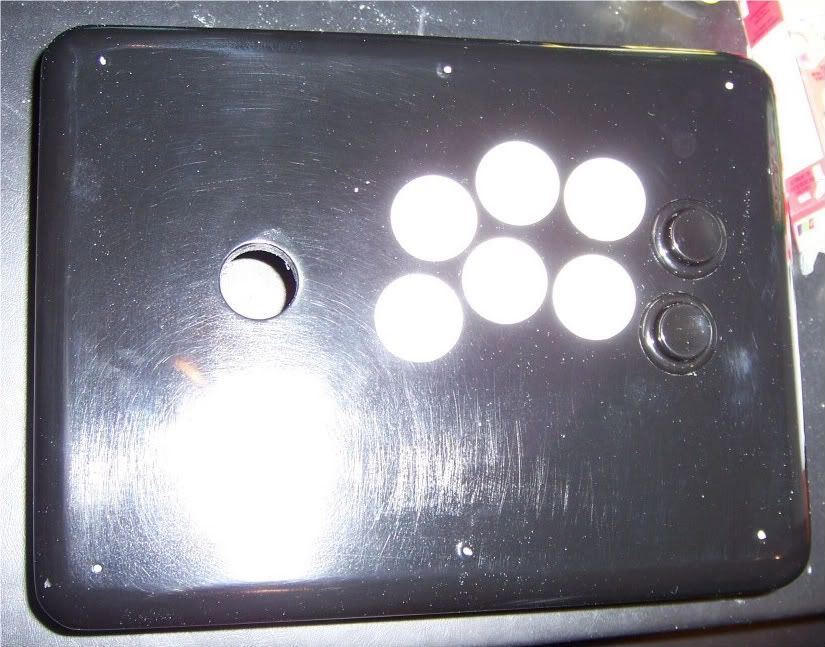
Buttons added for effect. Either that or I was pressed at this point!
After following up with the polishing compound, the box now has a nice, shiny, glossy, almost reflective shine to it. If the weather was good, I had a paint booth, and free time to actually work on the painting, it wouldn’t have taken weeks to finish. If I wanted to cut corners, I could have let it be after painting it black, no sanding or clearcoat. Or I could have just dry sanded the paint and polished it for some shine. Either would have been a far cry from the unfinished MDF I started with. But, they say hard work builds character, right?
No comments:
Post a Comment