The first thing I did was seal up the edges of the case. I grabbed some joint compound that I had from a drywall repair project I did a while back and spread a thin later around the edges where the pieces of the mdf were joined and on some of the rougher edges where the case was rounded with a router. If the edges weren't sealed, the paint would just seep into the pores of the mdf like a sponge. Spackle would have done the trick as well (and if I had saw the spray-on spackle on one of my many trips to Home Depot I would have bought some), but I already had the joint compound. After it dried, I sanded the compound down with a foam sanding pad I had (probably around 300 grit) until it was smooth.. If only I had sanded until it was level...
Next I had to transform my garage into a makeshift paint booth. In a perfect worls, my garage would be nice and clean, with HEPA air filtration and temperature controlled to help the paint dry. In the real world, I had to make do with parking my car outside, setting up a makeshift stand out of my recycle bin, a slab of drywall, a tarp, newspaper and an old tin can. Ventilation came from opening the garage door. The temperature was controlled by however warm or cold it was that given late autumn day. Not exactly ideal, but it got the job done. After setting the box on the can so I can get all the edges and the bottom painted at the same time, I shook up the can of primer and got to work. spraying in long even strokes 10 to 12 inches from the case, I sprayed 3 light coats 5 minutes between each coat. I let it sit for 45 minutes, then repeated the process. With about 9 coates down, I quit for the evening to let it dry overnight, keeping the garage door cracked a bit to air out the garage lest my wife pass out when she goes to her car in her morning.
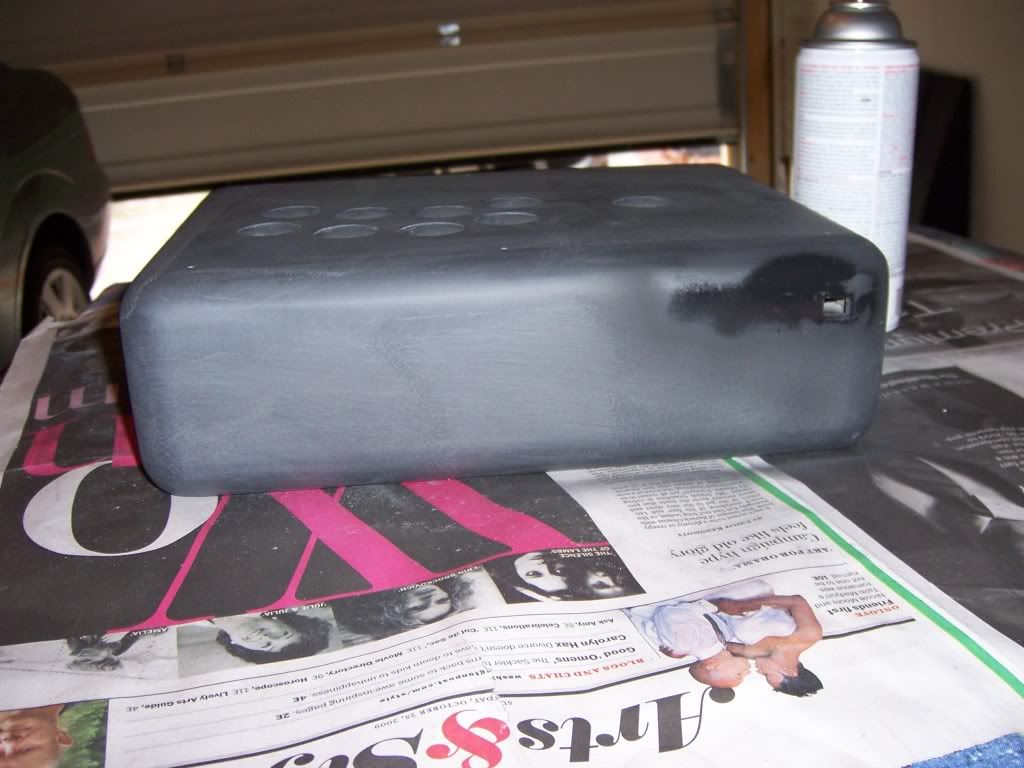
Once everything was dry the next day I started sanding the primer smooth. I started out with 2 general purpose foam sanding blocks I had around the house. One was 200 grit, he other was 320 grit. Once they were (what I thought was) smooth, I wiped everything down with mineral spirits to clean the surface of any paint dust. When I took a look at my handiwork, I realized the joint compound I put on the case wasn’t level at all. With the primer covering it, you could clearly see where the compound was applied and where it stopped. The edges weren’t feathered very well, and there were plenty of high spots. I started muttering to myself again, mad because I didn’t get it right the first time. While doing this, I realized an even bigger mistake I made: I never drilled the hole for the USB adapter. I was going to kick myself again, but thought, ‘Well, this makes the sanding issue easier…’. May as well take care of both issues at the same time. Hi-Ho, Hi-Ho, it’s off to Lowes I go…..
At the store I picked up a small wood file, some wood filler, and a few odds and ends I don’t even remember anymore. To make the space for the adapter, I traced the outline of the adapter on the case. I then drilled holes in the outline until I had a nice little space, using a screwdriver to help open up the space between the drilled holes. In retrospect, using a sharpened chisel might have been easier. Live and learn, right? Once the space was big enough I used the file to widen and shape the space until the adapter could fit. This took a LOT of elbow grease and cramped fingers, but it got the job done. Since the adapter had a slight taper on one end, when the connector was flush with the edge of the case, there was a gap. That’s where the wood filler came in. I placed a piece of plastic wrap on the end of the adapter and slid it in place from inside the case. Next, I filled both sides of the gap with the wood filler, making sure not to get ant filler on the plastic that was directly over the connector. Once it was half dry, I removed the adapter to make sure the filler didn’t accidentally seep thru and get the adapter stuck. When it was fully dry, I removed the plastic wrap from inside the case. After lightly sanding it down, I now had a nice, smoothed, shaped opening that looked like I used some real tools to pull off.
All that work for that little hole?!? Eh, it will be worth it...
After patting myself on the back for a half days work, I sanded down the places where the joint compound looked terrible. Look in that above picture. See how the left corner looks like someone smeared some old gum under a desk? Yeah, that just wasn’t going to cut it, and it would only look worse once the black lacquer paint was sprayed on. Another half day’s work and it looked ready for primetime
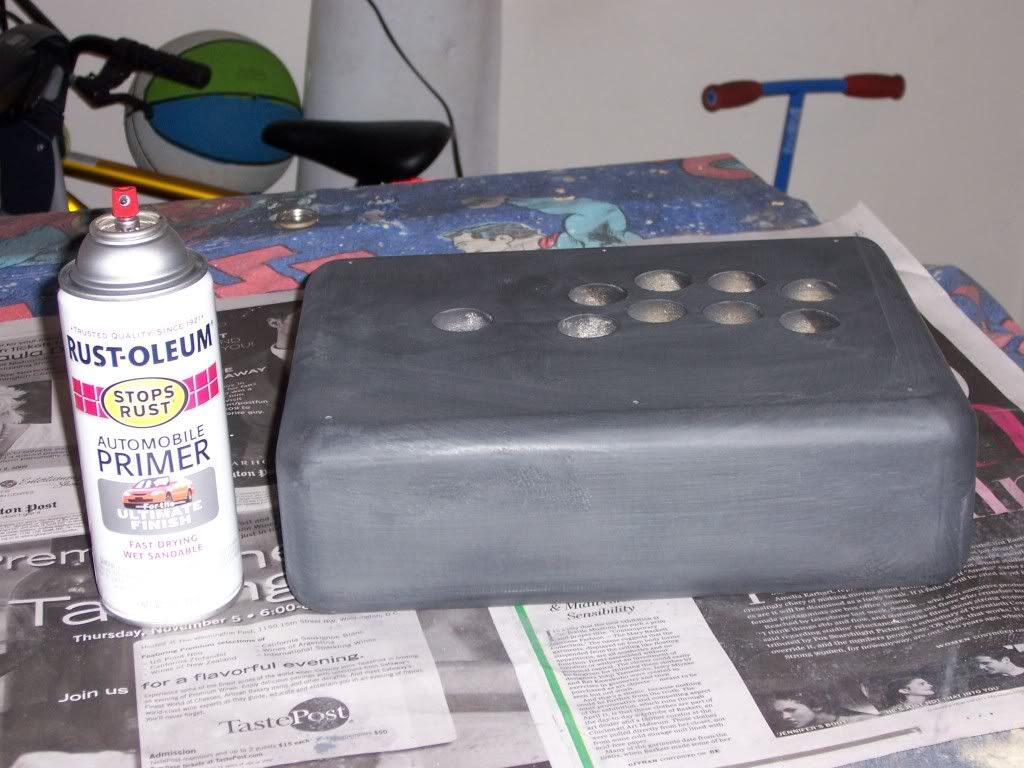
It looks like I dipped it in chalk now, but it's all part of the plan
No comments:
Post a Comment