Thursday, December 31, 2009

El Kabong2 (or making my first arcade stick) Part 6 - Seventh Inning Stretch

The hardest part of the build was finally done, and while not 100% perfect, it was better and shinier than I imagined. It was time to start figuring out what the final layout would look like, although I still was unsure on what the artwork would look like. I started out with a button layout similar to the Madcatz TE stick:


Pay no attention to that purple flask over there...

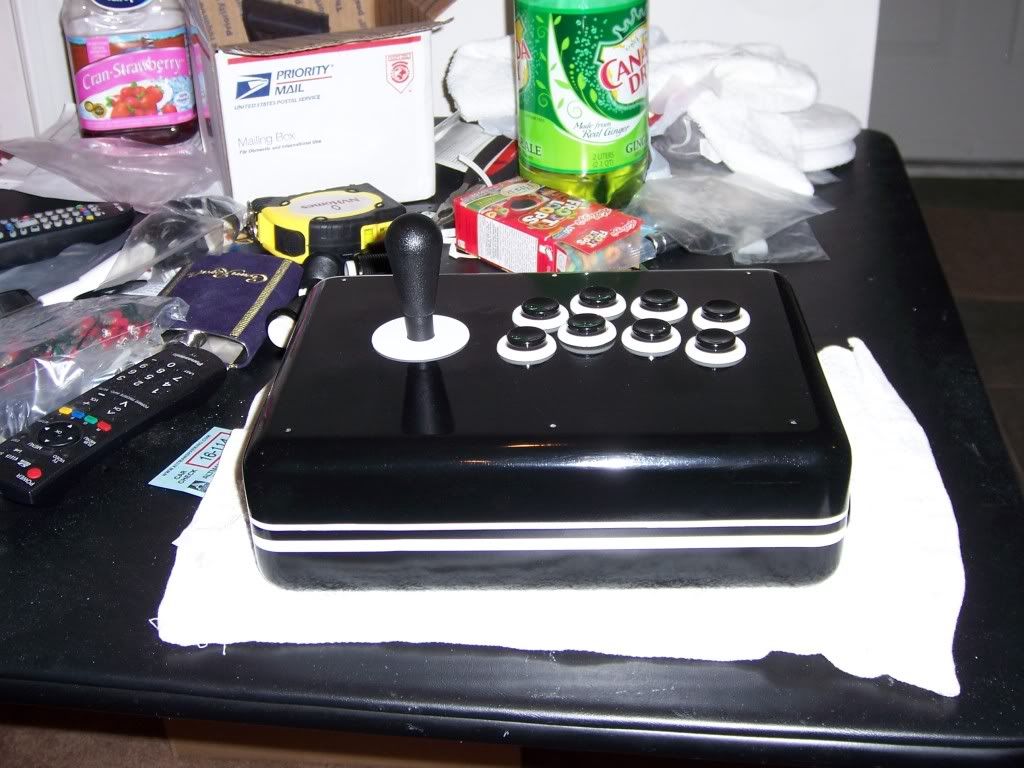
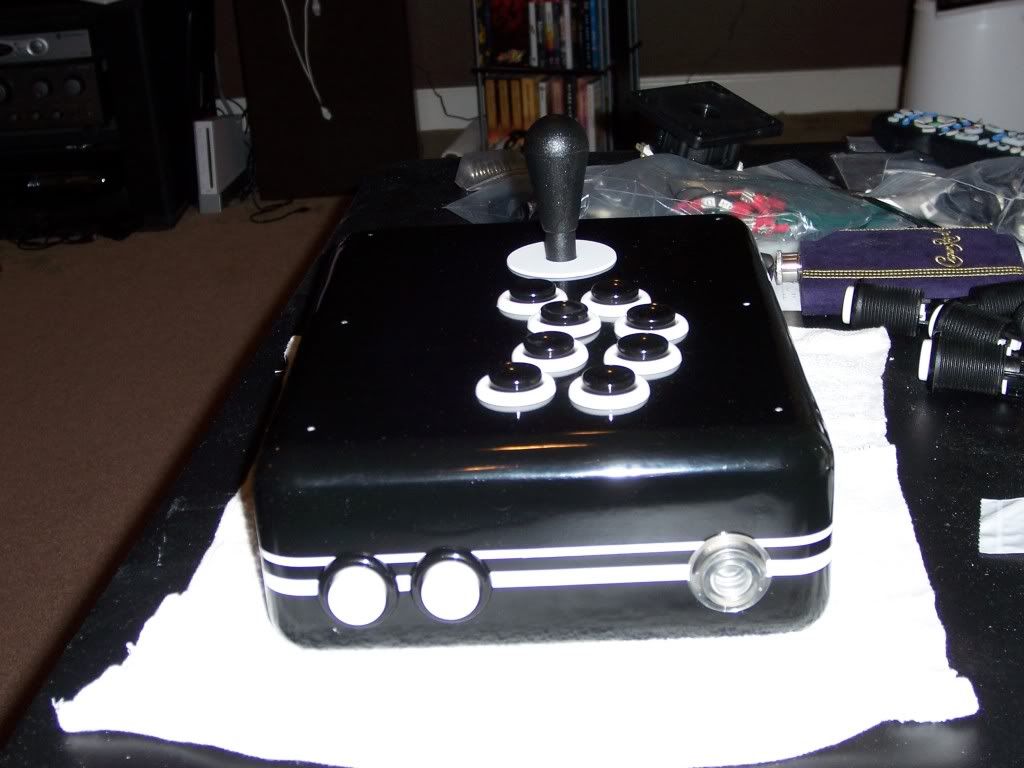
It was clean, looked nice, but it just didn’t speak to me. Besides, I had ordered enough buttons at that point to mix and match plungers and rims, so that’s what I did. I bolted up the base of the joystick and dropped in the buttons to have a look. First up: black buttons, white rims, with the black joystick and white dust washer (I’m a fan of symmetry if you hadn’t guessed…)


Notice the reflection of the towel on the bottom of the case? Hard work pays off baby!


The clear PS button? Genius...

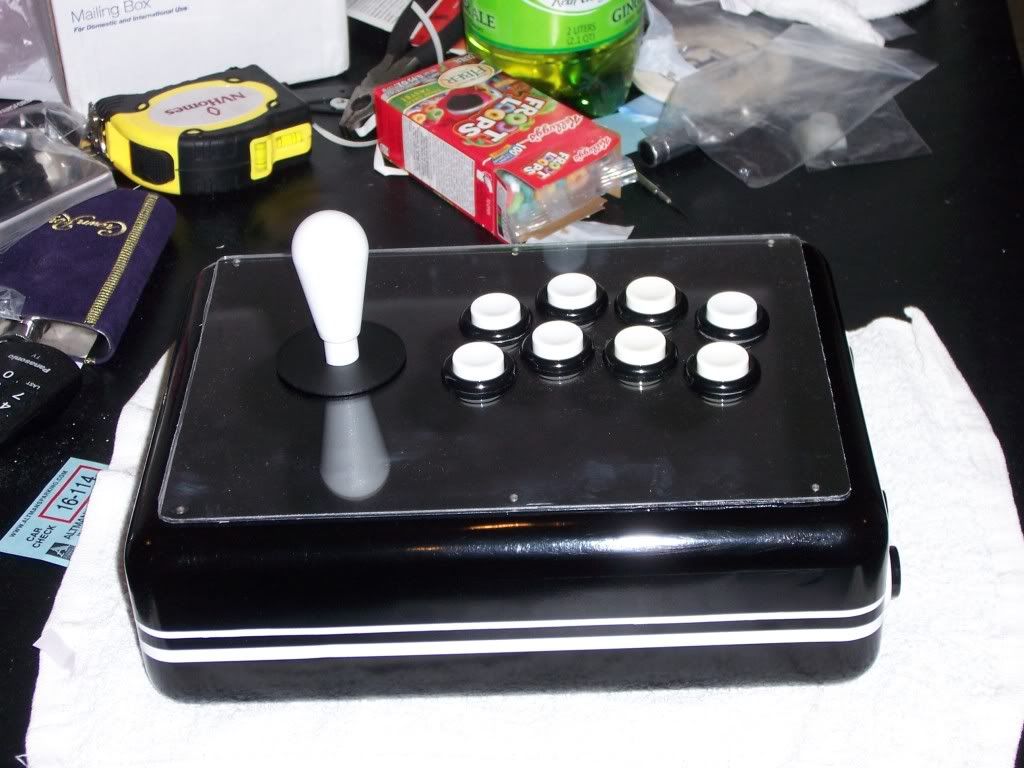
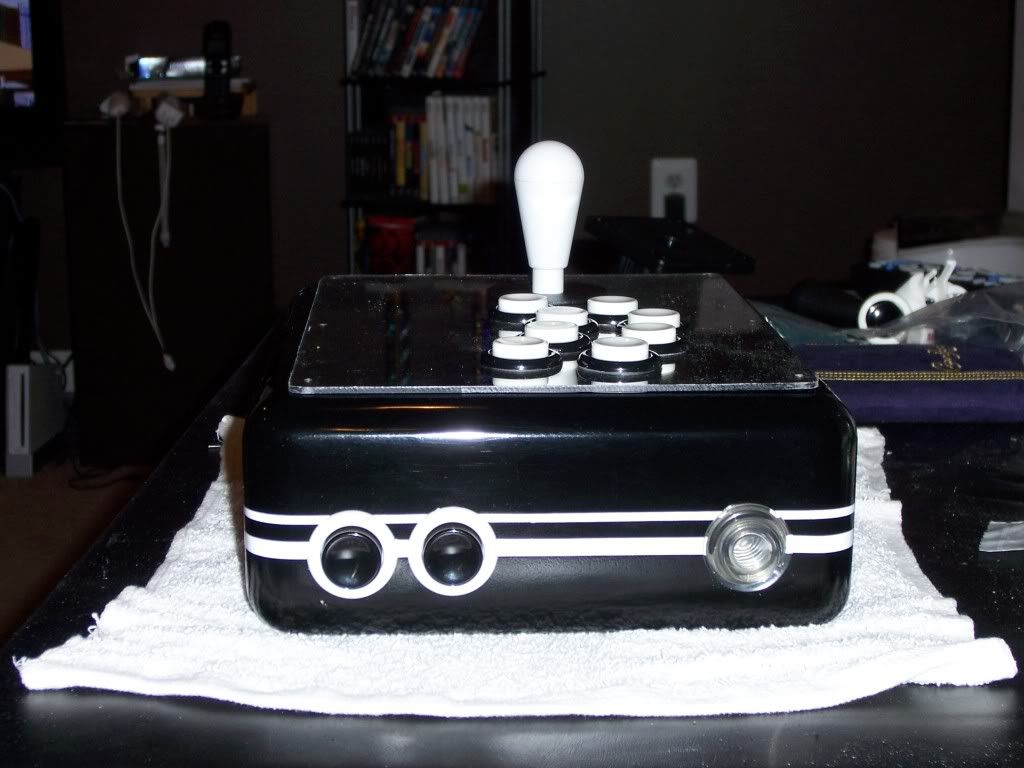
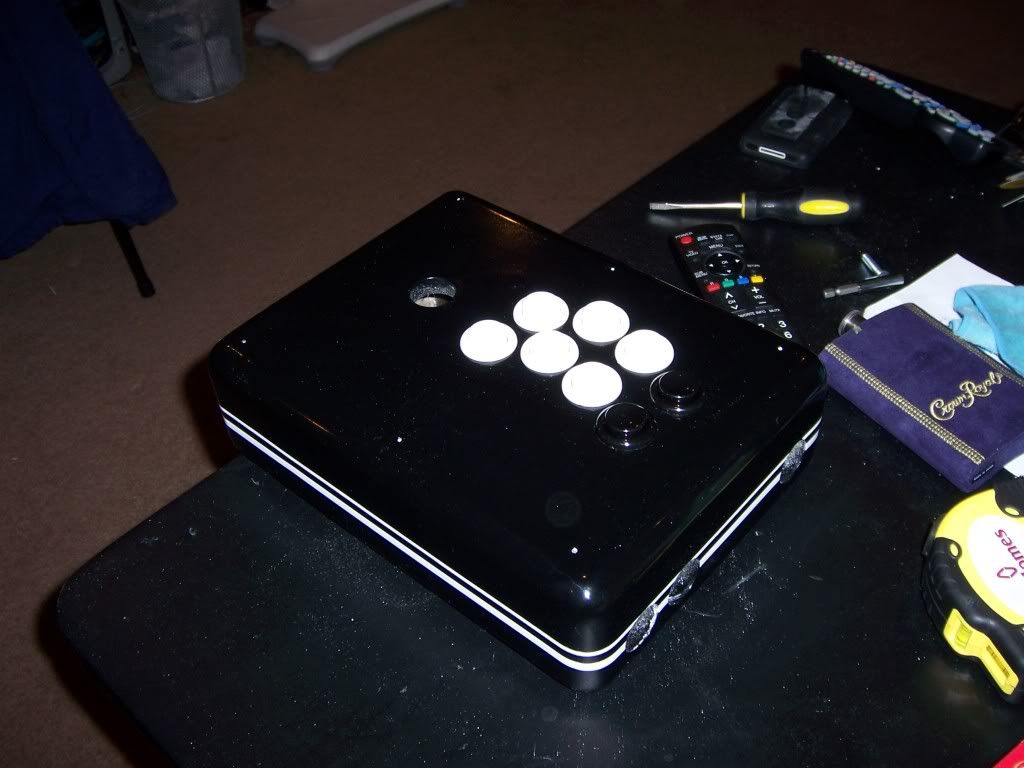
While I wasn’t much of a fan of this combination when the box was unpainted, I had to admit it looked really good with the painted box. The white rims made the black plungers look like they were floating above the case, and the black joystick really gave it the authentic arcade look and feel. However, it felt like there was way too much black going on. Even if I used a picture with a light background, I wasn’t sure it would work in the long run. So, I tossed in the reverse: White buttons, black rim, white joystick, black dust washer


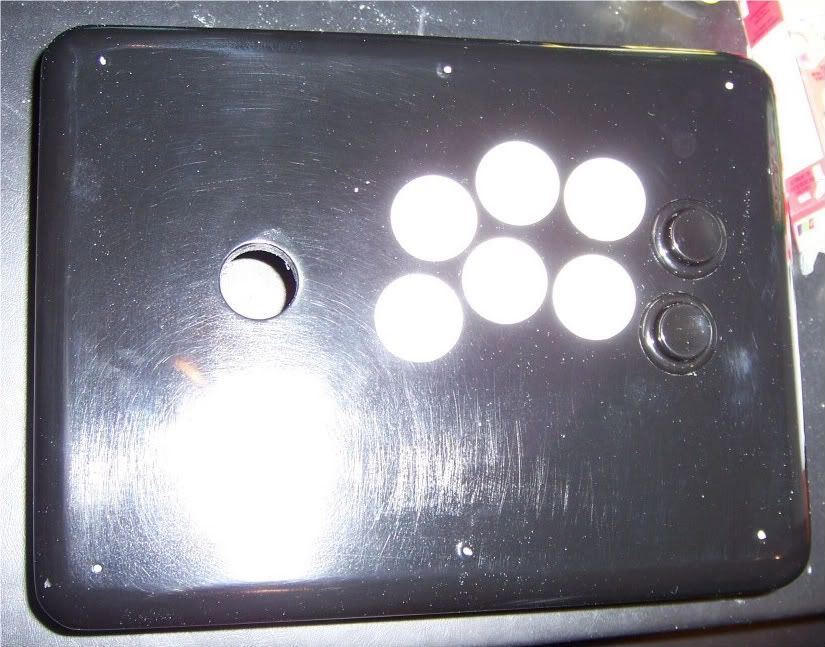
I added the lexan top for added effect. It will look even better with art


The black on white buttons look pretty good on the side
The button setup was a winner for sure. I liked it with the unpainted box, and liked it even more with the shiny black case. The white stick looked, well, strange, as I never saw one in an arcade. But I had to admit with the button combination it worked. I tried to switch back to the black stick with that button combo, but it wasn’t working for me (besides the fact it threw the symmetry off!). So, that combination would be final.

Next I turned my attention to the wiring. After mulling a few options on how to keep the sixaxis pcb in one place, I settled on a combination of Velcro and Shoe-Goo. The battery for the sixaxis fits on the back of the board with two spacers that clip to the pcb and hold the battery in place. I used the Shoe-Goo to glue the spacers to the battery, then clipped it to the pcb. I placed a 1x3 inch rectangle of Velcro to the other side of the battery, and placed the other side of the Velcro inside the case. With this setup, the parts won’t move unless I pull them apart, so moving the case won’t cause the pcb to fall. I folded the ribbon cable over itself in order to mount the axisadaptor on top of the sixaxis pcb, and held it in place with servo tape (a strong double sided tape used for R/C radio electronics). Next I ran the usb cable from the pcb to the gender changers I bought earlier, then slid them into the slot I had shaped for it, making sure it was flush with the back of the case. Once positioned, I used some construction adhesive to make sure it never moved.


Aside from the polish I need to clean out, I'm quite proud of how that turned out

Next up was the wiring. I had bought some cable sleeves to try and organize and clean up the mass of wires that would be in the case. After fighting with the 3 ground wire chains I decided I didn't have the patience to do the same for the signal wires for all 11 buttons, no matter how neat it looked. If I had actually planned out the length all the wires needed to be ahead of time, I may have been able to run the wires thru a length of sleeving from the button back to the axisadapter. But it turned out as an exercise in futility. So I settled on neatly tucking the wires around the button lock nuts at the bottom of the case. I managed to get everything wired up and the plexiglass bottom buttoned up just as my good friend and fellow Stree Fighter of 19 years walked in. After a small glitch that caused some of the buttons not to function (I think a ground wire may have been lose; how embarrasing) I handed it over to my buddy, who absolutely hates the Playstation controllers (he's a Sega fanboy who's been anti-Sony since the original Playstation, so I take his criticism with a grain of salt). After firing up the PS3 from the fight stick (still very cool), we get into some SFIV. After a few warm up round, he's able to pull off Guile's ultra move, something he's never been able to do on anything other than an arcade setup. "You build good toys my friend" he said, laughing as Chul Li laid crumpled on the ground. Note to self: Germaine can no longer play with my toys....

El Kabong2 (or making my first arcade stick) Part 5 – Getting my Bob Ross On...

At this point I’m feeling pretty good about myself. Either because I can see some actual progress being made or because I was high from paint fumes (really need to open that garage door more), I started to believe I’d be playing with my new toy in another day or two. Reality, on the other hand, has a funny sense of humor that will make you change your tune. I grabbed the black lacquer and sprayed down the case, excited on seeing how the finished case would look (since I already posted my painting how-to previously, I’m not going to rehash the gory details). Within an hour all my optimism flew south. The glossy paint showed that I STILL needed to sand down the areas with the joint compound. Instead of a flat smooth surface, some areas looked downright swollen and uneven. Dejected and pissed, I reached for that ol’ purple bag once again for some liquid solace. There was only one thing I could do: go back at the case with some sandpaper. This time I started with a much lower grit (100, I believe) to cut through the paint, primer and joint compound until I knew it was level, then went up each successive grit of sandpaper to smooth everything out. Once done, I went back over the affected areas with the primer. This would set me back a day or so, since I had to again wait for the primer to dry then sand that down before I could try again with the black paint.

After the repairs were made, I went at the case with the lacquer once more. This time, the results were acceptable. I laid down 6 total coats, let them dry, and sanded them with 220, 320, and 400 grit sandpaper. I had soaked the 600 grit paper overnight in preparation for wet sanding. If you’ve never wet sanded before, let me assure you: it is tedious and messy. You have to watch the speed and pressure of your sanding, lest you sand clean thru the paint layer down to the primer. You have to make sure the sandpaper stays wet so you’re constantly dipping or spraying the paper to keep it lubricated so the paint won’t clog the paper. You also have a nasty, drippy mess around your workspace (then again, you’d still have a mess with dry sanding, just a dusty, bad for your lungs mess, so pick your poison). You have to be extremely careful around corners and edges or you will sand straight down to the surface with a few swipes. Still, I wanted the paint to shine, so away I went. It wouldn’t have been so bad if I was only going to sand the sides of the case. But I also had the huge (well, huge relative to the task at hand) slab of top panel that had to slowly, methodically be sanded down as well. After about an hour and some change, I was done. The result? I thought it looked like crap. Some of the areas looked lightly sanded, some looked like I spilled wet powder on the surface, and some spots looked like they were barely touched. There simply had to be a better way, I thought as I cleaned up for the day.


At work the next day I took the time to do some research. Turns out I was indeed doing it right, and it was supposed to look milky, but uniform. I then stumbled upon steel wool. This is often used in polishing varnish or polyurethane coats on wood. The finest steel wool was comparable to 1000 grit sandpaper, which was next up for me to use. I decided to give that a shot. I picked up some 0000 grade steel wool from Home Depot (at this point I think the cashiers probably know me by name) and gave it a try. Within seconds I could tell the difference. The paint was now uniformly sanded, with no dusty residue and pretty easy clean-up with the turpentine rag.


Left side done with wool. Right side sandpaper. My son doing Vanna White...


Within 20 minutes I was able to finish the entire case. I cleaned the residue, let it dry for a few minutes, then went back over it again for good measure.
In the midst of the painting and sanding, a small design change popped in my head. Instead of having the case look like a black rounded monolith, I decided to break it up with some pinstriping for an extra touch. My practice R/C cars usually have an offset double pinstripe from the hood to the tail, so I figured it would work on the box as well. The only problem was I don’t have an airbrush and didn’t feel like going through the hassle of masking and painting the stripes, hoping the paint didn’t bleed through the mask, etc. So, I cheated. I went to Autozone and picked up 2 rolls of white pinstriping of different sizes. After eyeballing roughly where I wanted the stripes on the case, I measured spots on all 4 corners and carefully wrapped the pinstripes around the case, neatly trimming the joining edges. The clearcoat would cover and seal the pinstriping, so I wouldn’t have to worry about the stripes moving or getting damaged.

The clearcoat went on the same way as the paint. Since I had used black lacquer paint, I had bought a lacquer clearcoat as well. After 8 or so coats, the case was now a very glossy, if a bit uneven, color. The clearcoat nicely filled in the sanding marks left on the paint.


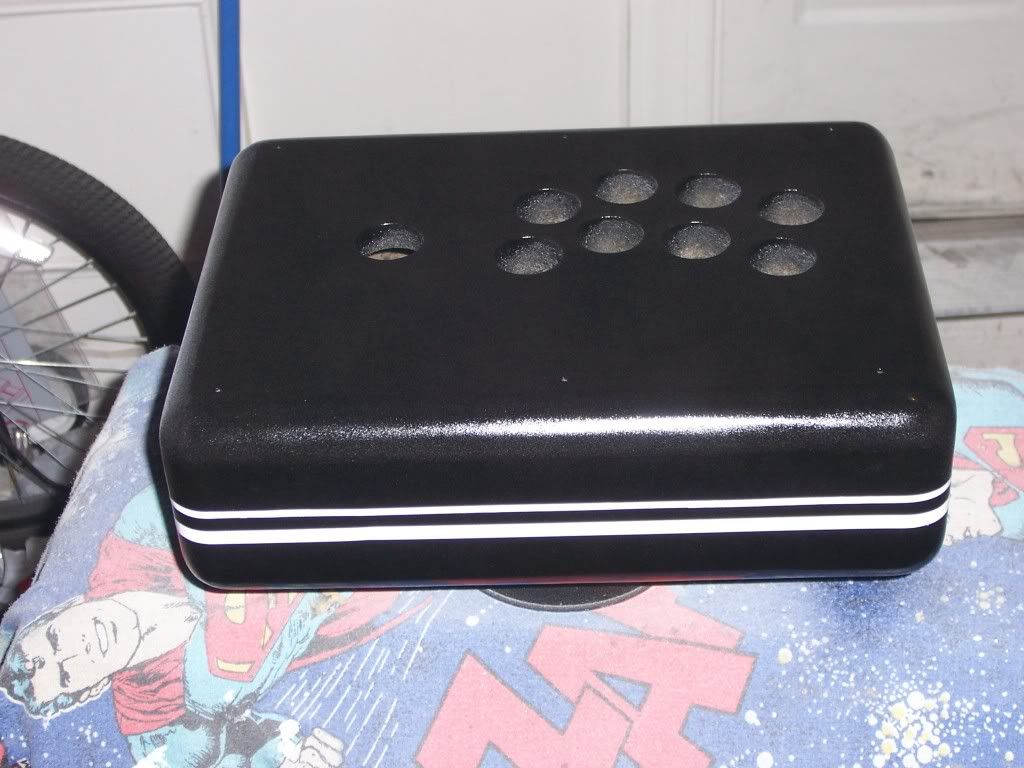
It looks like a retarded bowling ball or a Samsonite right now...

After everything dried, it was time to start the sanding process again. I dry sanded with the 400 and 600 grit paper, used the steel wool to even out those marks, then wet sanded with the 2000 grit sandpaper. Now the clearcoat looked like the paint did (milky powder), but was much more uniform. To bring the shine back, I grabbed two old standbys used for car finished: rubbing compound and polishing compound. With one application of the rubbing compound, my hard work was vindicated.


Buttons added for effect. Either that or I was pressed at this point!

After following up with the polishing compound, the box now has a nice, shiny, glossy, almost reflective shine to it. If the weather was good, I had a paint booth, and free time to actually work on the painting, it wouldn’t have taken weeks to finish. If I wanted to cut corners, I could have let it be after painting it black, no sanding or clearcoat. Or I could have just dry sanded the paint and polished it for some shine. Either would have been a far cry from the unfinished MDF I started with. But, they say hard work builds character, right?

Saturday, December 19, 2009

The Fastest Yellow and Red

This
Is
AWESOME!!!!!!!!

Just watch. Between the Matchbox cars, sound effects, stop motion work, you name it. This is definitely one of teh most awesome things you'll see today. Trust me...

Sunday, December 13, 2009

David Axelrod - Holy Thurday


This is one of the greatest songs EVER. Try this in the morning to get your mood right. You'll Love It

Friday, December 11, 2009

Mirror Finish Paint Guide

Below is the painting guide I wrote up for the guys over at QCFGaming. After I posted some pics of my work, I guess they were happy with the results. They've tried to add this tot heir website, but it hasn't really worked that well. Since a few people have asked to see the guide, and I have to reference it on Part 5 of my building writeup and don't feel like rehashing anything, I just posted it here. Hope this helps somebody out there....


I’ve been asked to do a write up on my painting technique for QCFGaming. I feel so special! Before we begin, I need to touch on a few things. First, a lot of credit must go to Digital717 over on the SRK forums. His guide was what got me started on my paint job. You can find his info here: MDF Mirror Finish Worklog


Second, consider both write-ups as guides, not etched in stone rules. I am by no means a professional (as some of the pictures will attest!), and I’m sure if you ask different people you’ll get different answers and have similar results. However you chose to go, as long as you have patience, you will have results you can be proud of. Make sure to read the entire guide, look at the bonus points, and decide what will work best for the finish you’re looking for. Now, onto the show….


Congratulations! You just got your QCFGaming case. While waiting for it to get shipped, you no doubt had visions in your head on how the stick will look. You open up the USPS box, dig thru the paper, and are presented with….a rather brown box. How in the world are you going to get that to look like the other custom cases you’ve seen? Fear not, we’re here to help.


First off, you’ll need to get your materials together. Some you may have around the house, some you may need to head to the local hardware or automotive supply store. You will need:

• A filler (wood filler, joint compound, spackle, Bondo, etc)

• Sandpaper (100, 180, 220, 320, 400, for dry sanding, 600, 1000, 1500, 2000 grit for wetsanding)

• Steel wool (000 and 0000 Grade)

• Rubbing Compound

• Polishing Compound

• Wax (optional)

• Spray paint (enamel or lacquer, either seems to work)

• Spray clear gloss (again, either enamel or lacquer)

• Tack cloth

• Terry cloth rags

• Spray Bottle

• Turpentine, mineral spirits, or other paint safe cleaner

• Rubber/latex gloves

• Dust mast or respirator

As we go along, I’ll explain what we’re using everything for. Let’s get to it!


Step 1- Prep the box

Have a look at your box. See all the fuzzy, unfinished edges where the parts join together and where the routed edges are? Those are the enemy. First off, when you hit them with the spray paint, they will show every joint line. Second, the unfinished edges of the MDF act like sponges on paint. Definitely not what you want. That’s where the filler comes in. What you want to do is spread a nice layer of filler along all the edges and joints until they aren’t visible. You don’t need to use too much. Once that’s dry, it’s time to sand it smooth. Grab the lowest grit sandpaper and sand it as level as you can. Try not to sand into the MDF. Once it’s sufficiently level, move to a higher grit of sandpaper (180 or 220 should do the trick) to get everything nice and smooth. When you run your finger across the spot where you used the filler, you want it to feel smooth and level, with very little peaks or valleys. You should not be able to feel the edge where the MDF stops and the filler begins. If you don’t, it will stick out like a sore thumb when the paint is sprayed on. Once you’re done, wipe the dust off with the tack cloth and use a rag and mineral spirits to remove any fine dust and fingerprints. Use gloves to keep the stuff off your hands.

Bonus Point - Box Prep

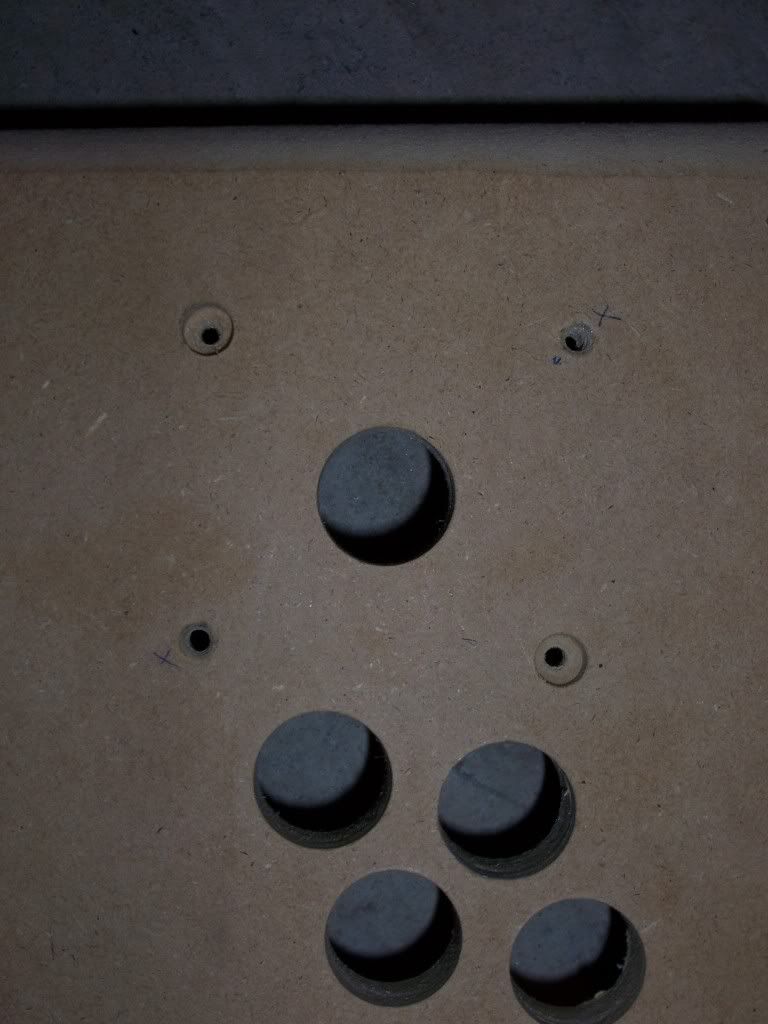
Here’s a tip for anybody with a HAPP style box. Since the joystick mounts from the bottom, you have to drill holes in the top panel and drop the screws in for the joystick. Some people don’t mind the screw heads showing, or use countersunk screws to get the screw head flush with the panel. Personally, I don’t want to see any screws, whether I’ve got art or plexiglass covering it or not. So, I picked up a #12 countersink bit like this:


Mark your holes and use the countersink bit to drill into the MDF so the screw heads are below the surface, like this:


Grab some wood glue or contractors glue and shoot some in the hole. Drop the screws in and use your filler to cover the holes. Then sand and smooth as before. Now, you have a nice, bolt free top that will look like a solid block when you’re done!


Step 2 – Priming and Sanding


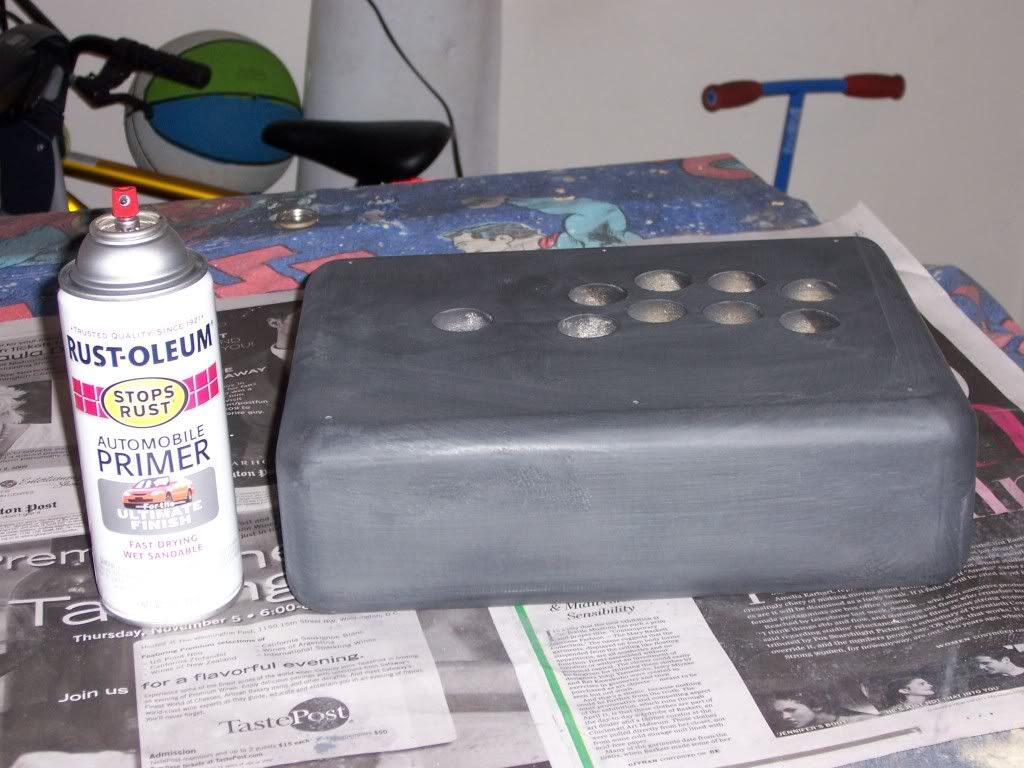
Using primer on your box is very important. Not only will it provide a better surface for your paint to adhere to, but it fills and smoothes any imperfections in the MDF. The color of the primer doesn’t really matter (although if you’re painting the box black, using black primer can help you cheat in case of any screw ups when you’re sanding, as we’ll see later). Make sure your paint area is CLEAN and well ventilated. When using spray paint, spraying a number of light coats is always better than one heavy coat. We’re not doing graffiti! Grab your mask (you really don’t want to inhale this stuff too much), hold the can 10-12 inches from the box and spray in a straight line from end to end. Start spraying before you hit the edge of the box and stop spraying after you are completely off the other side. 2 or 3 light coats about 2-5 minutes apart should do. Then put the can down and walk away. Most likely the box will not have a full coating of paint and the MDF will show thru. That is fine! You will cover it with the subsequent layers. Let the paint dry per the directions on the primer (generally 30 minutes to an hour), then repeat the steps. After you’ve done this 3-4 times, you should have a pretty uniform coverage of paint. Have a look at the parts that you used your filler on. If you sanded them down well, you should notice very few, if any, high spots in the paint. If you do see them, go back with your 180 or 220 grit and smooth it out, then respray that area. It may be a pain to do, but it will look so much better once the paint goes on. Once it’s done, let it sit for 24 hours to dry. If it’s cold or humid, you may need to wait a bit longer to dry.


Next up: sanding. We want to sand the primer relatively smooth so the paint has a nice even surface to stick to. Grab some 220 or 320 grit (and your mask!) and sand down the primer. You can use a sanding block or wrap the sandpaper around a small block of wood so you can put even pressure on the paint. Be very careful around the edges of the box! It is extremely easy to sand thru the paint or primer if you’re not careful. I like to use 3M flexible finish sandpaper, which is really good on any rounded edges. The primer also doesn’t seem to build up nearly as much. If you do sand thru the primer, spray the part with a few light coats, let it dry a few hours, then lightly resand and you should be fine. Finish up with a light sanding using 400 grit sandpaper. Once everything looks and feels nice and smooth, wipe with the tack cloth and use the mineral spirits to clean everything. You should look something like this:


Done! Now it’s time for some paint


Bonus Points - Primer

Some have asked whether or not brushable primer would work for this application. To be honest, I haven’t really tried it, although I have some from patching drywall around the house. My first thought would be maybe, but it may be more work than it’s worth. I wouldn’t attempt to use a brush to apply it, as sanding the brush strokes out would be a pain. A small, foam trim roller may well do the trick, but I’m not sure how the primer would set up once it dried. If you choose to go that route, just be sure to sand it smooth and clean it as mentioned above.


A Word on Enamel Paint vs. Lacquer Paint

You may or may not have noticed when you got your paint that you have the choice between enamel paint and lacquer paint. Either will ultimately do the job, but with slightly different handling directions. The biggest difference in the two are the solvent or "carrier" of the paint. Lacquer paint uses lacquer thinner and enamel paint uses paint thinner. One of the advantages of lacquer paint is that it dries more quickly than enamel and does not have a re-coat window (a time when a subsequent coat must be reapplied). With lacquer, you can spray the next coat once it is dry. With an enamel, you generally have a 1-2 hour time period in which you must spray the next coat, or you will need to wait for the paint to cure, which can take 3-5 days, depending on your brand of paint. Check the instructions on your paint can and be sure to follow those. An advantage of enamel over lacquer is that enamel can be used over either enamel or lacquer paint. The paint thinning solvent will not affect the dried layers of paint. Lacquer, on the other hand, can eat thru or wrinkle enamel paint because of the lacquer thinner it uses. It’s also smellier and a bit more toxic than enamel (not that you want to go sniffing either, mind you…). In short, enamel plays nice with anything, but let lacquer stick with lacquer.


Step 3 – Painting and Sanding

Here is where the rubber meets the road, as it were. This will require patience more than anything else. It may seem tedious, but if you get it right your finish will look fantastic. First off, grab your mask and the paint. Just like with the primer, you want 2-3 light coats, wait 2-5 minutes, then 2-3 more light coats. Afterward, put the can down and let it dry 45 minutes to an hour and repeat. How many coats? Hard to say. Once you have a nice, even coverage on the box, you should be good to go. However, I like to add a few more coats on just to give me some padding in case anything goes wrong with the sanding. Again, let it dry at least 24 hours before touching it. Before you turn in for the day, soak the wetsanding paper (the 600-2000 grit stuff) in a bucket of water with a few drops of dishwashing liquid for the same 24 hour period.


Once it’s dry, the sanding can begin. Get your mask and start with the 400 grit like you did with the primer. Careful on the edges, lest you cut thru the paint. Once that’s nice and smooth, clean it with the mineral spirits and let that dry. Now comes the fun part. Get the 600 grit paper out of the bucket and wrap it around your sanding block. Then, very carefully, and with very little pressure, start sanding the paint. Let the sandpaper do the work, making sure to spray down the sandpaper every 30-45 seconds to keep it wet. The soapy water solution keeps the sandpaper lubricated and rinses the paint off the sandpaper, keeping it from loading up. The sandpaper should glide smoothly across the surface of the paint without grabbing. If you start grabbing, stop, spray down the paper, and continue. Sand a small area at a time, making sure to wipe the area dry to check your progress and to keep standing water off the box. Again, be extremely careful around the edges, as one swipe will take the paint off. It may be easier to very lightly go over the edge with your hand, letting the paper do the work. However, if the edges look good, you may be able not to even bother with them too much. Once completed, wipe everything down with mineral spirits. Repeat the process with the 1000, 1500, and 2000 grit sandpaper. At this point, the paint should be even and look white and dull, as if somebody spilled milk or baby powder on it and didn’t quite clean it all up. This is absolutely what you are looking for. The next 2 steps will take care of it. Now, give yourself a break before we continue on.


Bonus Points – Sanding Alternatives


At this point I should point out a few differing opinions on sanding your finish. First off is the wet sanding / dry sanding debate. Some say you can achieve similar (or the same) results by dry sanding with the higher grit sandpaper. Some advantages to dry sanding are you don’t have messy water drips everywhere and it is easier to see what you’re doing and what needs to be sanded more. The disadvantages include the sandpaper loading up with paint, thus reducing it’s effectiveness and requiring the use of more sandpaper. Also, you end up trading a wet mess for a dry, dusty mess. With either technique, be sure to use light, even pressure and be careful around the corners!


Instead of wetsanding with 600 and 1000 paper, some have tried using steel wool. Steel wool is popular in polishing metal and wood. For our application, steel wool can work as well, up to a point . Steel wool is much more malleable than sandpaper, thus easier to go over rounded corners with. It also leaves a very nice, even finish on the paint. You could transition from 000 grade to 0000 grade steel wool, much like transitioning to a higher grit of sandpaper. 0000 grade steel wool is roughly as abrasive as 1000 grit sandpaper. Depending on the level of gloss you are looking for, stopping at either 1000 grit sandpaper or 0000 grade wool is fine. But if you’re looking for a super shiny, almost mirror finish, continue on with the 1500 and 2000 grit sandpaper.


Step 4 – Clearcoat


As Yogi Berra once said, the next step will feel like ‘déjà vu all over again’. Get your mask, grab the clear gloss paint and start spraying the box just like you sprayed the primer and paint before – 2-3 coats nice light, even coats, 2-5 minutes in between each. Let that dry 45 minutes to an hour, and repeat. Once the coats are on, let it dry for 24 hours. As you can see, the milky white finish now looks nice and shiny. Now, if the paint looks nice enough to you already, or you’re tired and ready to move on, have at it. If you want that super glossy, wet mirror finish, repeat the sanding process as above. Whether you wetsand or drysand, use sandpaper or steel wool, make sure to finish with the 2000 grit paper! Again, when you finish, the surface should have the even, dull dry look to it, like a slightly shinier version of the paint after you finished sanding it. The finish should also feel as smooth as glass if you run your fingers across it . Clean it with the mineral spirits and take a break. The last step will require some elbow grease.

Step 5 – Compound and Polish

Have you ever had to wash and wax your car before? If so, this last step should be a piece of cake. If not, just remember what Mr. Miogi told Daniel-san – ‘Wax on, Wax off’. Think of the compounds as liquid sandpaper: a very high grit abrasive that will sand and polish the paint like stones in a rock tumbler. Start with the rubbing compound and a terry cloth. Follow the directions on the bottle. Pour some of the rubbing compound on your rag and work it into the paint. As you do, you should see the color come back in with a pretty high shine. Wipe off the residue with a clean terry cloth per the directions. When you’re done, you should have a pretty deep, rich color, albeit with a bunch of swirl marks. That’s what the polishing compound is for. Follow the instructions on the package and do the same thing. Now you should have a very shiny, almost streak and swirl free finish that looks like it came from the factory. Hold it up to the light and admire your work. Pat yourself on the back, good man (or woman) for a job well done.

Bonus Tip – Polish and Wax

If you really want to go all out, or just like the whole wax on, wax off deal, you can add a coat of polish and wax. Polish is less abrasive than either the rubbing or polishing compounds, which are mainly used for finishing the paint finish. A polish or glaze will provide that extra sheen and smoothness. Your local auto parts store has a pretty good selection. I like Meguiars Deep Crystal System Polish or their Mirror Glaze line of products. Mothers and Eagle One also work well. Now, wax and polish are two different things for two different purposes. Polish adds shine, wax adds protection. So for that added layer of protection for your shiny new finish, you may want to add a wax. However, you need to wait 30 days for the paint to fully cure (curing is different from drying!) before waxing your paint. You may need to disassemble your pride and joy unless you want to get was residue off the buttons, but if you wish to go all out, that’s your choice. The added bonus: you now have products to shine your car to a finish as nice as your stick!


That’s it people. Hopefully this guide will help you achieve a finish you can be proud of while you show off your latest creation. Remember, these are just suggestions, not rules. As they say, your mileage may vary. Thanks goes to the guys at QCF (Lucky Day and Satek), Digital717 for the original worklog and the inspiration for this guide, Toodles, ShinJ, Purplearms, Beneco74, Gummouned, Lizard Lick, GamingNow, and everybody else on he SRK forums that pushed me to building my first stick in the first place. If you have any questions, comments, or things I should chance, feel free to contact me at spenzalii@att.net

Enjoy!

Spenzalii
Tuesday, December 8, 2009

El Kabong2 (or making my first arcade stick) Part 4 – Painting for Dummies 101

It was now time for the most labor intensive part of the build: painting. A good paint job can make a piece of wood look like polished onyx. A bad paint job would look like your 5 year old got a hold of a spray can and some tempura paint. Since I wasn't making a piano for Steinway, I was shooting for something somewhere in between. I had read through a worklog on the SRK forums on how to get a mirror finish on mdf (Check it out here if you like). It looked like it would be more time consuming than anything. But, since I wasn't on any deadline, time wasn't going to be an issue. Doing it right the first time, however, would prove a little more difficult.

The first thing I did was seal up the edges of the case. I grabbed some joint compound that I had from a drywall repair project I did a while back and spread a thin later around the edges where the pieces of the mdf were joined and on some of the rougher edges where the case was rounded with a router. If the edges weren't sealed, the paint would just seep into the pores of the mdf like a sponge. Spackle would have done the trick as well (and if I had saw the spray-on spackle on one of my many trips to Home Depot I would have bought some), but I already had the joint compound. After it dried, I sanded the compound down with a foam sanding pad I had (probably around 300 grit) until it was smooth.. If only I had sanded until it was level...

Next I had to transform my garage into a makeshift paint booth. In a perfect worls, my garage would be nice and clean, with HEPA air filtration and temperature controlled to help the paint dry. In the real world, I had to make do with parking my car outside, setting up a makeshift stand out of my recycle bin, a slab of drywall, a tarp, newspaper and an old tin can. Ventilation came from opening the garage door. The temperature was controlled by however warm or cold it was that given late autumn day. Not exactly ideal, but it got the job done. After setting the box on the can so I can get all the edges and the bottom painted at the same time, I shook up the can of primer and got to work. spraying in long even strokes 10 to 12 inches from the case, I sprayed 3 light coats 5 minutes between each coat. I let it sit for 45 minutes, then repeated the process. With about 9 coates down, I quit for the evening to let it dry overnight, keeping the garage door cracked a bit to air out the garage lest my wife pass out when she goes to her car in her morning.

Once everything was dry the next day I started sanding the primer smooth. I started out with 2 general purpose foam sanding blocks I had around the house. One was 200 grit, he other was 320 grit. Once they were (what I thought was) smooth, I wiped everything down with mineral spirits to clean the surface of any paint dust. When I took a look at my handiwork, I realized the joint compound I put on the case wasn’t level at all. With the primer covering it, you could clearly see where the compound was applied and where it stopped. The edges weren’t feathered very well, and there were plenty of high spots. I started muttering to myself again, mad because I didn’t get it right the first time. While doing this, I realized an even bigger mistake I made: I never drilled the hole for the USB adapter. I was going to kick myself again, but thought, ‘Well, this makes the sanding issue easier…’. May as well take care of both issues at the same time. Hi-Ho, Hi-Ho, it’s off to Lowes I go…..

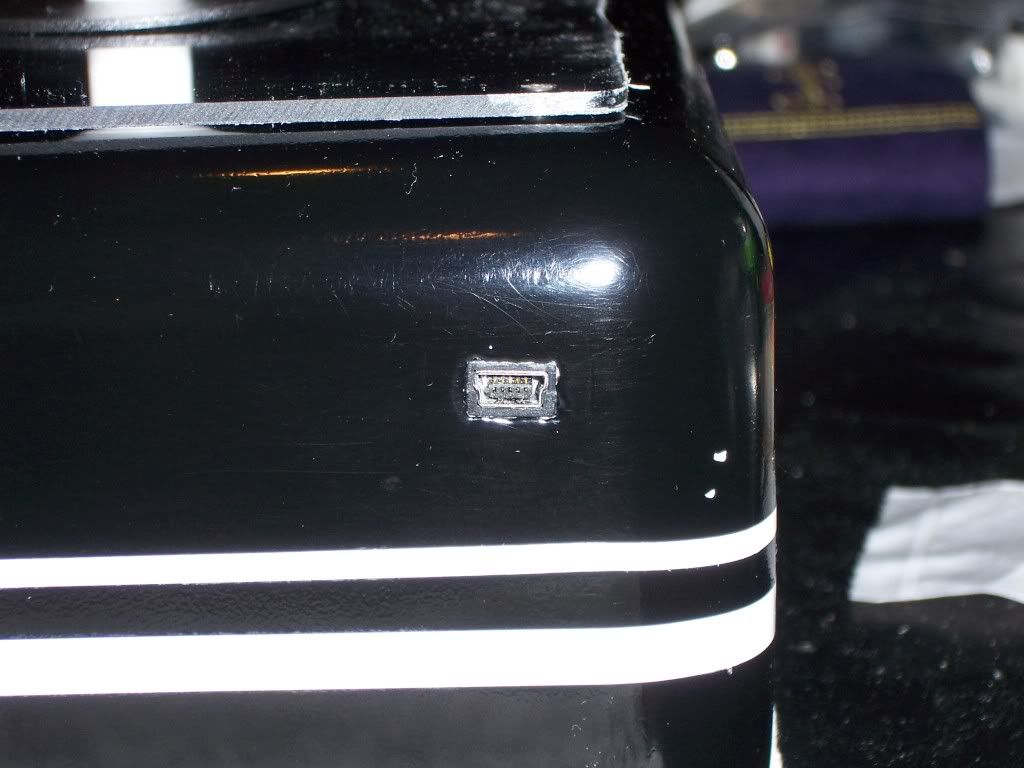
At the store I picked up a small wood file, some wood filler, and a few odds and ends I don’t even remember anymore. To make the space for the adapter, I traced the outline of the adapter on the case. I then drilled holes in the outline until I had a nice little space, using a screwdriver to help open up the space between the drilled holes. In retrospect, using a sharpened chisel might have been easier. Live and learn, right? Once the space was big enough I used the file to widen and shape the space until the adapter could fit. This took a LOT of elbow grease and cramped fingers, but it got the job done. Since the adapter had a slight taper on one end, when the connector was flush with the edge of the case, there was a gap. That’s where the wood filler came in. I placed a piece of plastic wrap on the end of the adapter and slid it in place from inside the case. Next, I filled both sides of the gap with the wood filler, making sure not to get ant filler on the plastic that was directly over the connector. Once it was half dry, I removed the adapter to make sure the filler didn’t accidentally seep thru and get the adapter stuck. When it was fully dry, I removed the plastic wrap from inside the case. After lightly sanding it down, I now had a nice, smoothed, shaped opening that looked like I used some real tools to pull off.


All that work for that little hole?!? Eh, it will be worth it...

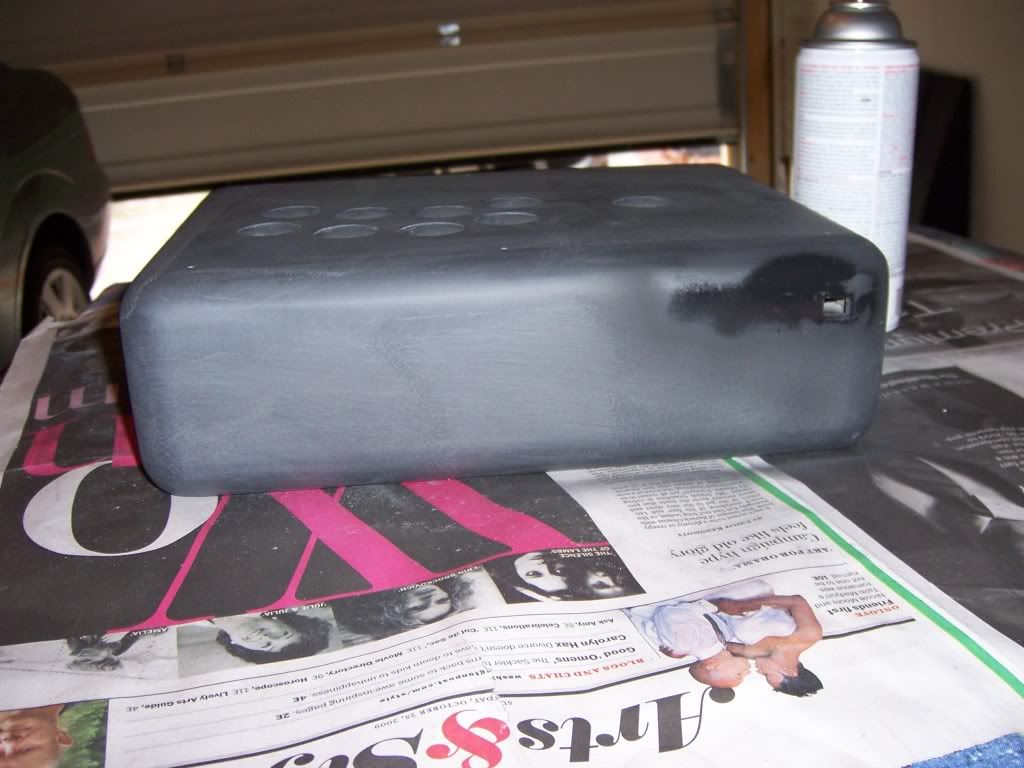
After patting myself on the back for a half days work, I sanded down the places where the joint compound looked terrible. Look in that above picture. See how the left corner looks like someone smeared some old gum under a desk? Yeah, that just wasn’t going to cut it, and it would only look worse once the black lacquer paint was sprayed on. Another half day’s work and it looked ready for primetime


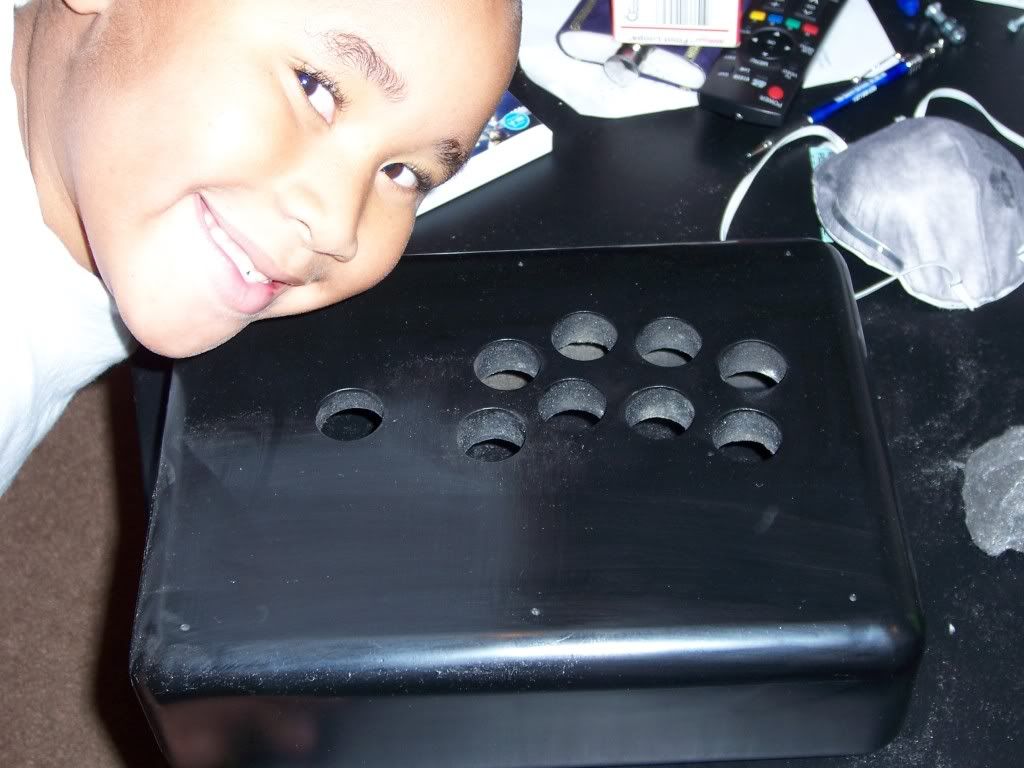
It looks like I dipped it in chalk now, but it's all part of the plan


At least, that’s what I thought when I went to bed that night…