At a basic level, assembling a computer is like putting together a Lego or Erector set. Insert Tab 'a' into Slot 'b' until you're done. Pretty straightforward, really. You don't need any specialized tools for your build, just a phillips screwdriver (though when something doesn't work you may be tempted to pick up a hammer...). But as with many things, the devil is in the details, and there are always one or two things that you have to think your way around. This build would be no different.
To prove the basic assembly steps of putting together a computer aren't nearly as hard as some may think, I had my 8 year old assistant Sophia Karynn (aka 'Baby Suri') help out with some of the initial assembly. To help her understand what the different components do I likened them to parts of the body. First up: we had to get the motherboard ready, which I compared to the central nervous system, or her spinal cord:

Ideally I'd have an anti-static mat to place the motherboard on, but I don't build enough computers (or anything electrical, really) to need one. So, setting the board on top of the anti static bag and on top of the box it came in gives us time to add the other components. Next up was the 'brain' of the operation, the Ryzen 3 APU.

For all the packaging, the chip itself is pretty small. Most of the space is for the included CPU cooler. But since I'm using the Kraken X42 for this build, there isn't any need to even unpack it the cooler for a glamour shot. Once you line up the notch on the motherboard and the processor, the APU literally drops into its socket, with the metal arm latching down and locking it in place.

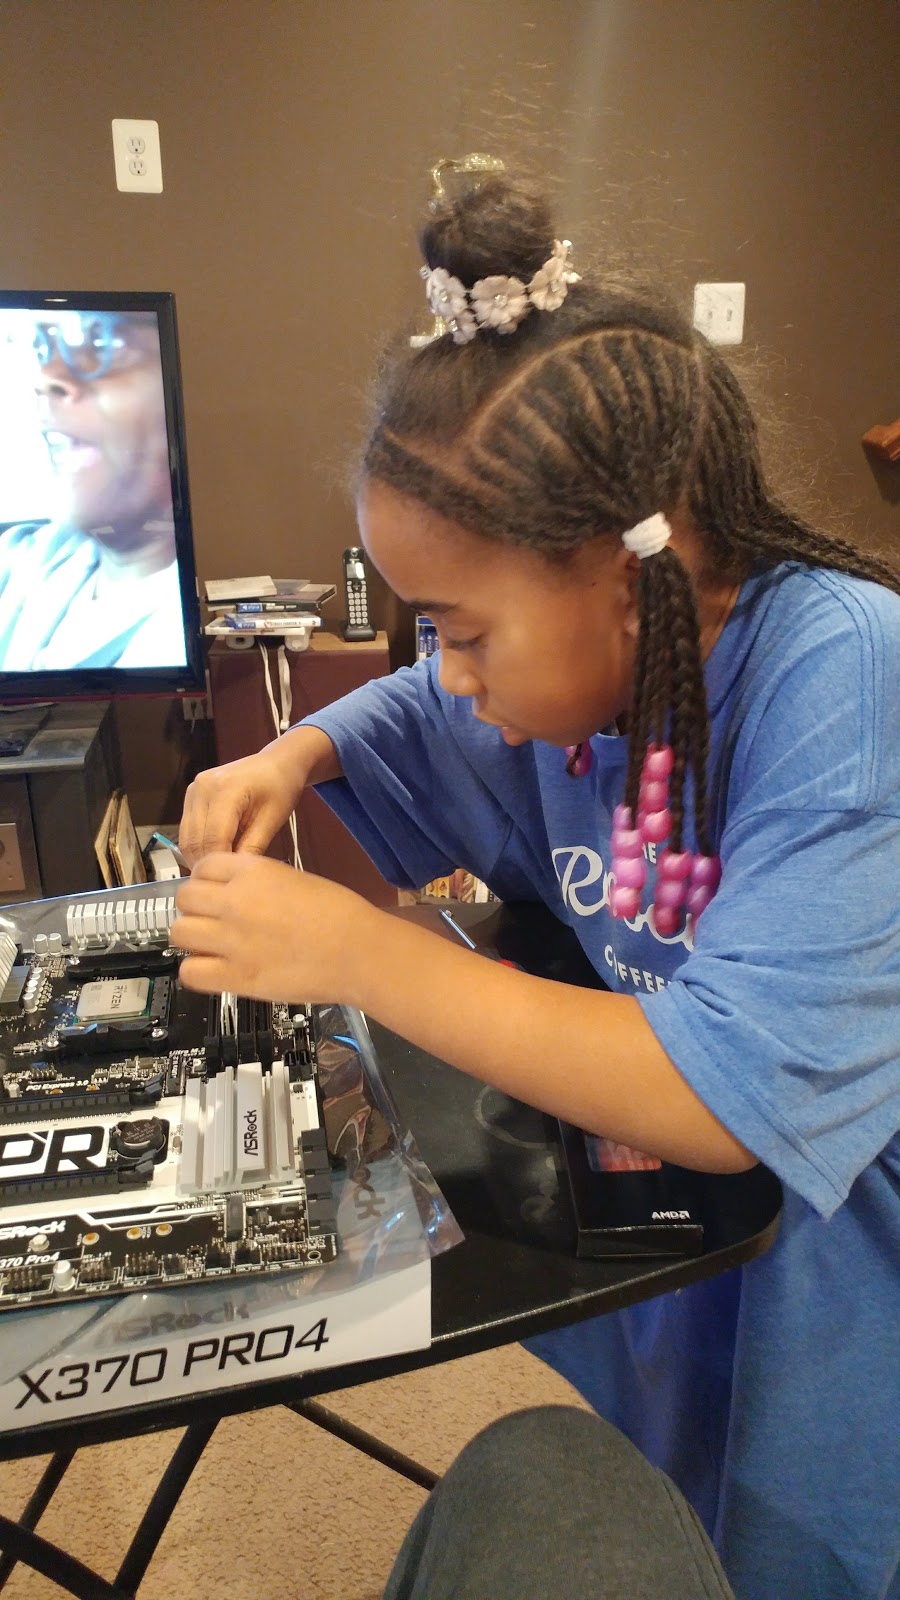
With the 'brain' in place it was time to tackle the DDR4 modules, or the 'short term memory'. While 8GB should be more than enough for this build, knowing I got double the memory for the same price just a few years ago annoys me. No matter. Technology and market swings wait for no man, and it was more than my parents had before.

These only line up one way in the memory slot and snap in with enough force. Sophia needed a little help pushing them into place, but she got it done


At this point I was quite happy I went with the white memory sticks here, as they blend in perfectly. My parents probably won't notice or care about the aesthetic choices, but I'll sleep better. Time to move on to one of my most important party pieces, the 'long term memory', aka the M.2 SSD

I can't stress enough how much of a difference having a SSD as your main drive makes over your common HDD. 30 seconds from cold start to sign in screen is amazing the first time you experience it. I almost want to spend my own money and upgrade my work laptop just for the speed increase, but I don't like my job nearly as much. Installing the drive was yet another 'tab-into-slot' affair, with the drive lining up one way to the M.2 slot (at a slight angle, though), then folding down and being held by a small screw. Sophia made work work of this as well, but not before noticing the blue Western Digital logo being the only splash of color on this board so far. At least someone else noticed...


It was now time to get the 'body', or the case, prepped. Building inside a Fractal Design case is pretty painless, as there's plenty of room to run and organize all of your cables (and there would be plenty of those in this build) and thoughtful touches like over-sized grommets to route those wires and hide some of the clutter while keeping said wires from any edges that may fray the wires and grommets on the hard drive trays to reduce vibration and noise. Little (and nerdy) things that you may not notice, but does make for a better building experience. I installed the brass motherboard standoffs, installed the I/O shield to the back of the case, lined up the motherboard, slid it in place, and screwed it down.


Next it was time to install the 'heart' of the system, the PSU, which will push electricity, the 'life blood' of the system, at all the components (OK, the analogy may be stretching a little thin, but it seems to have helped Sophia remember what part does what, so I'm sticking with it. Sue me...).

The nice thing about having a modular power supply is you only use the cables that you need, and the rest can be stored in the box rather than taking up real estate inside the case. While the cables weren't individually sleeved with color coordinated Techflex braiding like THIS, they will do the trick. 650 watts may seem like overkill for a relatively modest system, but it comes from a reputable manufacturer (Corsair), has a certified efficiency rating (80 Bronze) and should supply stable power and remain silent for years. Having cheaped out on PSUs on a few budget projects before, I wasn't about to do the same thing here. So, in the case it went, where it sat on 4 small pads Fractal had installed to reduce any noise and vibration (again, nice little nerdy touches nobody will notice until you do). 4 screws later and we were set.

At this point it was way past Sophia's bedtime, so she had to get to sleep before I could tackle the 'lungs' of the system, the LED fans. First, it was time to RELEASE THE KRAKEN!!!

At this point things start to get a bit trickier and your thinking cap should be on. Unfortunately, it was also close to midnight and history was being made by UMBC, a #16 seed, defeating #1 seeded Virginia, which had never happened in the NCAA men's basketball tourney before. So, I was a little distracted and things took a bit longer than I would have liked. In order to get this installed I had to:
- Install the correct retention ring on the water pump (the round thing with lights)
- Remove the stock CPU cooler brackets that were installed on the motherboard and install the standoffs for the water pump
- Screw the water pump onto the standoffs
- Wonder why the pump was not pressed tight against the APU and the motherboard as it should be
- Go online and discuss UMBC's improbable win
- Watch highlights of said improbable win
- Look for websites and forums to see if anyone else had this problem with their pump and standoffs
- Remove the standoffs and install the correct standoffs for the motherboard
- Stare at the water pump and wonder why the NZXT logo isn't horizontally oriented
- Watch Kenny, Charles, Ernie, and Clarke break down the games of the tournament
- Look at images of other builds with the logo in the correct orientation
- Debate on reaching for the hammer
- Realign the retention ring so that the logo is now horizontal
- Reinstall water pump on standoffs
- Pat myself on the back for figuring it out
- Kick myself for not figuring it out sooner
- Mount one of the AER RGB fans to the back of the Kraken radiator
- Laugh at Jason Jones in The Detour
- Futilely try to align the stock fan in between the radiator and the case
- Watch more of The Detour
- Wonder why I haven't watched this show before
- Wrangle the fan and radiator in place, and screw it all down
- Stand back and admire my work
- Realize this should not have taken over an hour to install
- Finish watching The Detour, then call it a night

