Turkey. The 'other' other white meat. A bit tougher than chicken, but slightly more versatile. Turkey can be sliced thin for cold cuts. It can be ground as a substitute for beef. It can be used as a substitute for bacon (though really, it's more turkey jerky, as if it doesn't come from a pig, it's not bacon. Deal with it people...). Turkey is often the signature dish for most Americans for Thanksgiving. It's sad, really, as turkey is fantastic at ANY point in the year. The two most popular ways of cooking turkey is either in the oven or in a deep fryer. The oven is the time tested method of cooking the big bird, though if it is not prepped correctly, you've got a dry bird. Deep frying has become extremely popular as of late, but unless the bird is prepped correctly and the fryer is set up properly, this method is extremely dangerous, as the number of fires reported around Thanksgiving can attest. But there is yet another method of cooking a turkey, one that's safe, is not likely to dry the bird out, and will produce some of the best turkey you've ever tasted: Smoked Turkey. As with anything, preparation is key, but the results will be so worth it. Let's get to it, shall we?
First off: get some turkey. Usually I will just get a fresh turkey breast, bone-in, as getting a whole turkey for my family may be a bit much. Your needs may vary, as you may have a bigger party to feed or you may prefer dark meat. That's up to you. Alternately, you could choose to get the turkey breast and, say, turkey wings or drums separately. Whatever your preference, fresh is preferred, as you don't have to deal with thawing out your bird, which is a hassle all it's own (and one I'm not going into here). For this post I am going to focus strictly on cooking a turkey breast. The techniques for cooking the whole bird apply, but adjust your cook times

When cooking only a turkey breast, you have a few advantages. First, you don't have to worry about the light meat cooking quicker (and possibly drying out or burning) than the dark meat. Also, there's less to clean, so there's no worry about whether you left the giblets inside the turkey (usually they are in a separate pouch, which you can use for the gravy if you so choose).. Still, you do want to trim up some of the skin and cut down (or cut out) the breastbone do the turkey lays evenly.


One thing to note: See that pop up thermometer? Pull it out now and toss it in the trash. This is not the way to tell if the bird is done. A digital thermometer (which really, if you don't have one by now, why don't you?) is the only way to go.
Next up, let's talk about the brine

I've said before and I'll say it again, if I don't have time to brine my poultry, I won't cook it. It goes double for turkey. Brining adds so much more flavor and juiciness you'll wonder why people still have dry turkey that tastes like cardboard. Even if you have a simple brine of water, salt and sugar, your turkey will be so much better because of it. Now, I like to use a prepackaged brine like you see above, which has all the salt, sugar, and spices already measured out. However, instead of using water, I like to use apple cider, which adds more flavor and sweetness. Most of the turkey brine recipes will have you boil the brine mixture and the liquid to bring everything together, then let it cool, as you don't want to boil the bird. This step can be done well in advance of cooking the turkey, so it will be ready to go once you have it cleaned and trimmed.

Next, it's time to submerge your turkey in the cooled brine. With a turkey breast, it's pretty simple. Usually a 1 or 2 gallon bag (depending on the size of the turkey breast) is big enough to hold the bird. Simply pour enough of the brine to completely cover the turkey, then place the bird in the fridge. Overnight is the minimum amount of time I like to brine my turkey. 24 hours or more is even better. If you're doing a whole bird, you could use a 5 gallon bag, or a container large enough to hold the bird and the brine. If there's no room in the fridge, a cooler lined with ice works wonders


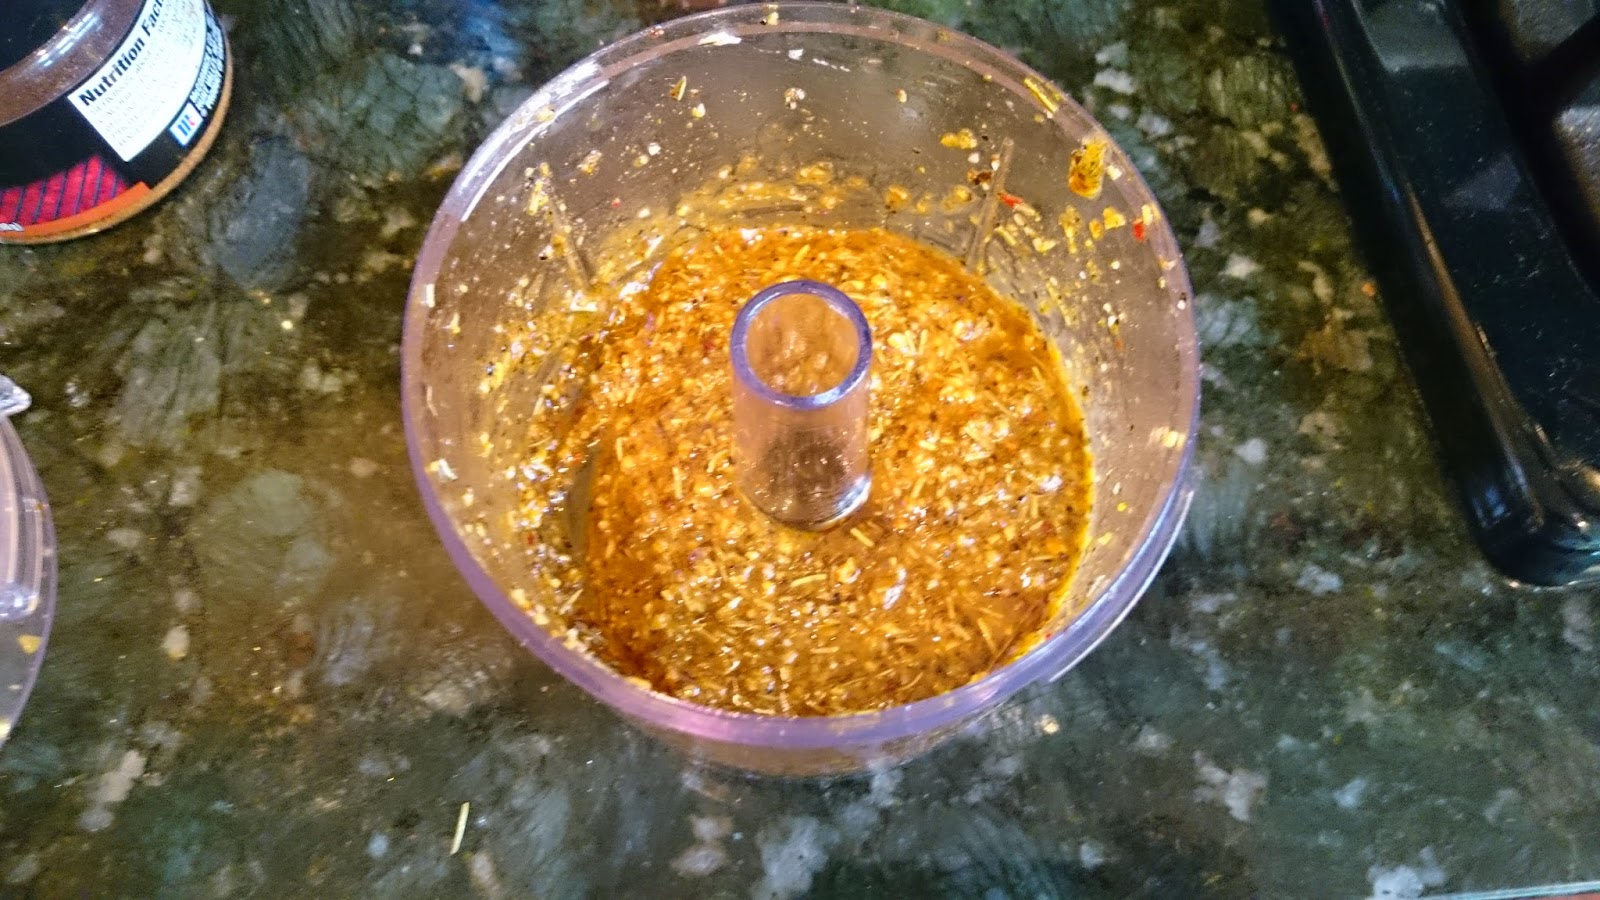
Once it's ready to cook, pour out the brine, rinse the turkey and pat it dry. Now we need to season the bird. What you use is totally up to you. Poultry seasoning? Why not. Your favorite BBQ rub? Sure thing. A simple SPG (salt, pepper, garlic) rub? Keeping it simple always works. I found a nice rosemary, garlic and thyme spice blend at the grocery store that works wonders on poultry. What I like doing is mixing about 4 tablespoons of the rub with about 2 tablespoons of olive oil or butter. Either mix by hand or toss in a food processor for a good blend.

Once that's done we can apply the wet rub to the turkey. Use your hands to loosen the skin and massage the rub between the breast meat and the skin (you could use a spoon to scoop out some of the rub, then use your hands to work the rub across the meat). If you have extra rub, rub some on the outside as well.


For extra insurance and more flavor, melt a stick of butter and mix with 1 teaspoon each of onion powder, garlic powder, white pepper and cayenne pepper (don't worry, your turkey will not be too spicy). Load up your injector (you did get one of those, right? If not, why not?) and go to town on both sides of the breast. Any butter that seeps out just rub on the skin.


Now for the finishing touches. Stuff the inside of the breast cavity with some aromatics (a quartered orange, sliced onion, possibly celery, sprigs of rosemary and thyme, etc) to give the breast some additional mass, which should help it cook evenly. Place a cooking rack over a broiling pan (a thick aluminium pan would do the trick too)and add some fluid (water, apple juice, beer, etc) to the bottom of the pan. Give the skin one light coating of seasoning, and we're ready to hit the cooker


Once we're done the prep, it's time to cook. Set your cooker up to cook indirectly at a temp of 325-350 degrees. The relatively high temperatures will help crisp the skin, and with the turkey having been brined, there's less risk of the bird drying out during the cook. Place the turkey pan opposite the heat (coals or burner, depending on your cooker), place the temperature probe in the turkey (again, you do have your digital thermometer, right?) and shut the lid. Check the bird every 30-45 minutes to make sure it isn't drying out. If so, you can either spritz the bird with apple juice or baste it with butter. Once the internal temperature of the turkey hits 165, pull the bird off the cooker. If the skin isn't quite up to the crisp texture you're looking for, raise the temp of the cooker to 375 and cook for 10 more minutes.


Once the turkey has rested for about 10 minutes, transfer it to a cutting board. Look at that turkey. Smell the turkey. Know that the turkey is going to be delicious, but you can't tear into it just yet. If you made the gravy, grab a spoon and scoop the spent vegetables and turkey bits out to the trash. If you have a fat separator, pour the gravy in that and remove the excess oil and fat from the gravy. If not, use a spoon or ladle and skim off as much of the fat as you can.
Using a carving or chef's knife, remove the breast meat from the turkey carcass and begin to slice. If you want to try to carve the breast the traditional way, go ahead. But by removing the breast meat then cutting it, you'll make sure each piece has that nice crisp skin we're worked for. The remaining meat on the carcass can then be pulled with your hands (or just eaten right then and there, depending on how hungry you are.


