So, I finally had everything to build my fight stick. More or less. Looking at the box, there were a few items that needed to be addressed. First, I wanted to put some art on the top of the stick, which meant I would need to buy some plexiglass and cut it to fit. While I was at it, I could get a piece for the bottom to show off the wiring, assuming it was neat enough. Next, I noticed there weren't any holes drilled for the joystick, which meant I needed drill bits and bolts to screw the stick down.
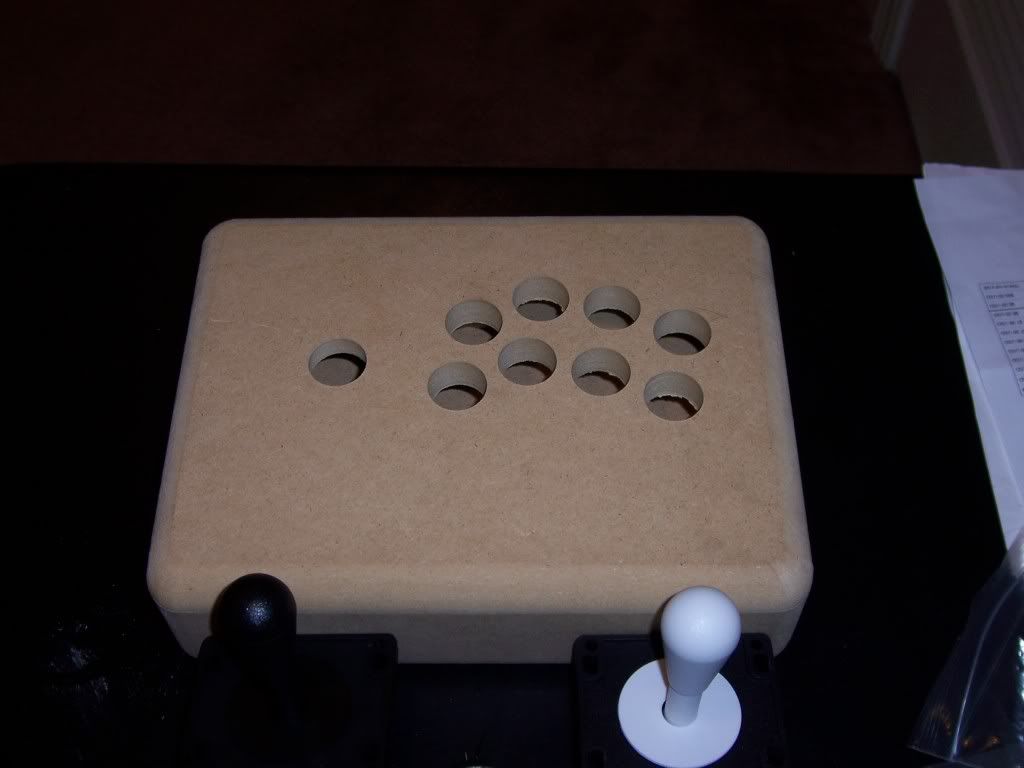
This is going to take some work...
So, it was back to one of my favorite stores as a homeowner, Home Depot. I picked up 4 1-¼” screws with nuts and lock washers, a slab of lexan for the top panel and a piece of plexiglass for the bottom, assuming I wanted the insides to show once I was finished (for the difference, check this link: ACRYLIC GLASS AND POLYCARBONATE). Since I never picked up paint, I grabbed can of Rustoleum primer, gloss black lacquer and clearcoat lacquer. I also needed to figure out a way to cut 9 holes in the lexan for the buttons and joystick. The holes needed to be 1-1/8”.

R to L: forstner bit, Hole saw, Spade bit
I could have used a hole saw, but I’ve seen and heard bad things about those and plastic. I could have gone with a spade bit, which would have got the job done well, but I decided to go with a forstner bit instead. It would give me a nice clean cut and if I ever decided to make a box from scratch, a forstner would be the way to go to cut holes in wood or mdf. Finally, I had been thinking of a way to hide the screw heads in the top panel. I decided a countersink would do the trick, but wasn’t sure of the size. I picked up a set of 4 and called it a day.

Never know if I'll need them again...
Now that I had everything (I thought) I could now start on assembly. I got home from work, flipped on MNF and set to work. Since the ‘Skins were playing the Eagles, I know I wasn’t going to miss anything while working. My first task was to get the cutting and drilling out of the way. Cutting the lexan wasn’t that hard. I measured the area of the case where the top lexan would sit and transferred the measurements to the lexan. Using a straightedge as a guide, I scored the lexan with a lexan cutter (which is basically a handle with a sharp edge; you could probably do the same with a box cutter or something similar). After about 10 passes, I placed the lexan on the table, with the scored line hanging just off the edge of the table. Holding down the piece on the table, I pressed down on the edge that was hanging off. SNAP! One nice smooth cut. I repeated the process for the width. After a few passes with some sandpaper to take the sharp edge off, I checked it against the case. Perfect fit.
Next, I turned my attention to mounting the stick. The Happ competition stick has a plastic mounting plate that bolts to the control panel. The switch mounting plate then screws onto that.
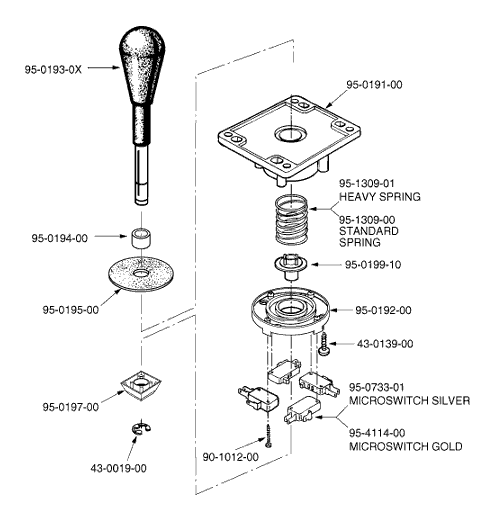
I unscrewed the two parts, placed the mounting plate on the case, and marked the holes where the screws would go. Afterward, I chucked a bit in the drill and fired 4 holes thru the case. I then put the screws I bought in the holes and tried mounting the reassembled stick. To my horror, only 2 of the screw holes matched up exactly. One of them would fit if I forced the stick on, and the other would only fit if I screwed it in at an angle. Since I was planning on hiding the screws, this just wasn’t going to work. After a few minutes of cursing, drinking, and watching the Redskins actually score a touchdown, I decided that 2 screws would have to do the trick. Fortunately, the screws that worked were diagonally apart from each other, so the stick would be somewhat level and evenly secured. To hide the screw holes, I grabbed the countersink bit. I found the size that fit the size of the screw head and drilled into the mdf until the screw heads were just below the surface.
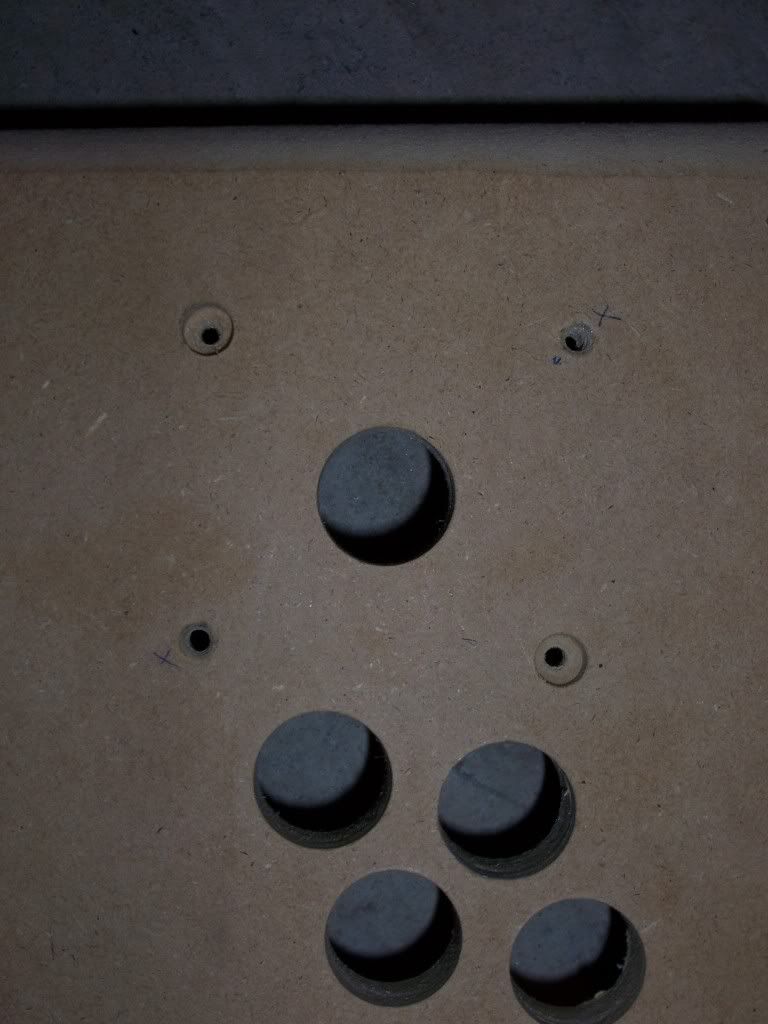
Now you see them, soon you won't...
I then put some glue (construction adhesive I had around the house) in the hole to make sure the screw didn’t move, dropped the screws in, and snugged the nuts on the other side to make sure the bolts were set against the bottom of the hole. With some spackle over the holes, I would have a nice smooth surface and no one would know how the stick was mounted. Score one for the kid!
Now to get the holes drilled in the lexan. Since the case wasn’t originally designed for lexan on top, I had to figure out how to have the holes in the case and lexan aligned. Flipping the case upside down and drilling holes in the lexan from the bottom made the most sense. The holes in the case would act as a guide for my forstner bit, so I wouldn’t have to worry about the holes not lining up. But I had to make sure the lexan didn’t move while I was cutting it. I grabbed the tap and die set I had, made some measurements for where the screws should go, and drilled 3mm holes in the case and the lexan, which I then tapped threads in and used 3mm button head screws . Now, the lexan wouldn’t move, the screws wouldn’t back out, and once the art was in place the screws would make sure the lexan would not come loose (even though the lexan would be held in place by the buttons).
With the lexan firmly attached to the case, I was ready to cut the holes. Since I have no workbench to speak of, I had to improvise. I grabbed 2 blocks of wood I had laying around the house to use as support. I then placed a cloth on top of those to keep from scratching he lexan or the case, then placed the case upside down. The wood blocks were positioned with just enough space for the hole I was drilling to make sure the lexan would remain flat and tot vibrate or bend while I was cutting. With nice even pressure, the forstner bit cut thru the lexan, leaving a trail of plastic bits in its wake. After a minute or two, I had a perfect circle cut in the lexan.
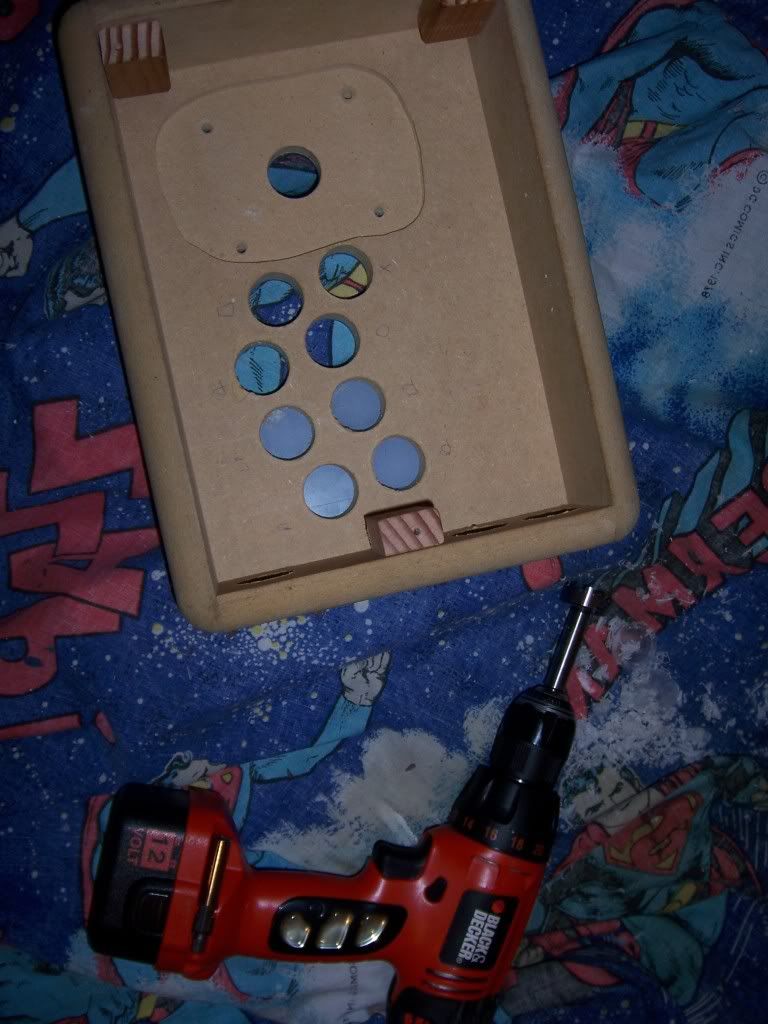
2 down, 7 more to go....
Unfortunately, I only managed to get 3 holes finished before my drill died. Why I didn’t recharge all my tools I’ll never know. No matter. It was late and I was getting tired anyway. I put the battery on the charger and finished the next evening.
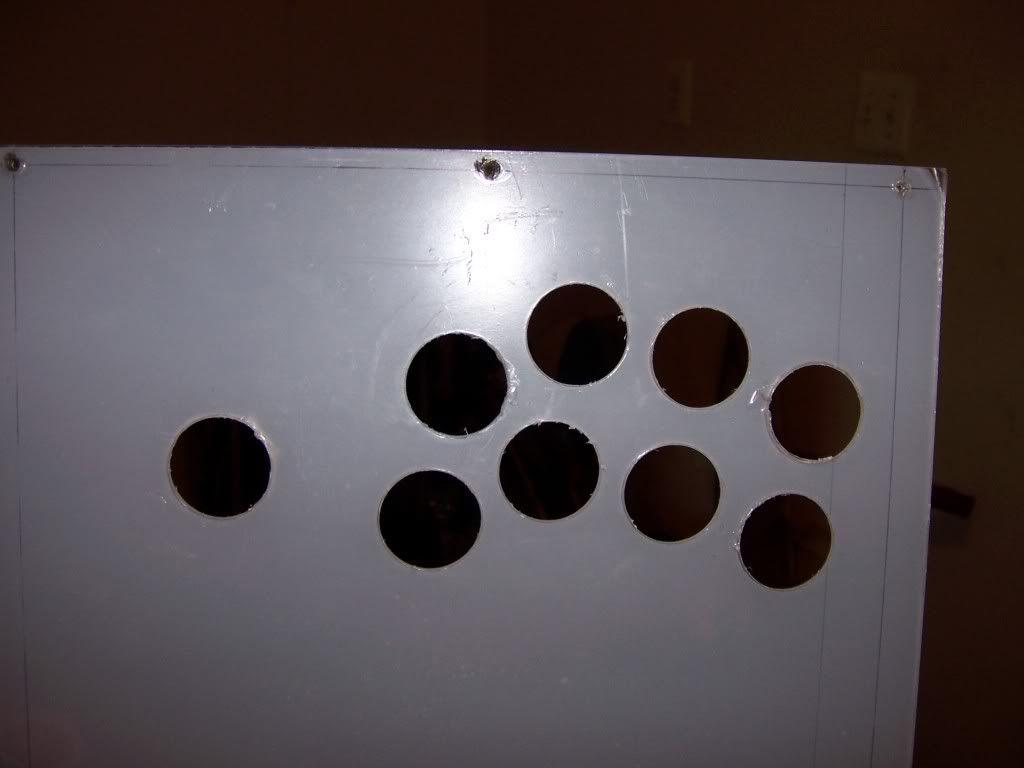
The day after..
Before quitting for the night I decided to dry fit the stick and the buttons just to see what it looked like and maybe get an idea of what button combination I might use. I tried a few different combinations based on the buttons that I had and the combinations I could make from them:
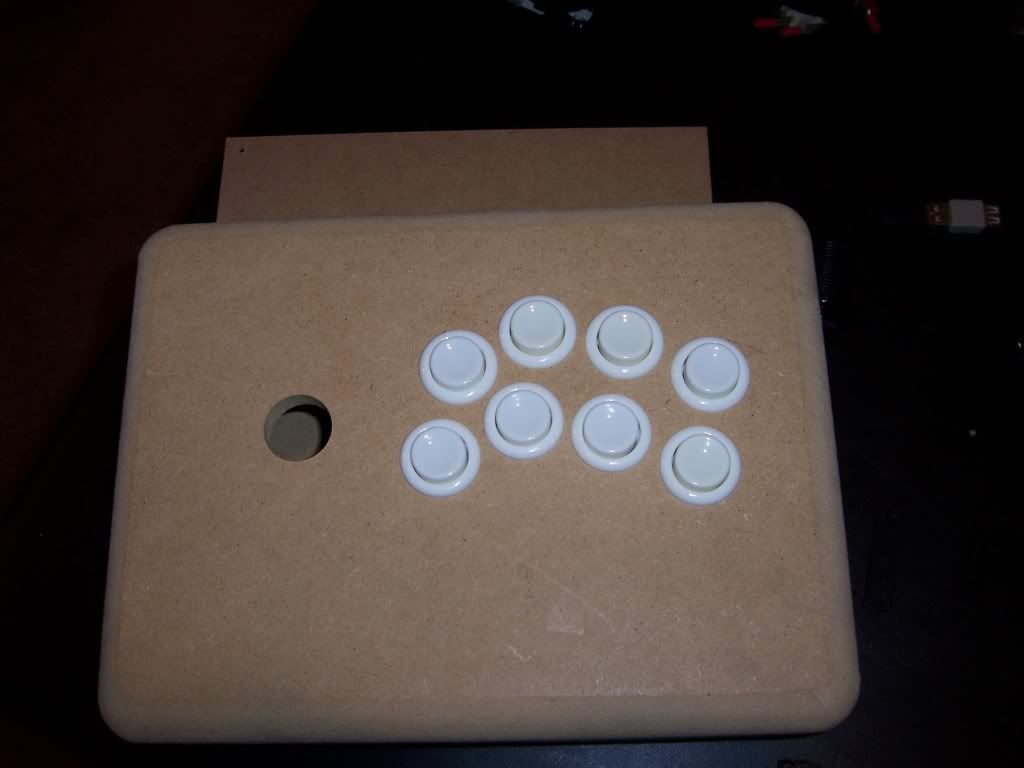
All white. Classic...
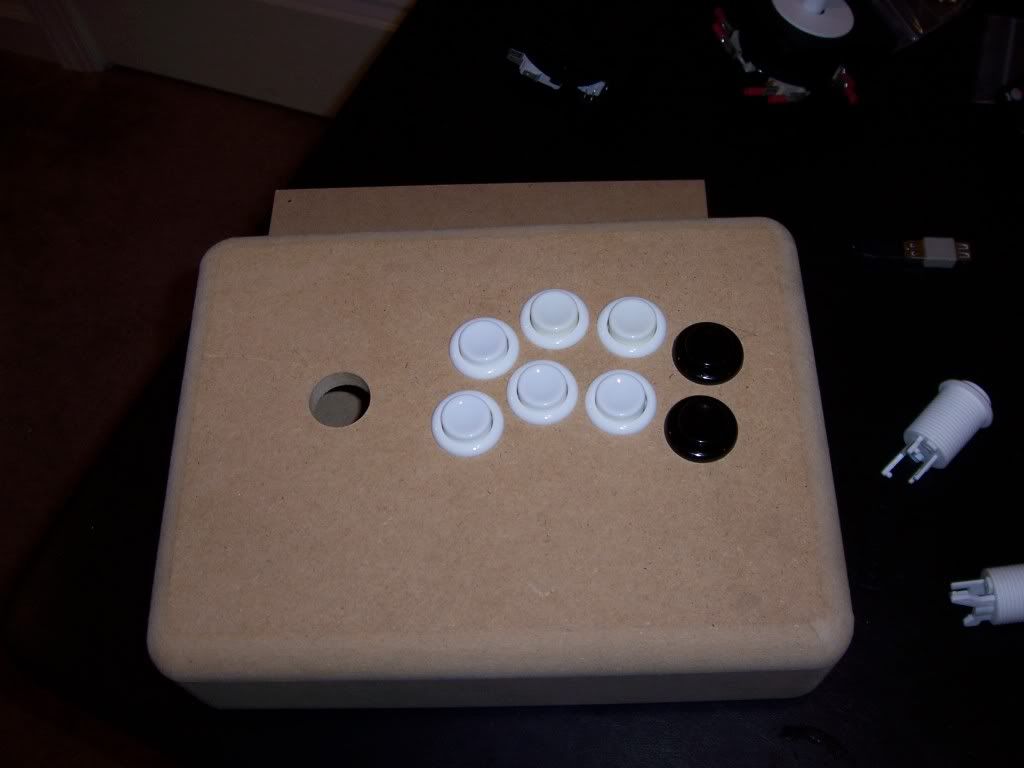
6 white, 2 black, a la Mad Catz TE stick
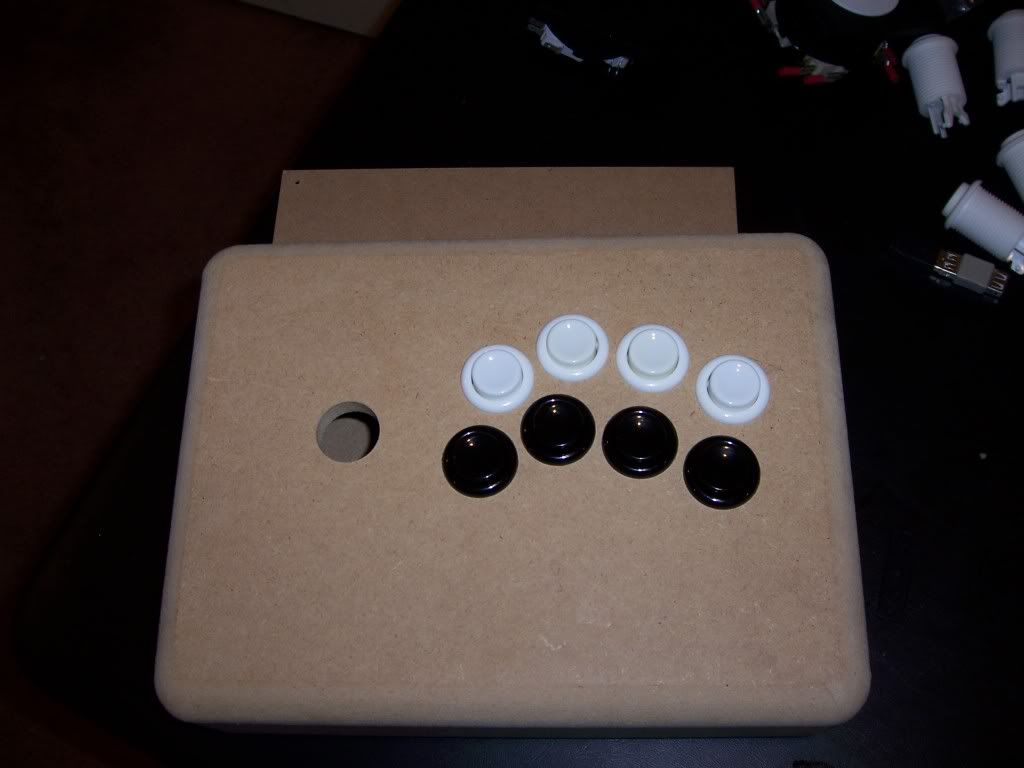
White punch, Black kicks. Ehh..
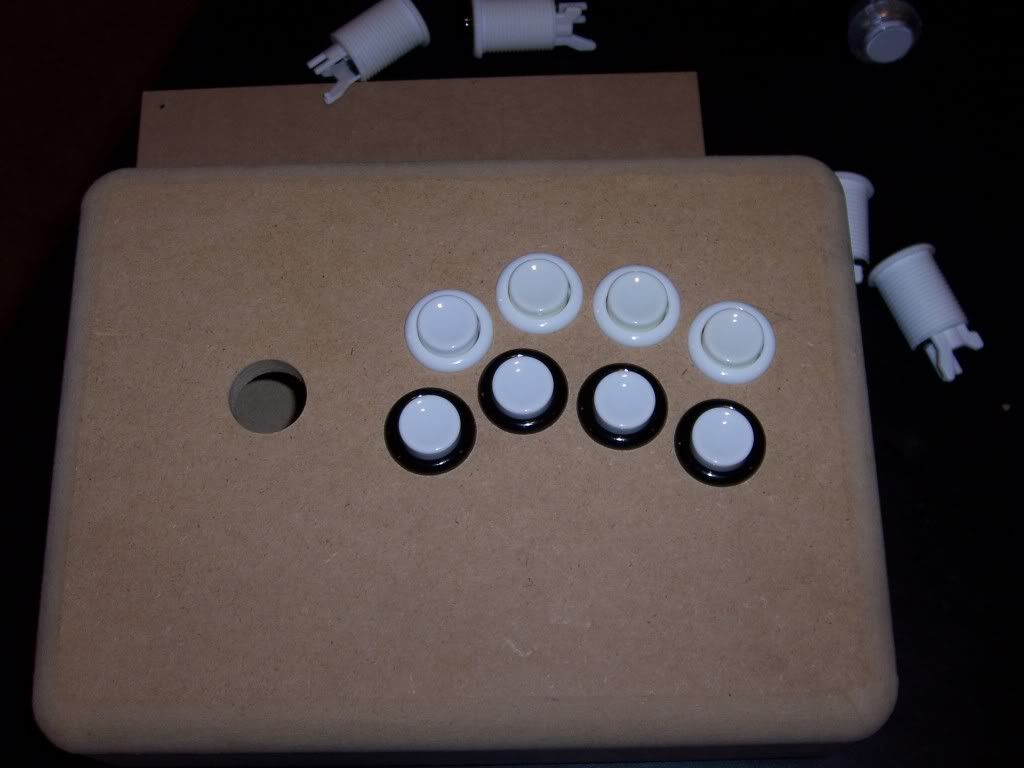
I really like the white on black...
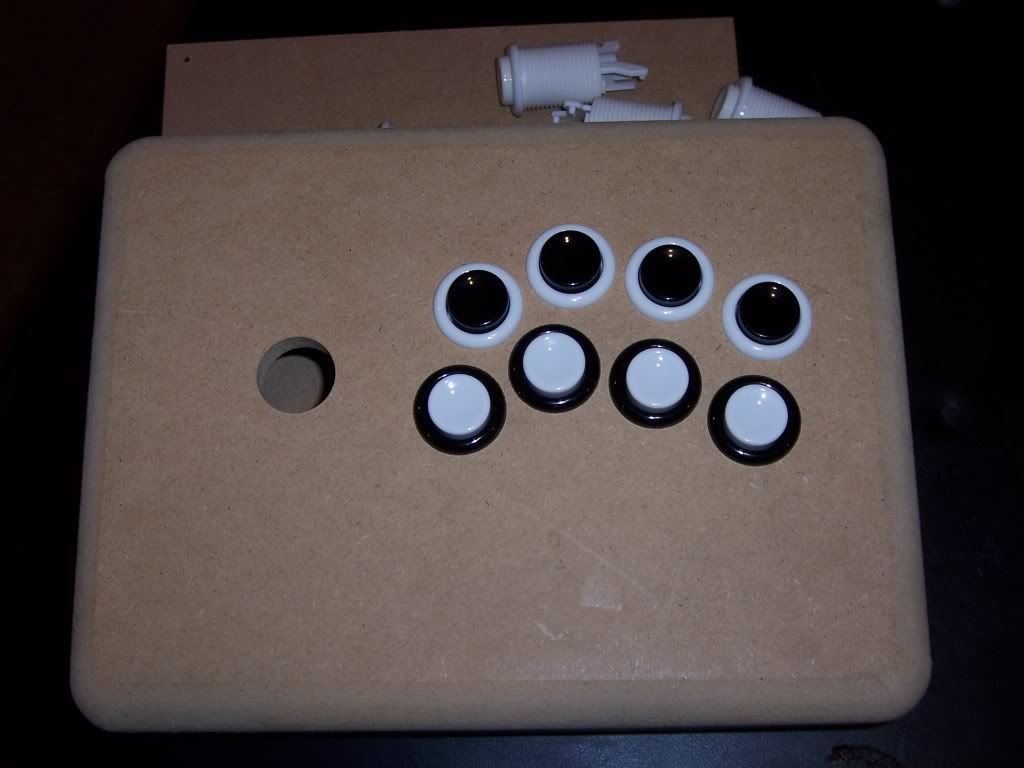
Love the kick row. Punch row? Not so much...
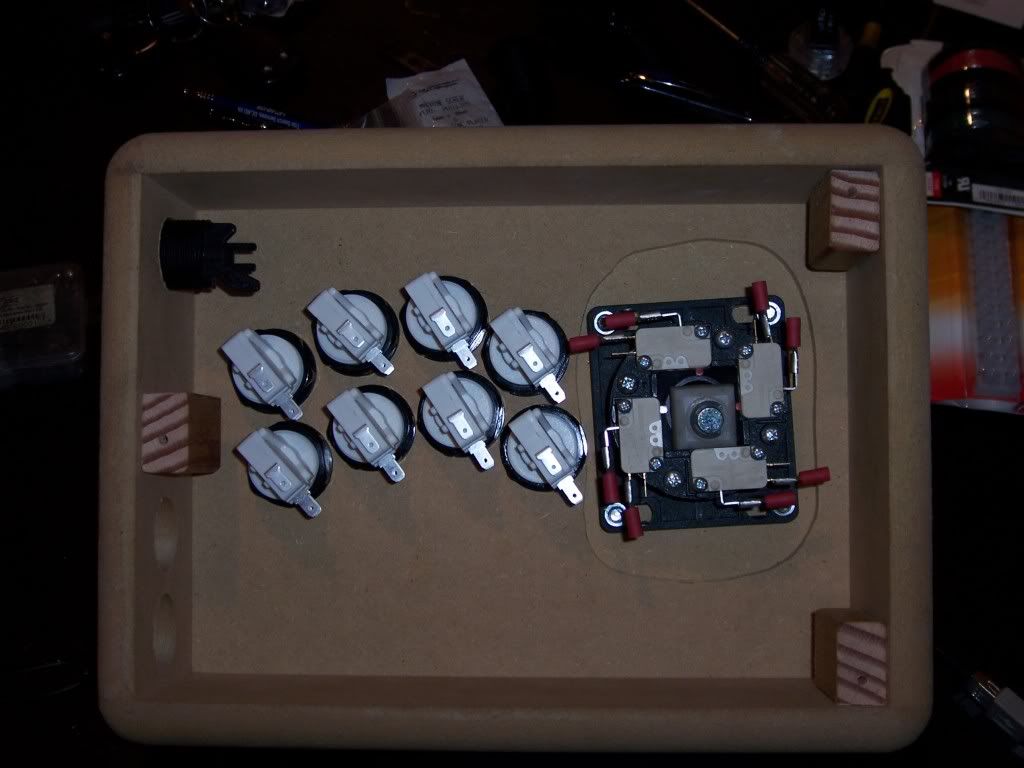
Nice backshot....
When all was said and done, it looked like this:
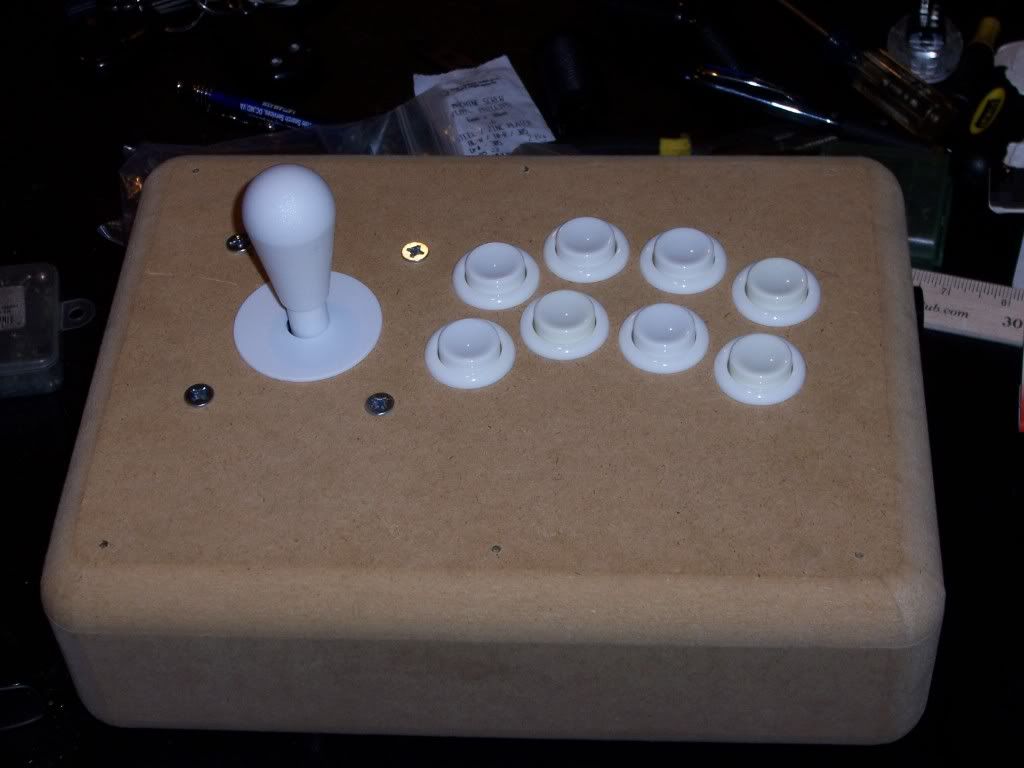
I could have stopped here, but I spent too much on other stuff...
The buttons clicked just like I remembered, as did the stick. The layout felt a little funny, as it was the slanted, ‘Astro City’ layout that’s almost standard in many arcades in Japan, not the straight row of buttons used in US arcades. That said, my fingers did line up with the buttons juts right, so I figured it would be something I could get used to. Exited things were starting to look like an actual stick, I decided to call it a night.
No comments:
Post a Comment