Friday, September 23, 2011

Forced Upgrades (or Why I Left WebOS for the Overlords at Google)-Part 2

So, Palm has a new phone, new OS, healthy buzz, and a carrier in Sprint that would feature the Pre as their exclusive premier phone, much like AT&T was doing with the iPhone. In the first month, the uptake on it was record breaking for Sprint. How could they go wrong?

First off: terrible marketing. You could have the best product in the world, something that stands thoroughly and unequivocally above anything else in it's class. If nobody knows about it, it's not going to sell. Multitasking and notifications worked better than anything Apple or Android could offer, and the swiping interface was well thought out and implemented. You would think focusing on some of these things would be a good idea in your marketing blitz, right? Apparently, the marketing heads at Palm thought otherwise.


What we have here is a lady that looks like the cross between the Pre-Cogs in Minority Report and the Borg Queen's cousin doing some nonsensical drivel about.... Reincarnation. Huh? This one was even worse:

Now we have a mind reading phone. And we can barely see what she's doing with said clairvoyant technology. What gives? People had no idea the commercials was even about a phone, let alone why they would want to leave their Android, Blackberry or beloved iPhone for a Pre. When the phone finally made its way to Verizon, the marketing wasn't much better.


Smart enough to keep up with MOM?. For reference, my mother rocks a purple crackberry. Definitely NOT the phone I want to be seen with. So if mom rolls up with a Pre....It did slightly better at showing what the phone could do, but considering previous efforts, that wasn't saying much. Verizon really could care less, as they were full steam behind their Droid line of phones (more on this later). By the time AT&T started carrying the phone, they didn't even bother with marketing. It just sort of showed up, overshadowed by the iPhone. Just before Palm got bought by HP they actually put out the kind of commercials they should have started with all along, actually showing what you could do with WebOS.


But at this point, it was too little, too late.

Wednesday, August 3, 2011

Forced Upgrades (or Why I Left WebOS for the Overlords at Google)-Part 1

Options are great. When you have an option, you can choose what works for YOU, not what the masses say should work for you. You can proudly say you made your choice without giving in to the mob mentality, with the knowledge that your decision will fit your individual needs. Scan Different (c) Ecko. However, that doesn't work with everything, especially electronics. And it certainly didn't work with my phone...

First, some disclosure. I rarely ever change phones or carriers. I was with Nextel back with the OG i1000. I switched to the i90 (one of the greatest phones ever)  when the hinge on the i1000 broke and could not be fixed.

Greatest. Nextel. EVER

The i90 gave way to the i580, only because I wanted to make my own .wav ringtones and have a color screen (a mistake, as the i90 was such a better phone). The i580 soldiered on long past its prime, as none of the crop of phones Sprint carried made me want to spend $300 to upgrade. Sure the Moguls and the Touch Diamonds were nice, but I wanted no parts of Windows Mobile.

No way was I going to deal with THIS...

I wasn't the right clientele for a Blackberry, so that was a no go. Android was at its infancy. And while many bought the kool-aide  that was the Instinct, thinking that was an iPhone killer, I wasn't going to be duped.

I still laugh at everyone that bought this crap...

Then came CES 2009. Palm, who had been rapidly losing market share pushing Treos and Centros with craptacular Windows Mobile or woefully outdated PalmOS, showed off what it had been working on for the past few months. The Palm Pre. 
Ooooooooohhhhhhhhhh (at the time, anyway)


It seemed to tick all the right boxes for what I wanted in a new phone: capacitive touch screen, wi-fi, bluetooth, physical keyboard, not Windows based. WebOS was new and exiting, and seemed different enough from iOS, Android, whatever version of Windows Mobile was out, etc. The preview of the OS was intriguing, with multitouch input (something Apple seemed to hold the monopoly on at the time) and all forms of on screen swipes (something slightly different). The launch, unfortunately for many, wouldn't happen until early summer. This worked out perfectly for me. My contract would be up for renewal about the same time my job issued their summer bonuses, meaning I would have the funds to actually buy a new phone the same time it was available after launch. I took a lunch break, hopped on the train to the nearest Sprint store and had brand spanking new Palm Pre up and running in less than 15 minutes.


Now, coming from an ancient Nextel to the realm of a smartphone, anything would have been a revelation. But WebOS? It really was something special. The Synergy feature made it extremely easy to get my att.net and gmail accounts synced up with minimum fuss. Facebook and Photobucket were also as easy to get rolling on the phone. After a quick tutorial, the whole 'gesture' language mad complete sense. Being able to 'swipe' forward and backward to open files, close programs, delete e-mails, move around web pages was amazing. Being able to have multiple applications running at the same time (web browser, e-mail, Facebook and Pandora, for instance) was fantastic, and being able to swipe between any program and keep the others up and running was absolutely unheard of, but wonderful. From a software development outlook, Palm walked a line between Android and Apple. Since the OS wasn’t licensed to other phone manufactures, the specs for what hardware you were developing a program for were pretty much set, a la the iPhone (at least until the Pixi came along). However, unlike Apple, Palm left the OS pretty open, allowing those with Linux experience and a bit of moxie to develop their own programs and tweaks to the OS, like Android. With PreWare (one of the many programs written by the WebOS Internals crew) any number of tweaks and apps were available to add whatever functionality Palm didn’t have (and often Palm would add to their OTA updates). It felt like a small community banded together to fight the good fight against the 800 pound gorilla that is he iPhone. At one point, they even had an iTunes spoof that made the Pre look like an iPod when iTunes was running (Apple was far from pleased, and subsequent updates eliminated it). This was the phone for me.


Now, it's not to say the phone was perfect. Some early phones had the serious 'oreo' effect going wherein the slider would twist like a cookie. Not very good. The USB cover was just waiting to disappear into nothingness after it broke a few of your fingernails trying to open it the first few times. The physical button in the gesture area was a bit redundant (a fact made clear when the Pre Plus got rid of it all together). Battery life, as with many smartphones, was less than impressive. And while some liked the 'pebble' aesthetic, compared to other phones it may have looked and felt cheap. The biggest problems with Sprint's Pre were the underclocked processor (supposedly to keep things stable and keep the battery from wasting away too quickly) and the lack of memory. 8GB of storage (no SD slot, natch) was livable, but only 256mb of RAM was a huge problem. Various memory leaks from programs that were running would use up what RAM was available, making it impossible to open another program or card without closing some of what you were working on. This could happen even if you didn't have any cards on the screen! The Pre Plus doubled the RAM to 512mb, pretty much eliminating it. At least if you were on Big Red or AT&T anyway. (more on that in a bit.) Even with these issues, Palm had a winner on it's hands. The OS was fresh, user friendly, and just flat out worked. It really could have taken off to compete with RIM and Android (nobody is taking iOS out any time soon; that's just the reality). Sadly, this was not to be…

Friday, June 17, 2011

Project: International Slumber – Part 3: Get In Where You Fit In


It was now time to figure out the best way to get all the PCBs in the case. As shown in Art’s Tek-Case video, there are 2 plexiglass pieces that the PCBs can mount to: one with holes drilled to fit a MCC and the other designed to zip tie a PCB to.  With the case assembled, there’s just enough space to mount a PCB above and below the mount, provided you’re creative with your wire connections. The PCB mounts that attach to the support case are offset from the center line, meaning there is more space for the PCB and it’s wiring than the other side, which comes closer to the top panel of the case. Since the MCC and the Sparky Jr. would end up with the majority of the wiring, I decided to place them where they had the most room on the PCB holder. The Master$trike would only have a few wires attaching to it, so placing that one on the bottom seemed reasonable. The MadCatz Fightpad PCB, while wide, is pretty flat since it doesn’t have any analog pots to worry about. It would go on the bottom of one of the PCB holders, but I would have to figure out how to mount it to the plexiglass holder. After some mental gymnastics to figure out what would work best where, I decided to go, from left to right, top to bottom: MCC, Sparky Jr, Master$trike, Madcatz PCB.

After figuring out where to place them it was time to figure out how to mount them. While one of the PCB holders has holes drilled for the MCC, you still need to provide your own post and screws to attach the PCB to the holder. I headed down to Lowes and picked up a pack of ½” and ¾” 4-40 screws and a variety of plastic screw posts that I thought would be long enough to keep the PCB from directly touching the plexiglass holder and allow enough thread for the nut to screw on the other side. For the other PCBs, I’d need to get a bit creative. With the MCC mounted to its holder, I placed the Master$trike on the other side of the PCB holder and traces the outline of the board and it’s screw holes. Then, I removed the MCC and drilled and countersunk the holes under the MCC. That way, I could insert the screws for the Master$trike under the MCC and not worry about the screw toughing or shorting any of the MCC’s connections. I used 2 nuts on the screws: one to secure the screw to the PCB to make sure it wouldn’t get loose and as a spacer to keep the Master$trike off the plexiglass holder, and another nut to secure the Master$trike to the screw post. That setup gave me just enough clearance to attach the assembly to the top and bottom case support brackets.

The other 2 PCBs were a little trickier. Since the other PCB holder had no holes drilled at all, I would need to drill all the holes needed. I started with the Sparky Jr., tracing the board, marking the screwholes, then drilling and countersinking the holes on the opposite side of the PCB holder. The screws were mounted the same way I did for the Master$trike.  The Madcatz PCB would need to have some holes drilled in the PCB, since the holes that were present weren’t spaced in a way I could use them with the plexiglass mount. I measured the width of the mount, then calculated how far apart the holes needed t be drilled on the PCB. Fortunately there is enough space on the PCB where there are no electrical traces running through it that making the holes wasn’t a huge issue. I then drilled and countersunk the holes in the plexiglass holder as I did with the other PCBs.

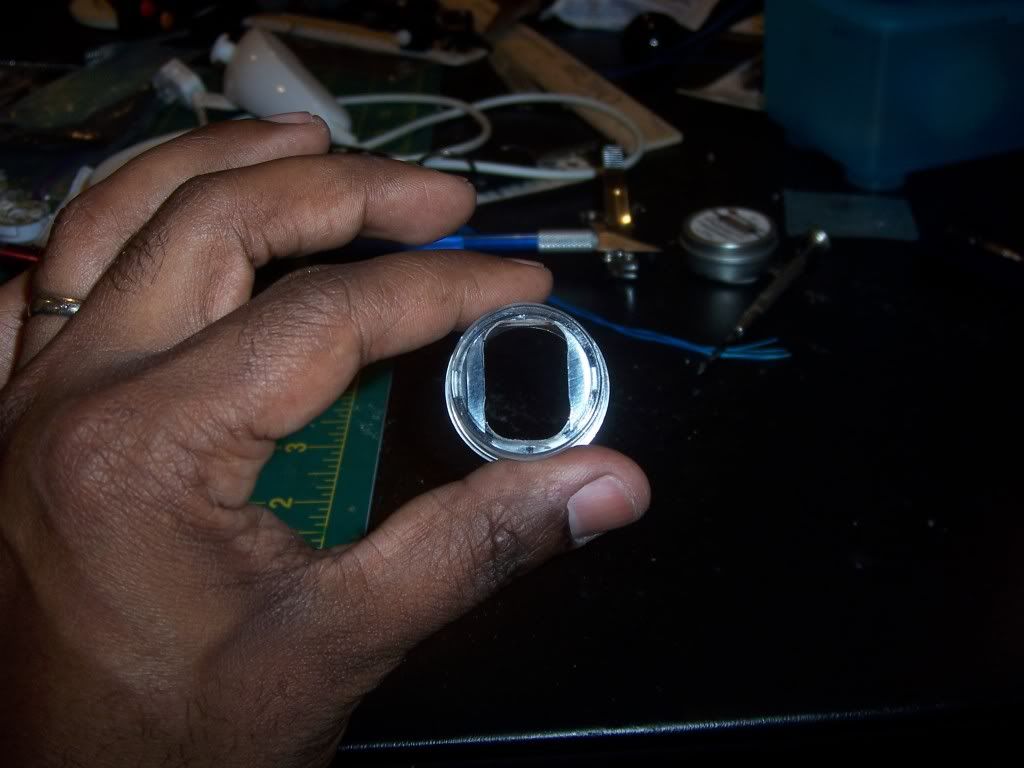
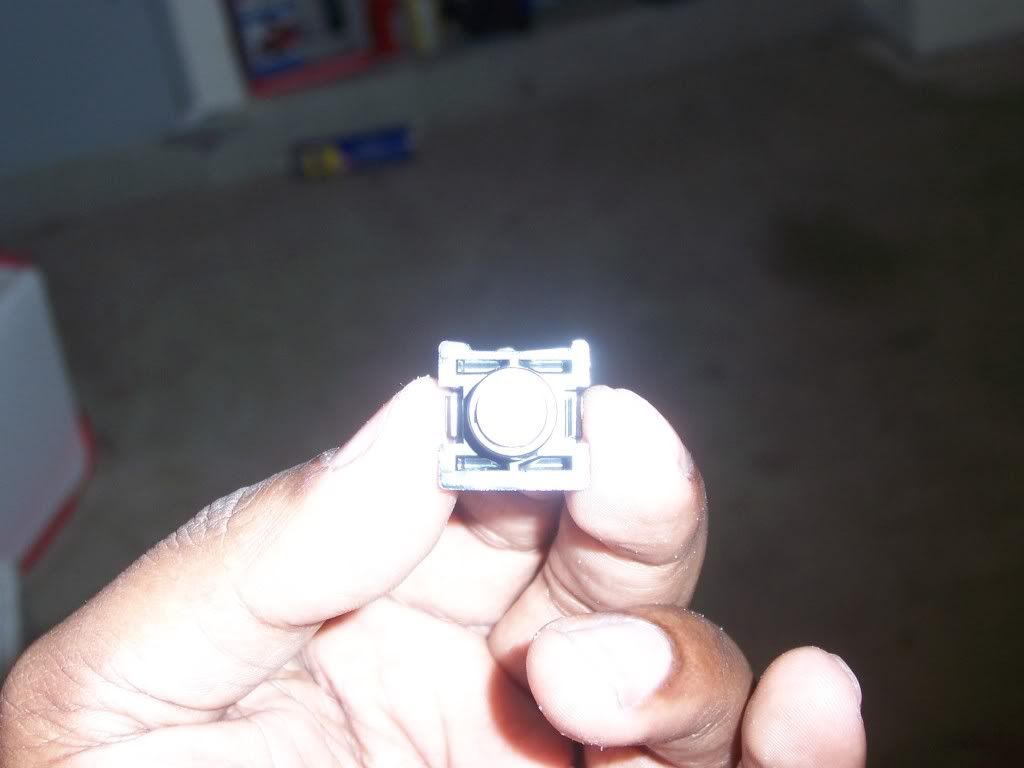
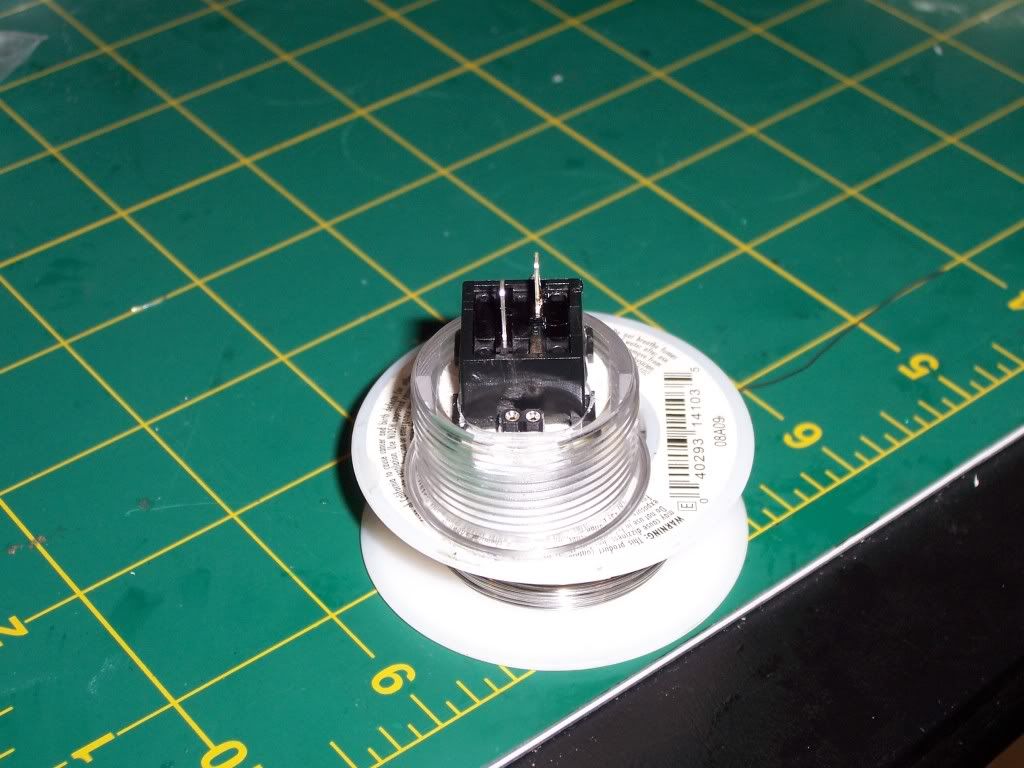
With the boards mounted and dry-fitted in the case, it was time to work on the buttons. To get the arc eyes to fit in the Seimitsu buttons, I whipped out the trusty dremel and ground out notches in the button casing to allow room to fit the pin headers that would be soldered to the arc eyes. Once that was done, I took the dremel to the sides of the switch where the pin headers would be. That way, once assembled, the headers could protrude from under the button and allow the wiring harness to plug in. I probably could have just drilled holes in the button casing and ran wires from the arc eyes and hardwired everything. But I like to be able to unplug things in case anything goes wrong, so the extra work making the pin headers fit was worth it.


Once the buttons were modified I placed them back in the case to start the arduous task of wiring everything.

Wednesday, January 26, 2011

Project: International Slumber – Part 2: Some Assembly Required

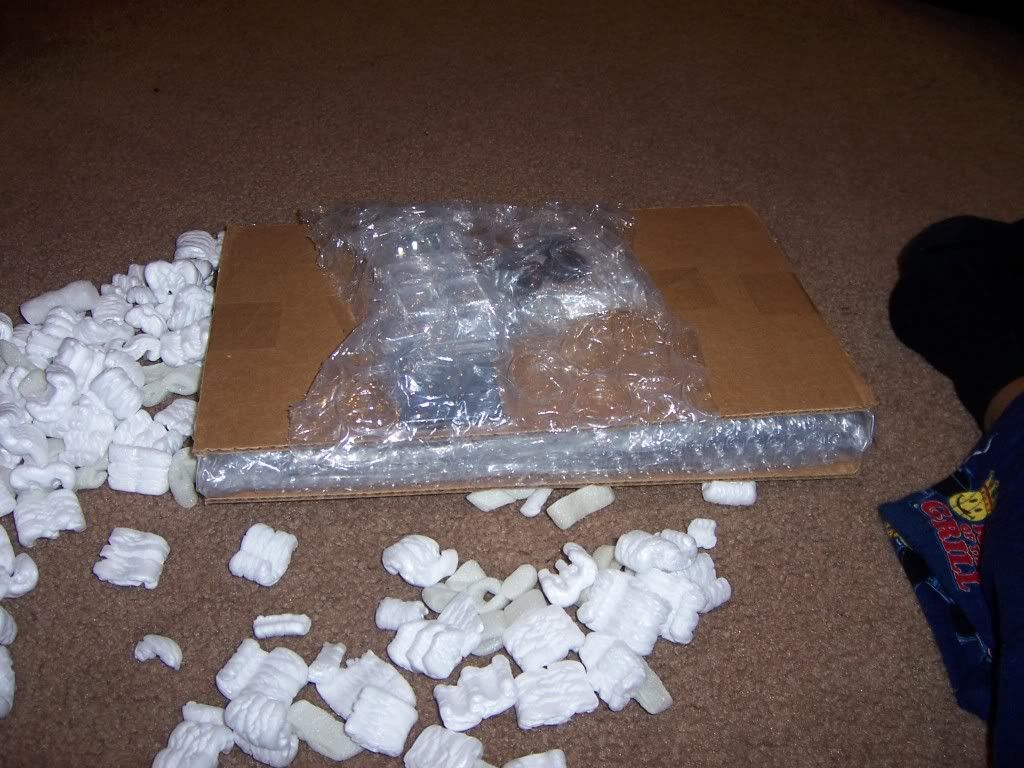
One of the first things to arrive was the Tek-Case. Art has the case unassembled and flat packed to save on shipping. The plexiglass parts were all wrapped in plastic and packed between cardboard and bubble wrap, ensuring that all the pieces arrived undamaged. The 6/32” and 8/32” screws  were bagged and labeled as well. While there were no written instructions in the box, the YouTube video covers everything better than printed instructions could. 


 Flat packed for freshness!


One of the nice things about the Tek-Case are the number of customization options available. Since the case is plexiglass, there are a variety of different colors you can choose from for each panel. Want a clear top panel and a smoke bottom panel?  You can do that. Mirror side panels? Doable. Clear top panel, blue support panels, red name plate, and the ability to have artwork on the bottom panel? Why not.  Want an etched image on the top or bottom panel? You know it. The whole case in Florescent Green and Orange? Questionable taste, but it’s your money…

 Are we clear? Crystal...

Blue ice. Looks like Tron...


Yellow border? I can see that

 
Perfect for BlazBlue


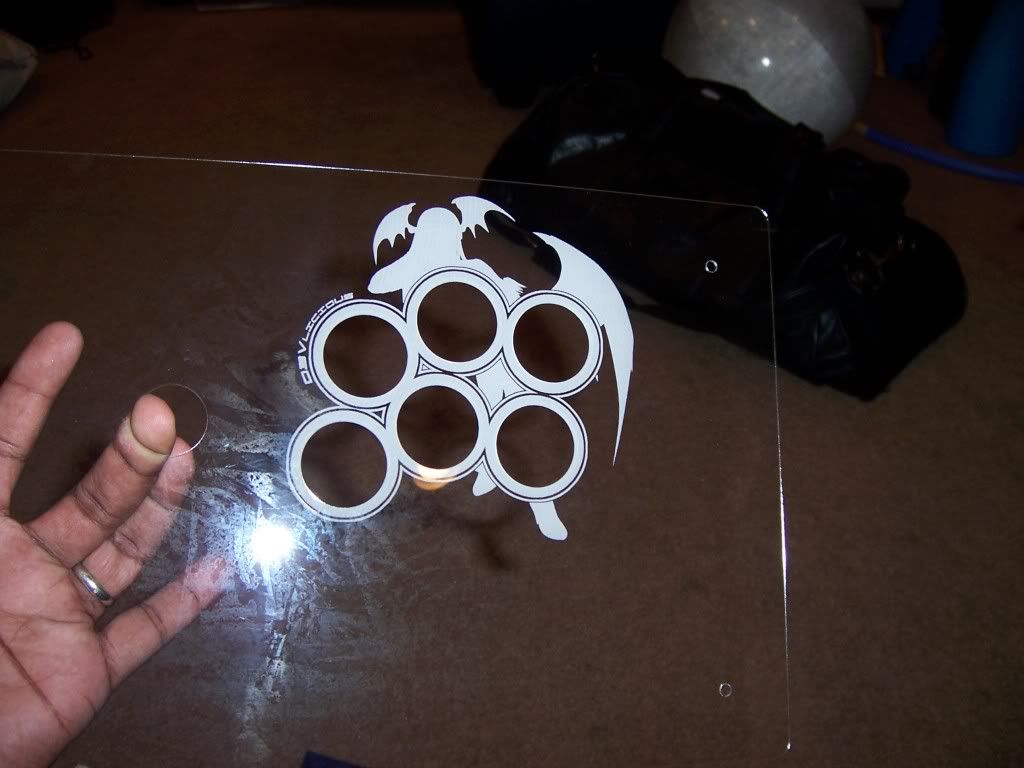
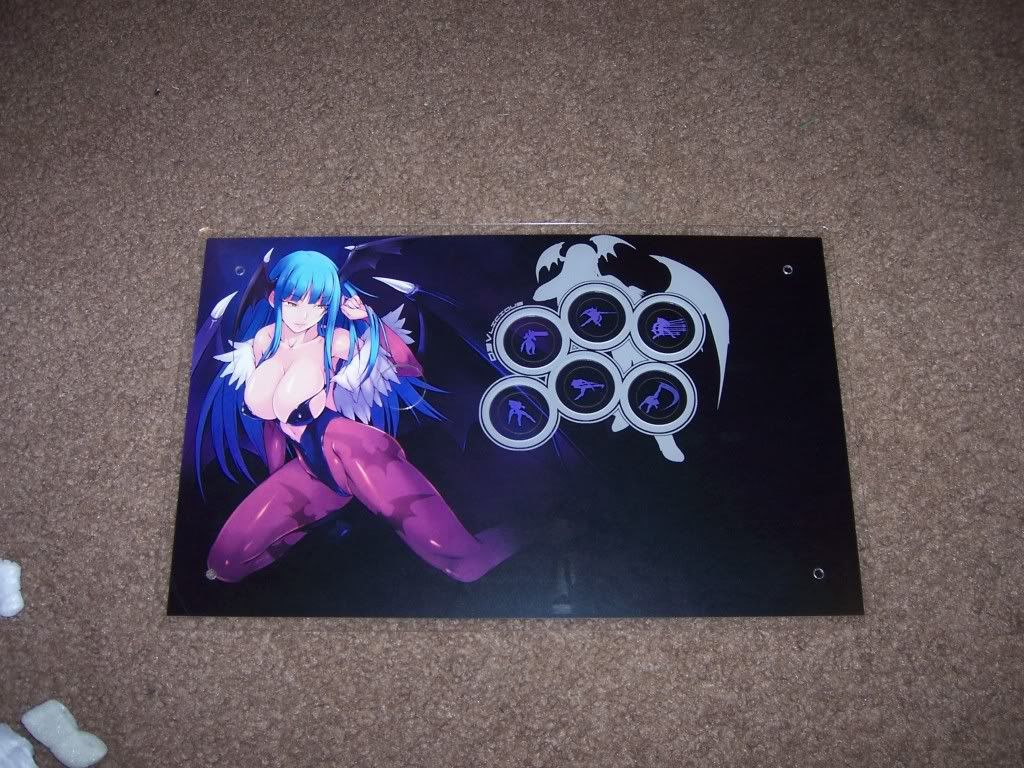
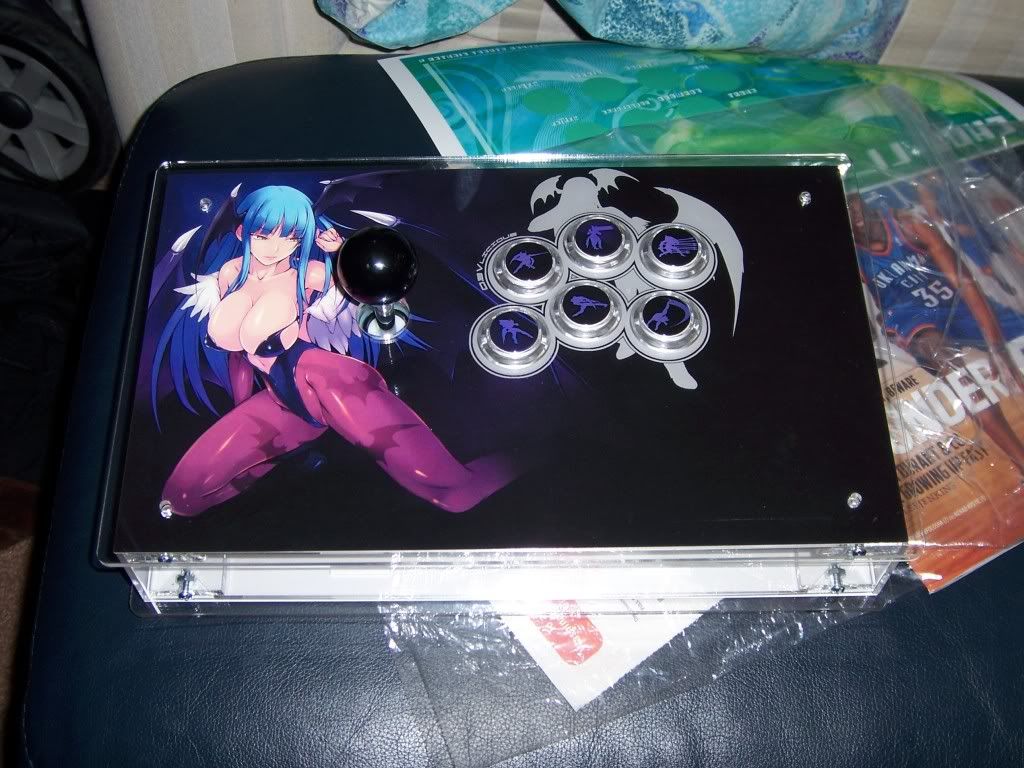
In addition to the color options, you can also specify a number of 6 or 8 button layouts, from a Viewlix layout, Sega Astro City layout, even a straight Capcom 6 button layout or a Mortal Combat style layout. The possibilities are only limited by your imagination and wallet. D3v went with a fairly simple setup: clear case, mirror nameplate, option for artwork on the top and bottom. One of the plexiglass panels between the support layer, the artwork and the top panel had Morrigan’s image etched to it, allowing it to be overlaid on a different piece of art should d3v decide to change the artwork down the road.

Nice etching

 Very nice indeed...

D3v also ordered the optional weight slots with mirror plexiglass, which would allow him to add some ballsat (such as BB pellets) inside the case for more weight.

The piece that makes everything work is the diamond joint. The joints allow the perpendicular panels to screw together with the 6/32” screws and nuts that fit into slots cut into the joints. The top of the joint is threaded for a 8/32” screw, which allows the top panels and support layers to bolt to the ‘frame’ made by the side panels. The entire setup is as simple as it is ingenious.

After a few days, my order from LizardLick came in:

That's just the first wave of parts

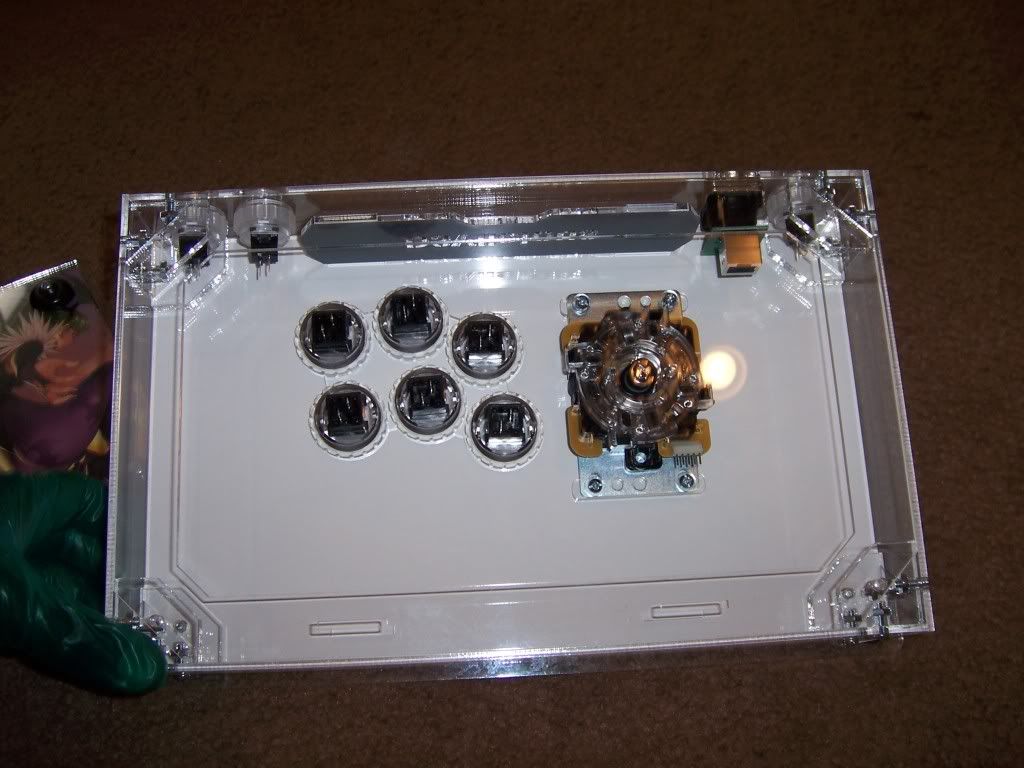
Even though I was still waiting for some of the electronics to come in, I decided I’d put the buttons and joystick in the case to get an idea of what the finished product would look like and how much room I would have for the PCBs. Turns out, it looked quite nice:
  So fresh. So clean..


d3v should submit the art to the editor of Big 'Uns....


Like a nameplate belt buckle. But much cooler

Button inserts FTW. Balltop just a stand in for now


Looks like a lot of room in there. That's going to change

As nice as it looked, there was still a lot of work to do. 6 Arc Eyes and 4 PCBs had to be wired up. Time to get busy…


Project: International Slumber – Part 1: The Set Up

The plan for Project: International Slumber, or P:IS, was to have all the parts shipped to me for assembly and testing then to ship the finished product over to d3v. The spec sheet for this project would be rather full: Sanwa JLF stick, clear Seimitsu buttons, a set of Arc-Eyes for lights, a MC Cthulhu dual modded with a 360 PCB for multi console support, and a RJ45 hookup with compatible USB and Gamecube cables. The one thing he wasn’t sure of initially was which case to get. 2 cases were in the running. Voltech’s VAS-HG cases are beautifully crafted, extremely sturdy works of art. While not exactly cheap, they are worth every penny. I’d know, considering how El Guapo turned out. The other choice had been teased for a few months and were finally ready to start production. Art over at  Tek-Innovationshas made plexiglass covers and replacement panels for TEs and HRAPs for a while. His most recent project is much more ambitious: a plexiglass case, complete with options for colors, etchings and button placement. All of the parts fit together with standard screws. If you can put together a Lego kit, you can probably put this together as well.


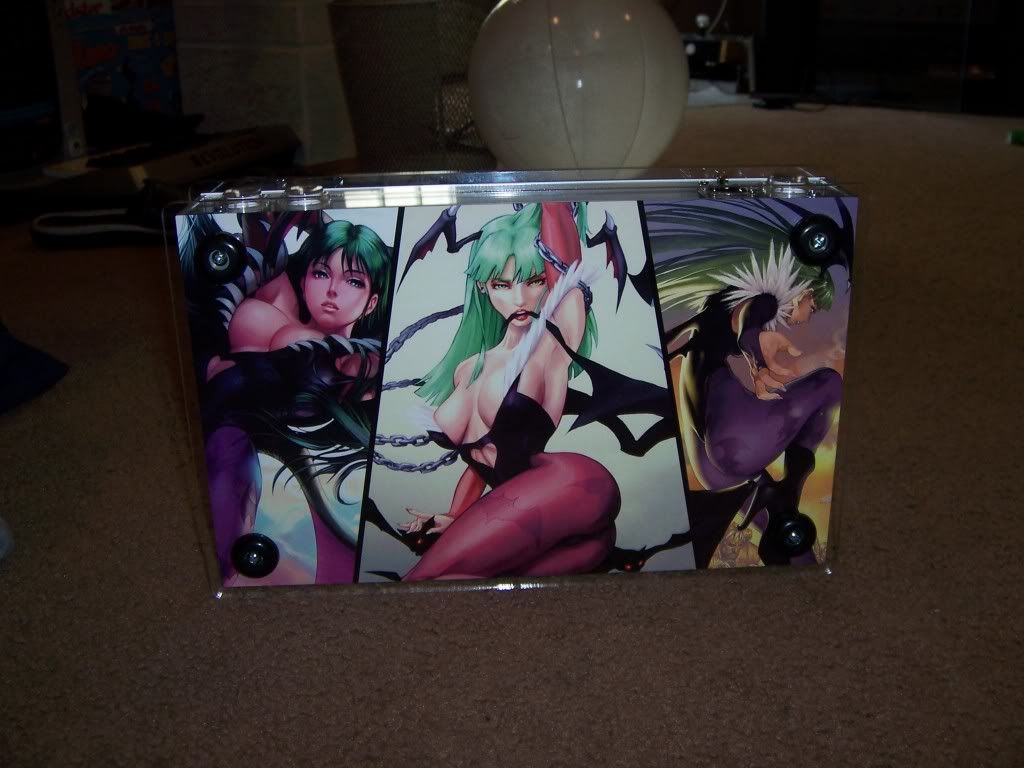
D3v decided to go with the plexiglass case, which he optioned out to his needs and prepared the artwork, based on Darkstalkers fan favorite Morrigan, to be printed. The rest of the parts I ordered myself. I hit LizardLick up for the JLF and clear 24mm (just released) and 30mm Seimitsu buttons, the MC Cthulhu, and the Neutrick RJ45 pass through jack. I ordered the least expensive MadCatz 360 fightpad from Amazon, since I didn’t care what character I got (all I wanted was the PCB). For the lighting, I had to hit up my Canadian Connection. Purplearms was able to supply me with the Arc-Eyes for the button lights as well as a Masterstrike, which would take care of switching between 3 colors, powering the MC Cthulhu and 360 PCB, and handle USB switching.

Right around the same time 32Teeth, another crazy Canuck, came out with his custom PCB, Sparky Jr. Through the power of multiplexing, this PCB would allow you to assign one of 8 colors to any of your buttons, and would even assign colors depending on how many buttons you pressed (for instance, a color for an EX move, or focus attack). This would be a perfect opportunity to try it out. So, much like the Leo in the Berserker Barrage project, d3v would get a board that I don’t have in one of my personal projects. This means that somewhere down the line I’ll have to make one with a Sparky Jr. myself, but that’s down the road.

With the major parts lined up it was time to sort out the random odds and ends. I hit up Gummowned for a Gamecube /RJ45 cable, since I didn’t want to find one at my local Gamestop. I ordered some 10 color 28 gauge ribbon wire and a 15 foot USB cable from an electronics supply shop online. Since most of my other projects have been wireless (go figure), I had no need for an RJ45 crimping tool. So a trip to the local Home Depot netted one of those, along with a 1 foot CAT5 cable which I would wire to the MC Cthulhu  (MCC from here on out, as I can never spell it correctly!).  With the parts en route all I could do is wait for everything to come in and see what happens. Turns out, quite a bit…

Project: International Slumber - Prologue


Author’s Note: I had intended to do all the build worklogs in order. However, this one is a special project that needs to get done in less than the year it will take me to catch up with the other worklogs. Just consider this a flash forward deal, and any references to past projects and events will be explained in due time. Like reading the script for ‘Lost’, only less confusing…

At this point I had 4 customs under my belt: My OG El Kabong2 stick, the Berserker Barrage MvC2 stick for Nick, the Guile Generations mashup for Germaine, and my lovely El Guapo. Out of the 4 projects, I’ve worked with d3v on the artwork for 3 of them, and tried to ship some people his way for some commissioned art as well. One day I got an e-mail from him about a project he wanted me to work on with him. After doing a number of custom jobs and seeing some of the amazing custom cases available, he decided it was time to get one of his own.  This one would have all the bells and whistles on it, and he wanted me to do the wiring for him. I was honored and intimidated at the same time. This would be the first time doing a custom job for someone outside my immediate circle (I had installed a Chimp in someone else’s stick a while ago, but that was small change compared to this). I had to make sure everything was as neat as possible and that everything worked the first time and every time. Complicating matters was the fact that d3v isn’t exactly local. I’m near Washington DC in the US, d3v is in the Philippines. Any technical support would be nearly impossible. So any stick would need to be practically bulletproof to survive the trip overseas. It would be a challenge, but one I was up for. Thus, International Slumber was born.