One of the first things to arrive was the Tek-Case. Art has the case unassembled and flat packed to save on shipping. The plexiglass parts were all wrapped in plastic and packed between cardboard and bubble wrap, ensuring that all the pieces arrived undamaged. The 6/32” and 8/32” screws were bagged and labeled as well. While there were no written instructions in the box, the YouTube video covers everything better than printed instructions could.
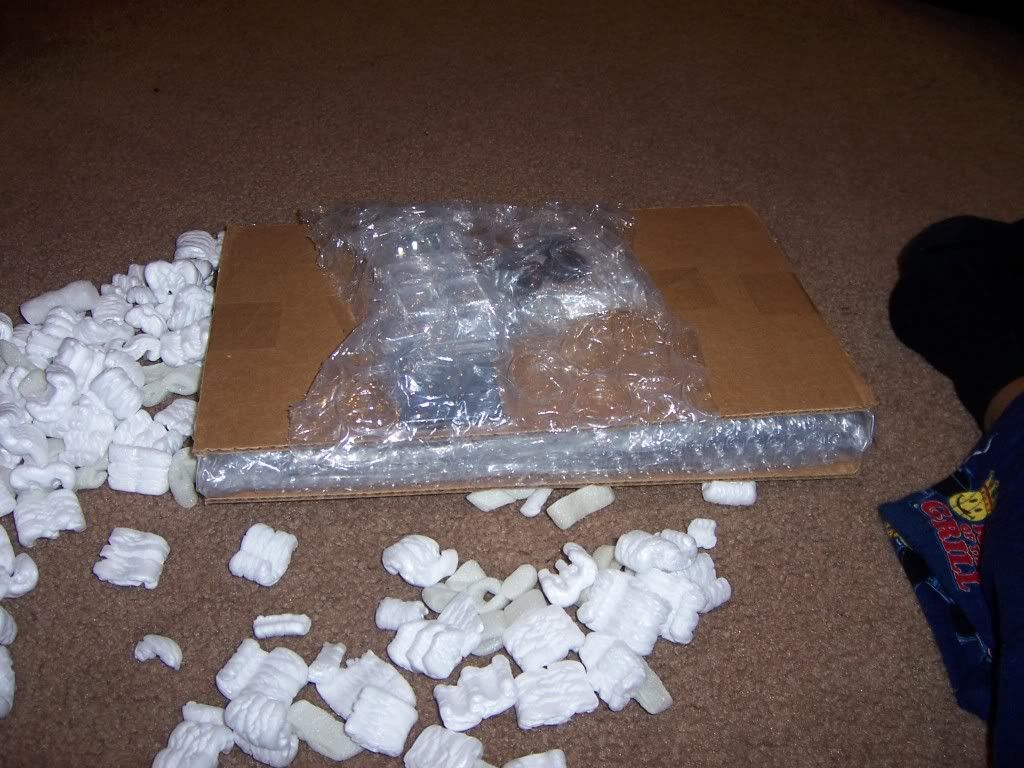
Flat packed for freshness!
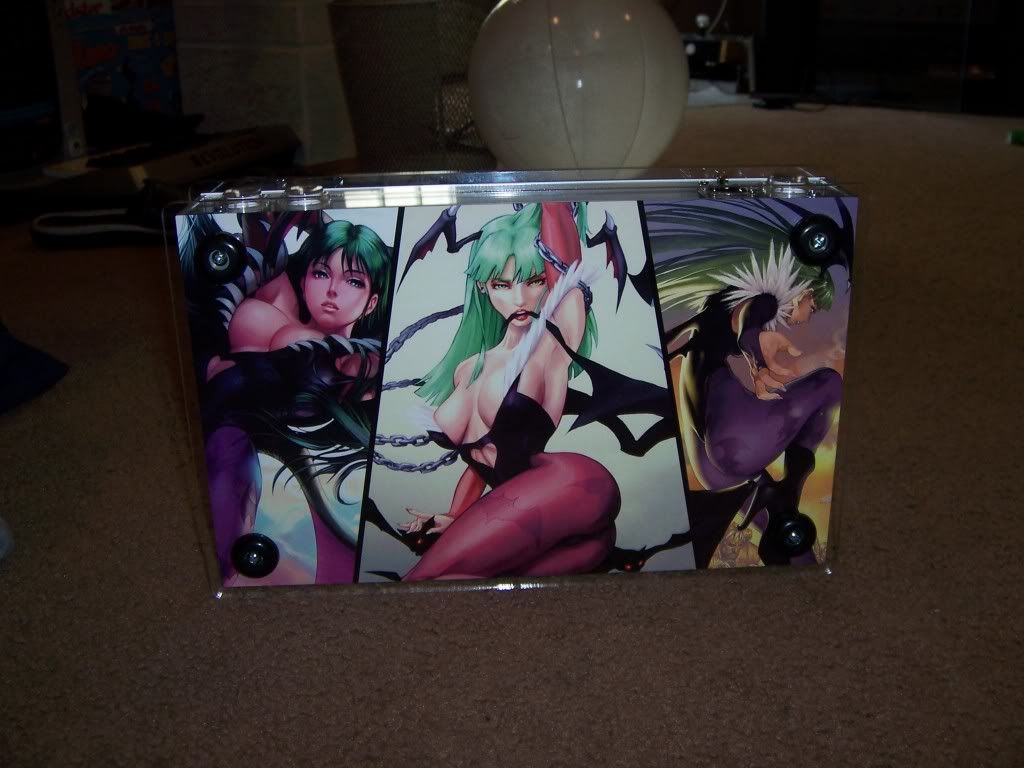
One of the nice things about the Tek-Case are the number of customization options available. Since the case is plexiglass, there are a variety of different colors you can choose from for each panel. Want a clear top panel and a smoke bottom panel? You can do that. Mirror side panels? Doable. Clear top panel, blue support panels, red name plate, and the ability to have artwork on the bottom panel? Why not. Want an etched image on the top or bottom panel? You know it. The whole case in Florescent Green and Orange? Questionable taste, but it’s your money…

Are we clear? Crystal...

Blue ice. Looks like Tron...

Yellow border? I can see that

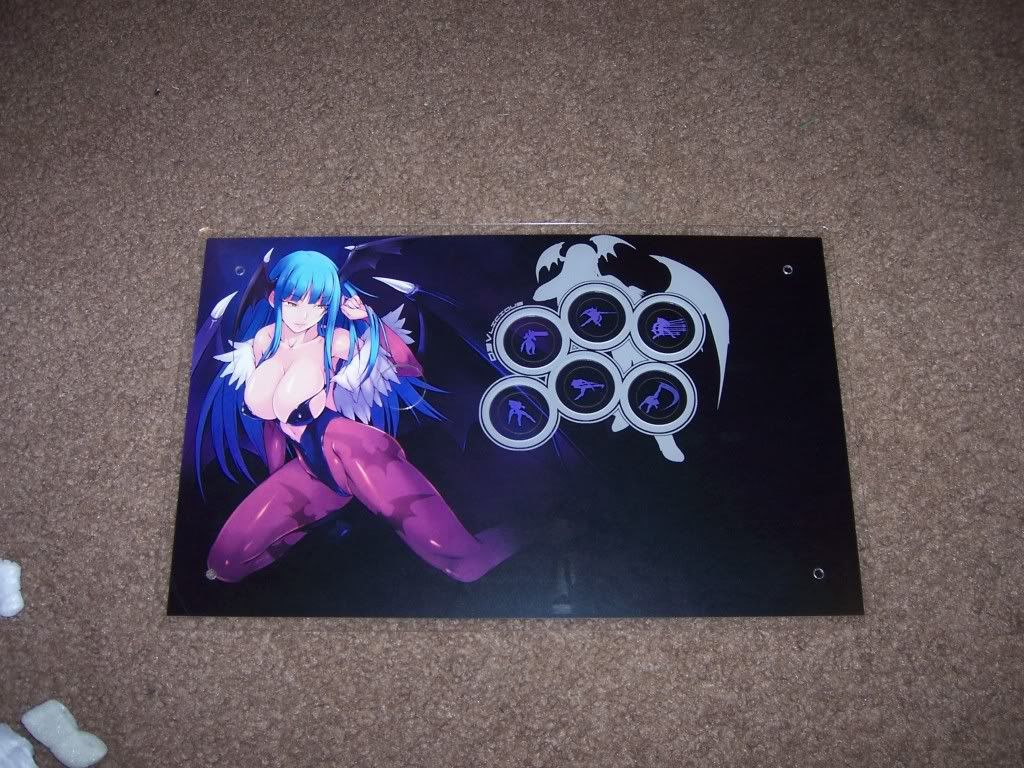
Perfect for BlazBlue
In addition to the color options, you can also specify a number of 6 or 8 button layouts, from a Viewlix layout, Sega Astro City layout, even a straight Capcom 6 button layout or a Mortal Combat style layout. The possibilities are only limited by your imagination and wallet. D3v went with a fairly simple setup: clear case, mirror nameplate, option for artwork on the top and bottom. One of the plexiglass panels between the support layer, the artwork and the top panel had Morrigan’s image etched to it, allowing it to be overlaid on a different piece of art should d3v decide to change the artwork down the road.
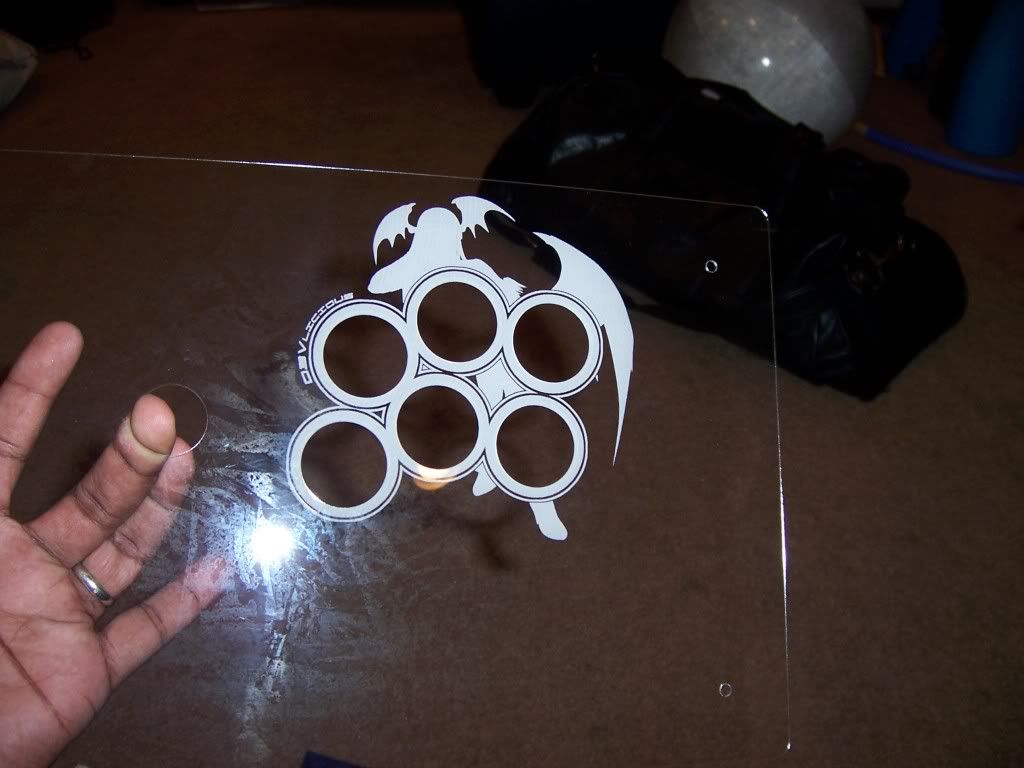
Nice etching
Very nice indeed...
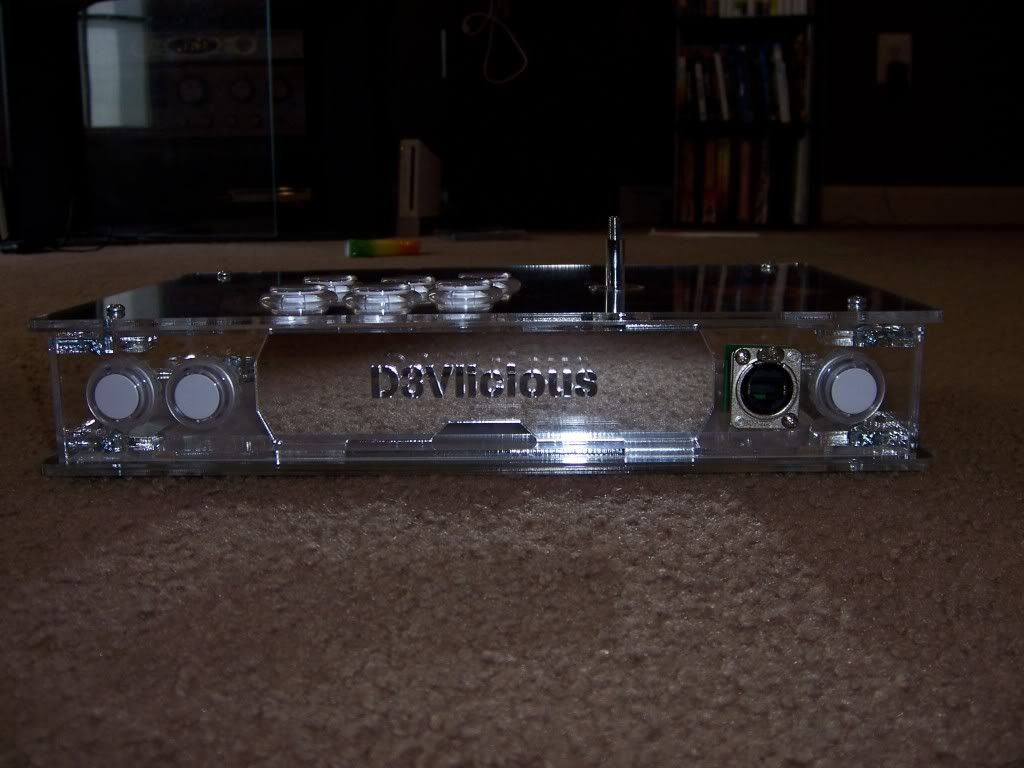
D3v also ordered the optional weight slots with mirror plexiglass, which would allow him to add some ballsat (such as BB pellets) inside the case for more weight.
The piece that makes everything work is the diamond joint. The joints allow the perpendicular panels to screw together with the 6/32” screws and nuts that fit into slots cut into the joints. The top of the joint is threaded for a 8/32” screw, which allows the top panels and support layers to bolt to the ‘frame’ made by the side panels. The entire setup is as simple as it is ingenious.
After a few days, my order from LizardLick came in:
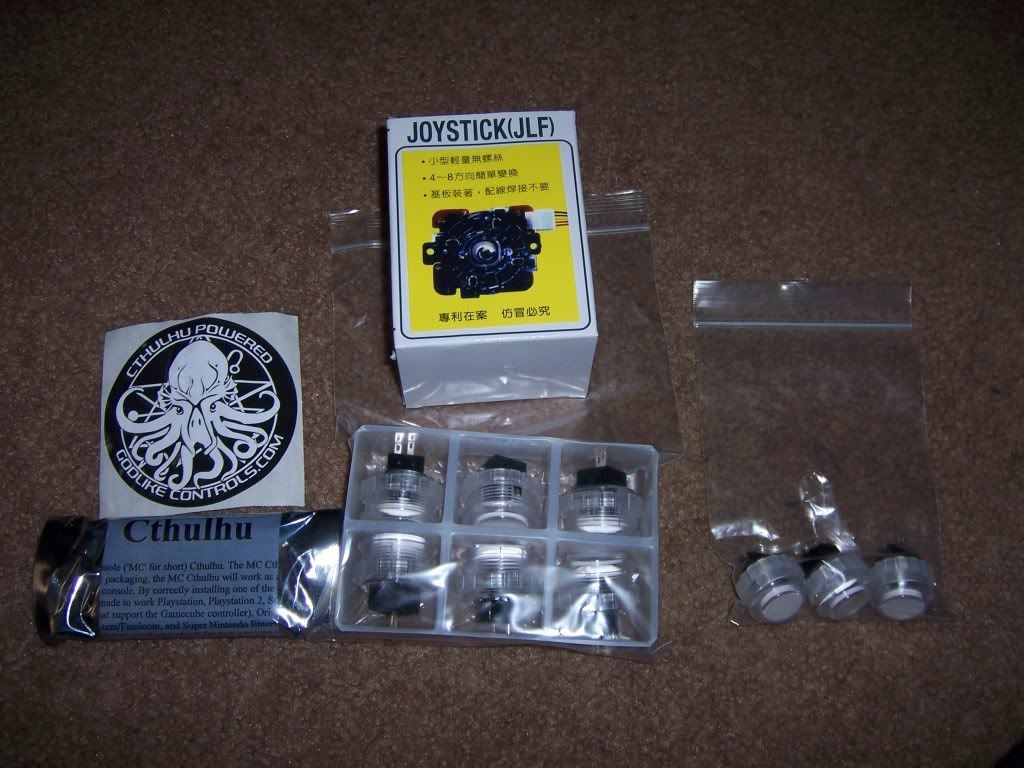
That's just the first wave of parts
Even though I was still waiting for some of the electronics to come in, I decided I’d put the buttons and joystick in the case to get an idea of what the finished product would look like and how much room I would have for the PCBs. Turns out, it looked quite nice:
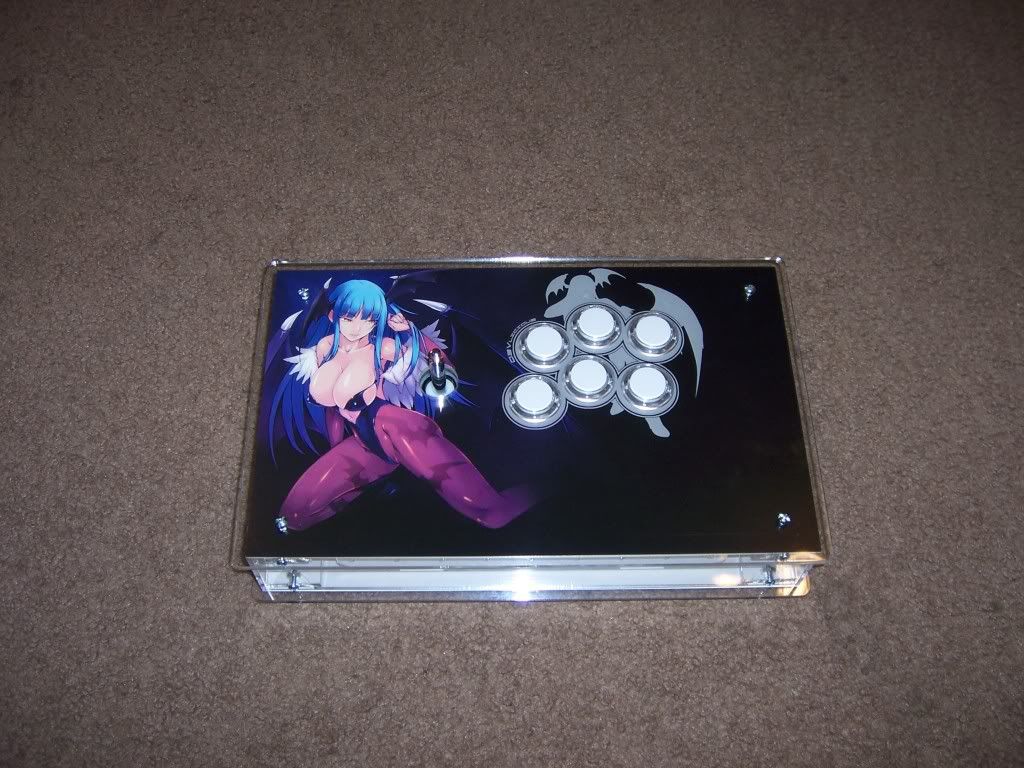
So fresh. So clean..
d3v should submit the art to the editor of Big 'Uns....
Like a nameplate belt buckle. But much cooler
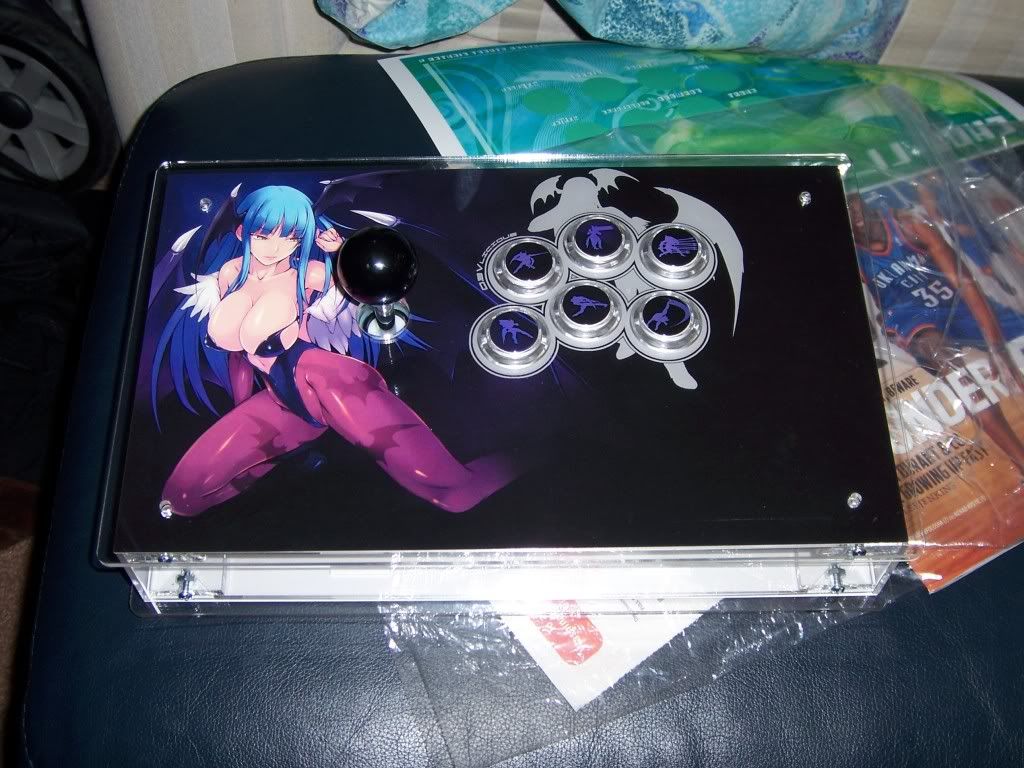
Button inserts FTW. Balltop just a stand in for now
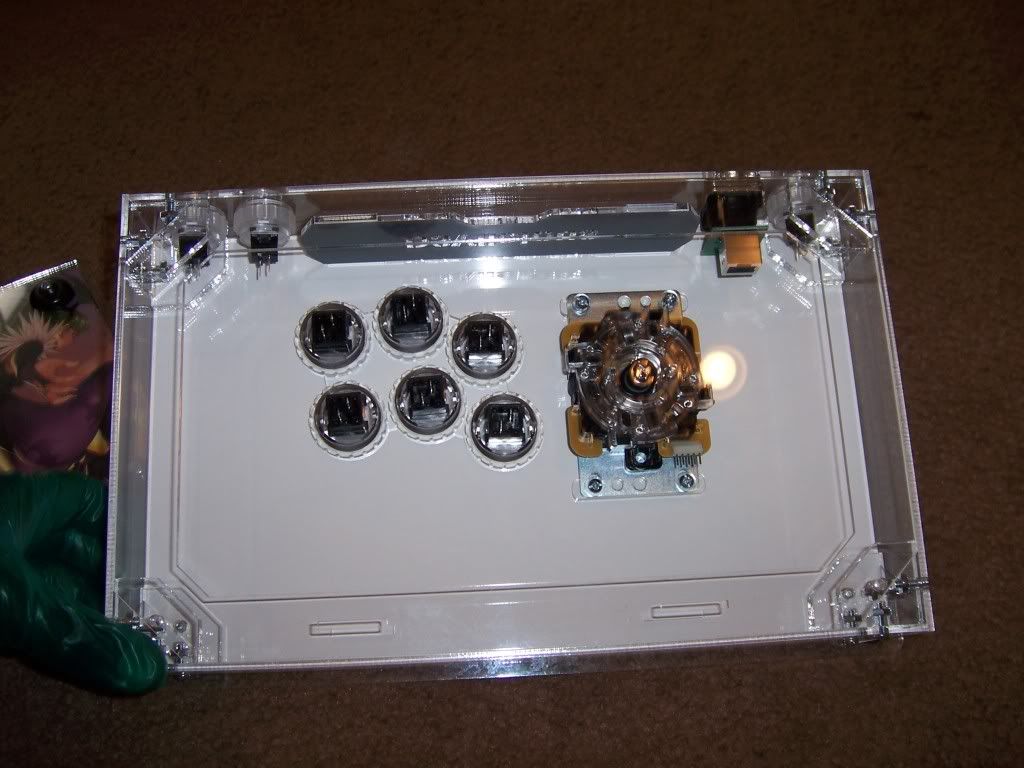
Looks like a lot of room in there. That's going to change
As nice as it looked, there was still a lot of work to do. 6 Arc Eyes and 4 PCBs had to be wired up. Time to get busy…
No comments:
Post a Comment