First thing we needed to do was get the template set up for where the buttons and stick would be. I traced the lexan panel onto a sheet of paper with all the button cutouts, then scanned them into the computer. Afterward, we opened the scanned image in Photoshop. Using the scanned image Laz then drew the panel and circles for the cutouts, allowing us to manipulate things a little better. That way, we could create the button lables, have them spaced the right distance from where the buttons would be, and lock those together so changing the artwork would be as easy as overlaying a new picture. My first idea was to use The World According to Street Fighter:

They weren't kidding about World Warriors...

Not quite everyone, but you get the idea

Looks like a dirty truck mudflap right now...
Since the picture would be too big to fit the panel as is, my idea was to resize the picture to fit widthwise, then crop the picture lengthwise to leave a 1 ½” to 2” strip at the bottom of the diamond plate. I wasn’t really worried if the bodies got cut off; as long as the faces all showed and were scaled correctly, I could live with it. Unfortunately, we couldn’t get that layout to work right either. Either I wasn’t explaining myself correctly, or we had too many tonics at that point. So that idea was tossed as well (in retrospect, I think I know how we could have done it and got it to look right, so I might try it again later). Next up, we tried this one:
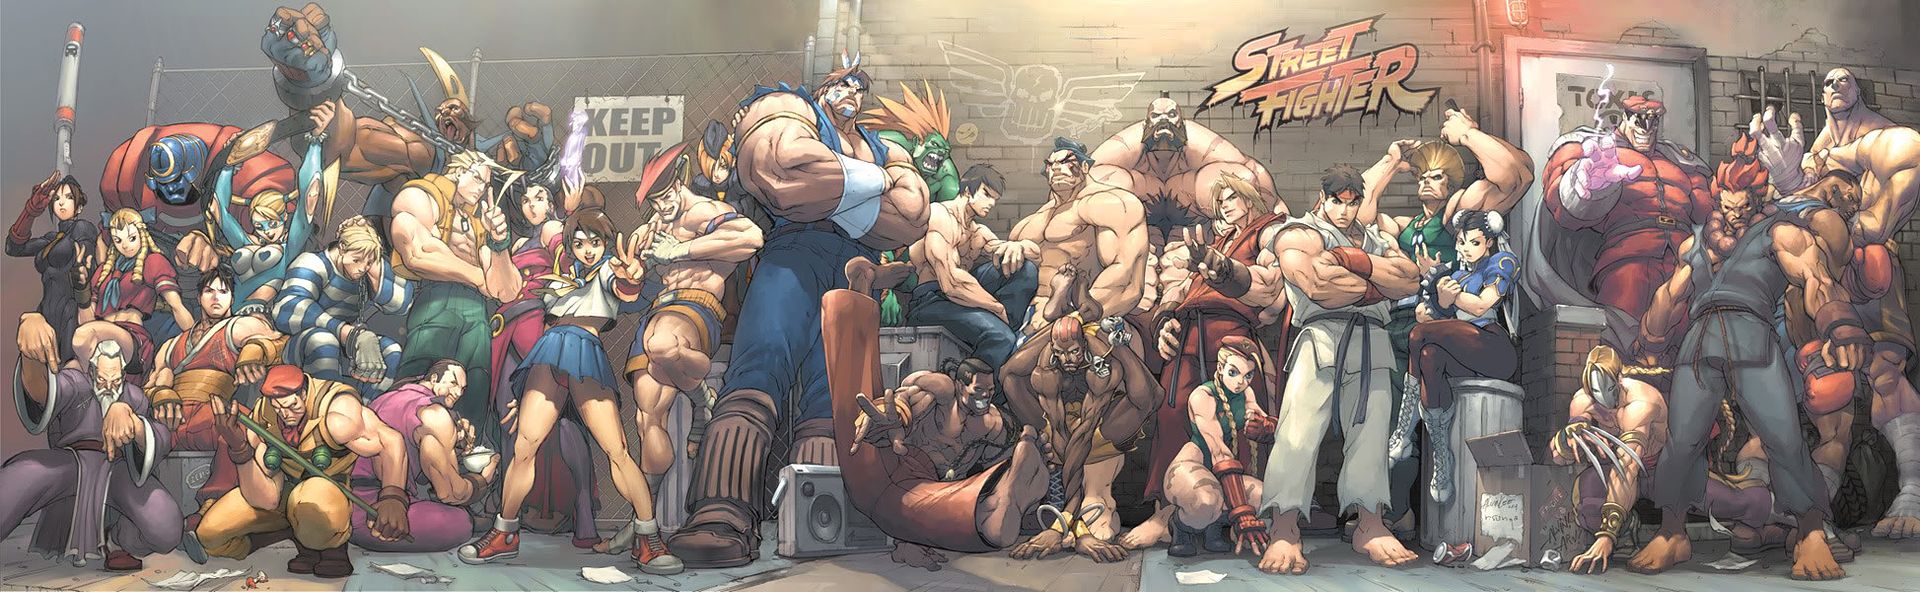
UDon for the win!
This time we actually managed to pull something together that looked semi-decent. Laz resized the image to fit below the buttons without having to cut anything off. He softened the border of the picture, then made a gradient for the background. He also created a nice gradient effect box around the buttons to make them stand out. Once done, we printed everything out on photo paper. After it was dry we laid the lexan on top of the picture and cut out the button holes. When I got home, I was able to put everything together at last:
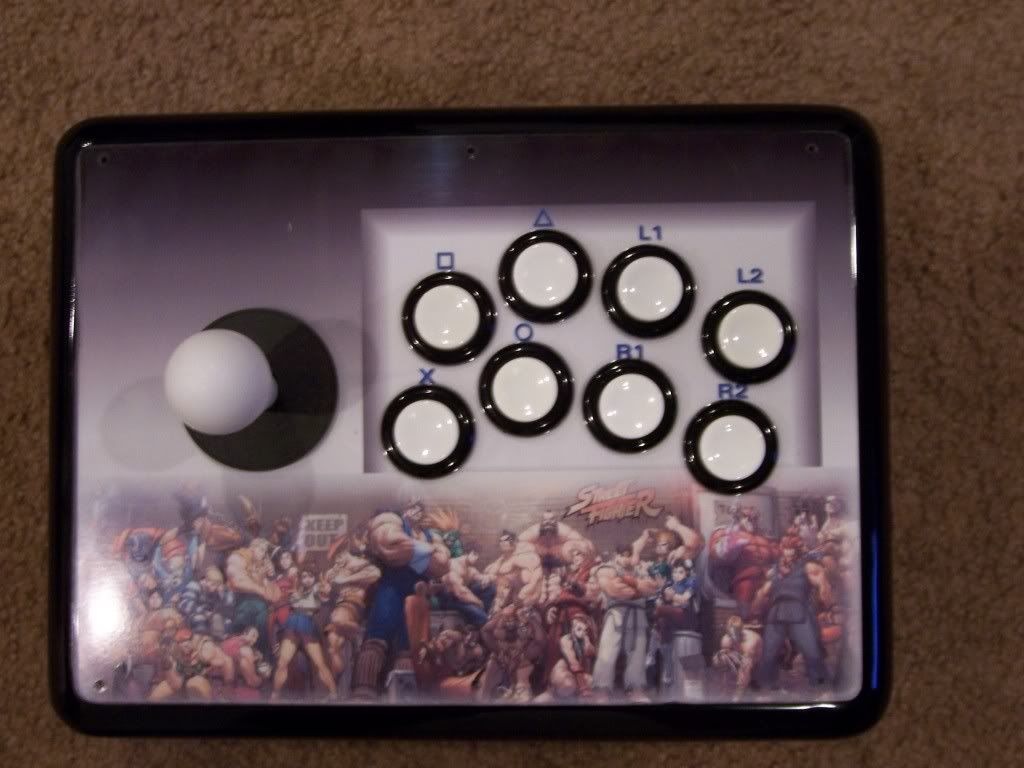
Everything looks so much better now that it's all together, doesn't it?
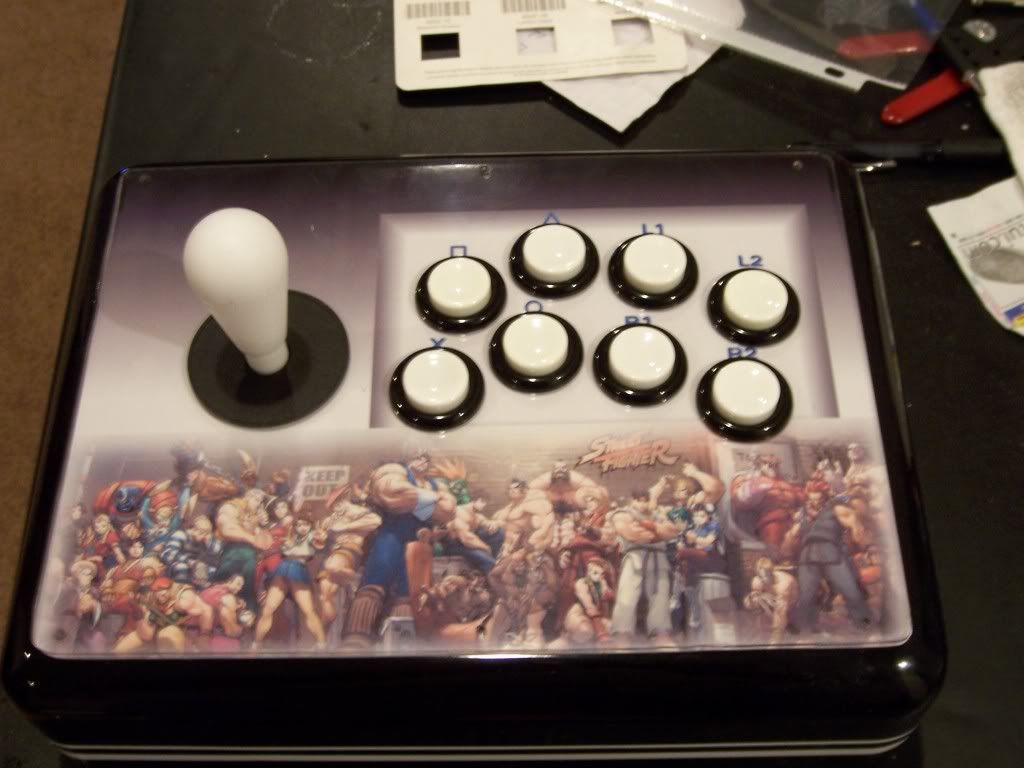
White buttons, black rim, good choice...
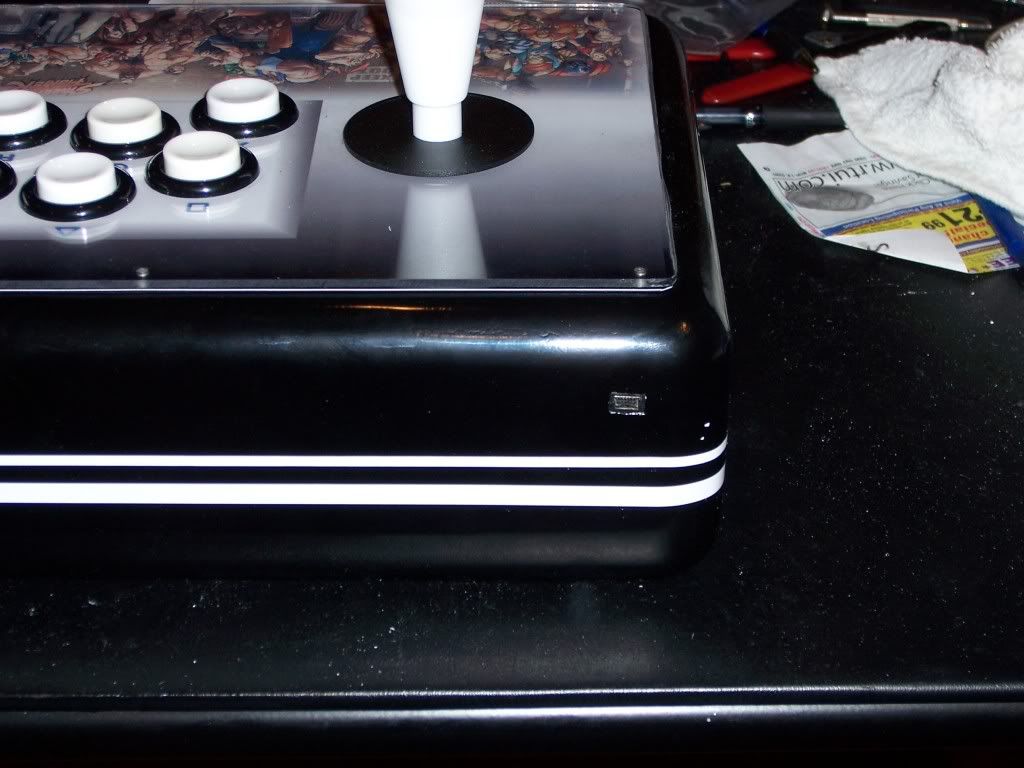
The inconspicuous USB connector. I'm still most proud of that
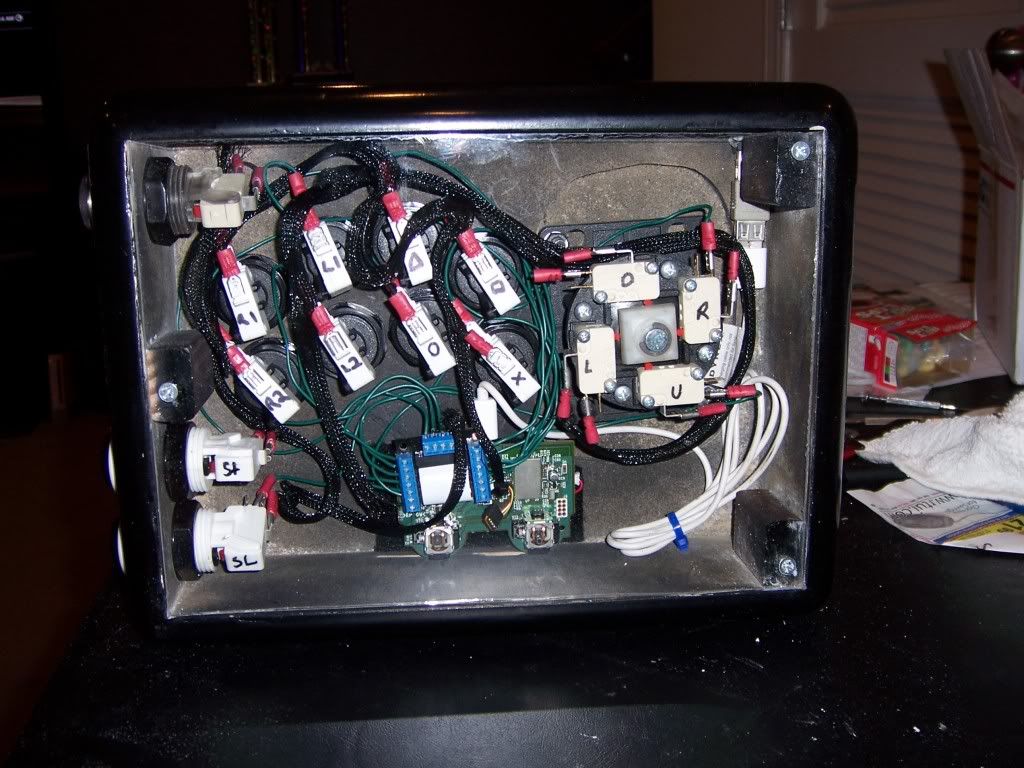
The money shot. I must admit, the wire cabling looks nice...
Awesome job! I'm reading through the mvc stick now too. Fantastic work man.
ReplyDelete-NW
Really inspiring! *Planning*
ReplyDelete