
Just in case...
Modifications out of the way, it was time for reassembly. I laid the artwork in the case and put the plexiglass top over it so I could cut the holes for the joystick and buttons. Once I finished that, I removed the plexiglass and artwork so I could access the screws for the joystick. Having reattached the mounting plate back on the JLW, I mounted the joystick to the bottom of the case and tightened the screws. I then replaced the art and plexiglass, and installed the buttons, making sure they were all lined up the proper way before tightening down the mounting nuts. I installed the LED boards and the microswitches, then attached the wiring harness for the ground chain, signal lines and LEDs. I used zip ties and zip tie anchors to hold the sixaxis and 360 PCBs in place, and ran the signal leads from the leo to the junction block. After connecting the button leads to the junction block, I made sure all the data lines and power lines were wired to the correct switches on the back of the case. I used some construction adhesive to mount the LED power switch to the side of the case, then wired up all the ground leads and power leads to the small junction block on the left side of the case. Finally, I attached the battery to the junction block, and attached it to the case with a piece of Velcro. At long last, the project was finished. I gave the stick a quick polish with a microfiver cloth and took the completed stick outside to take some pictures of all the hard work.
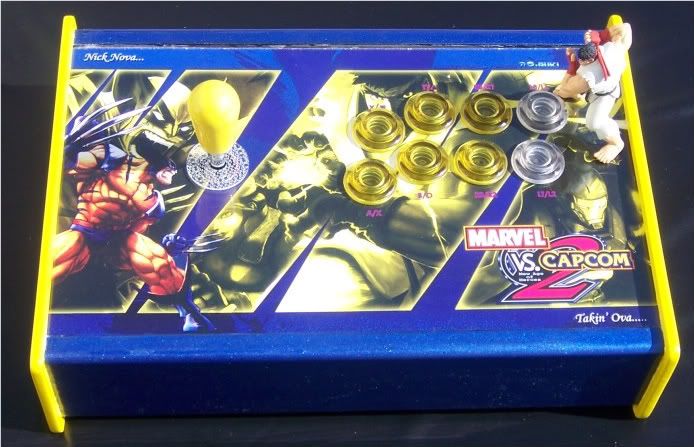
All Done! Ruy doing his Vanna White impression...
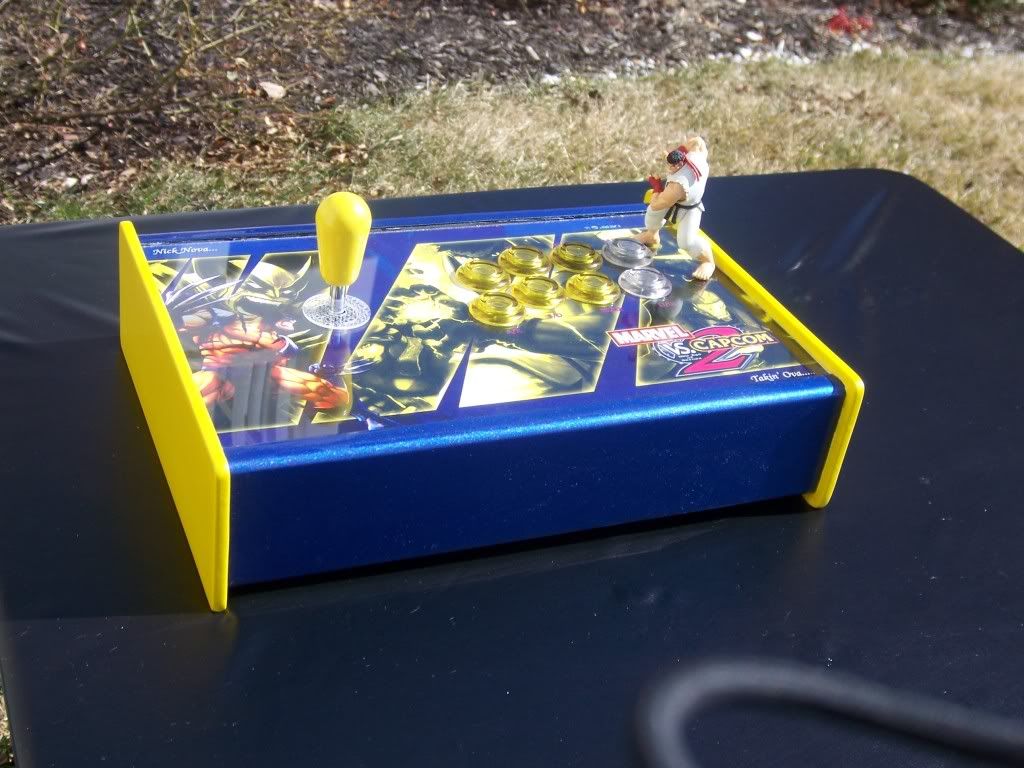
Wider angle shot
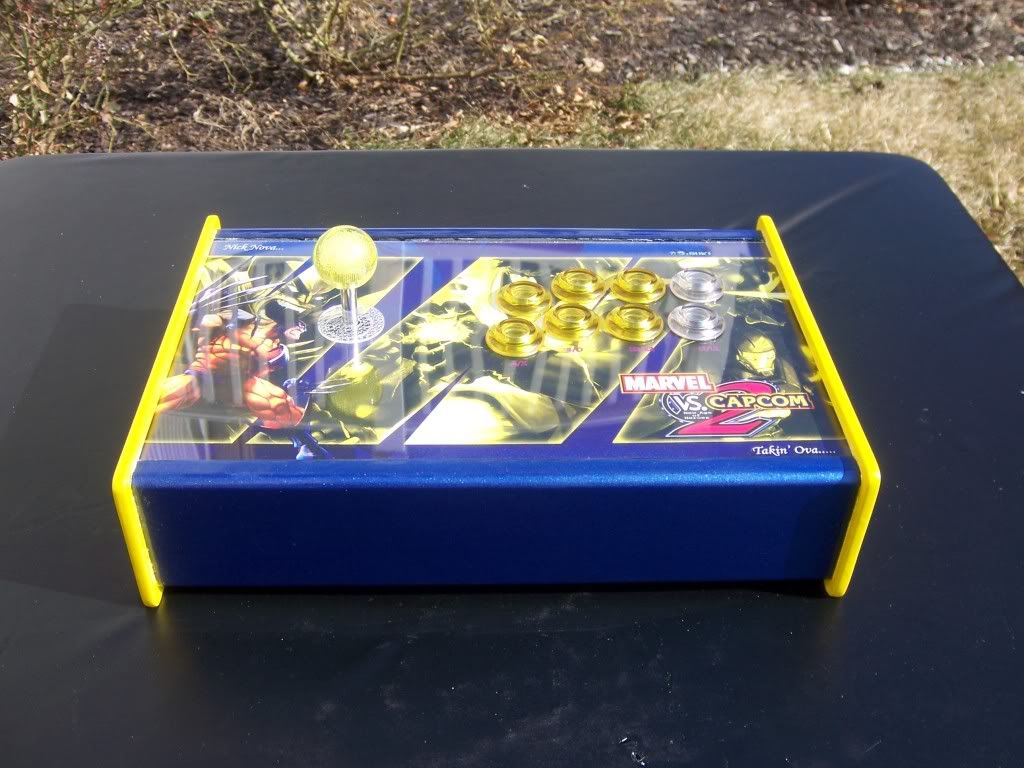
It took almost a month, but it was worth it...
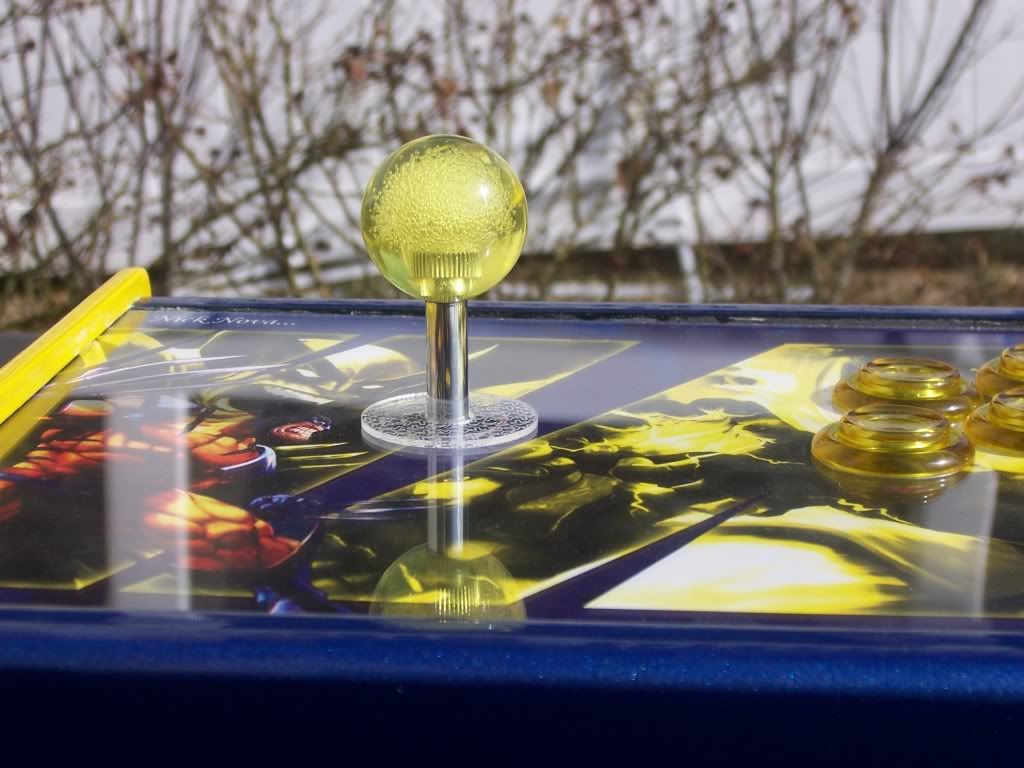
This shot was with the yellow bubbletop, in case Nick wanted a balltop
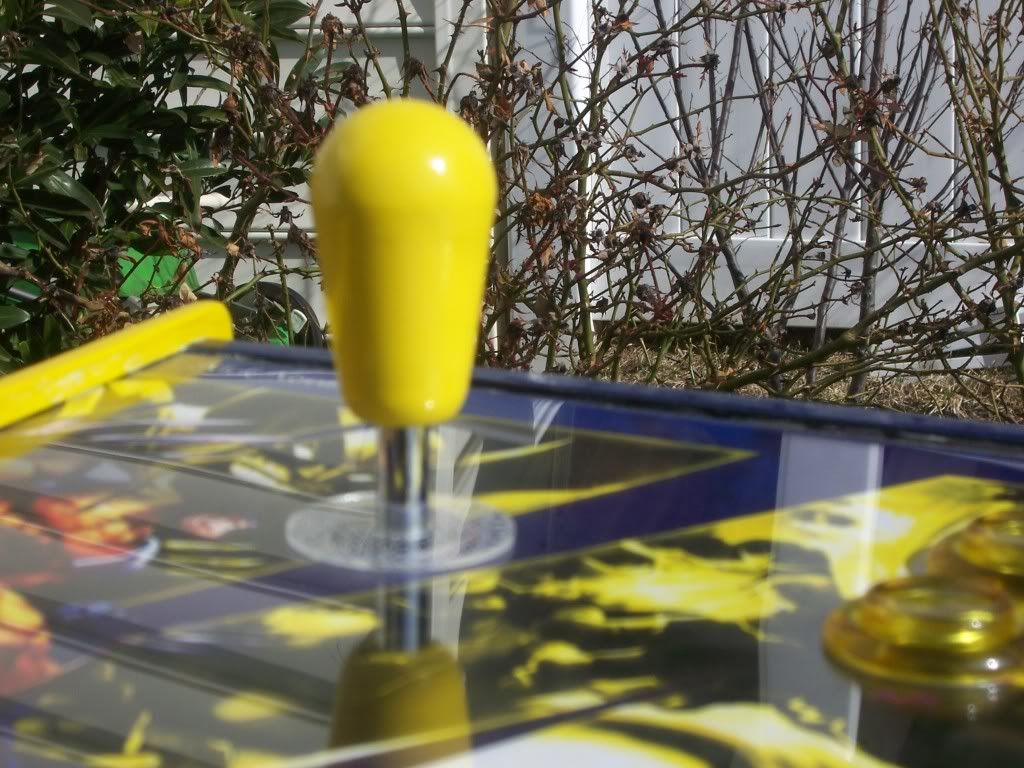
Doesn't exactly match the buttons, but it works
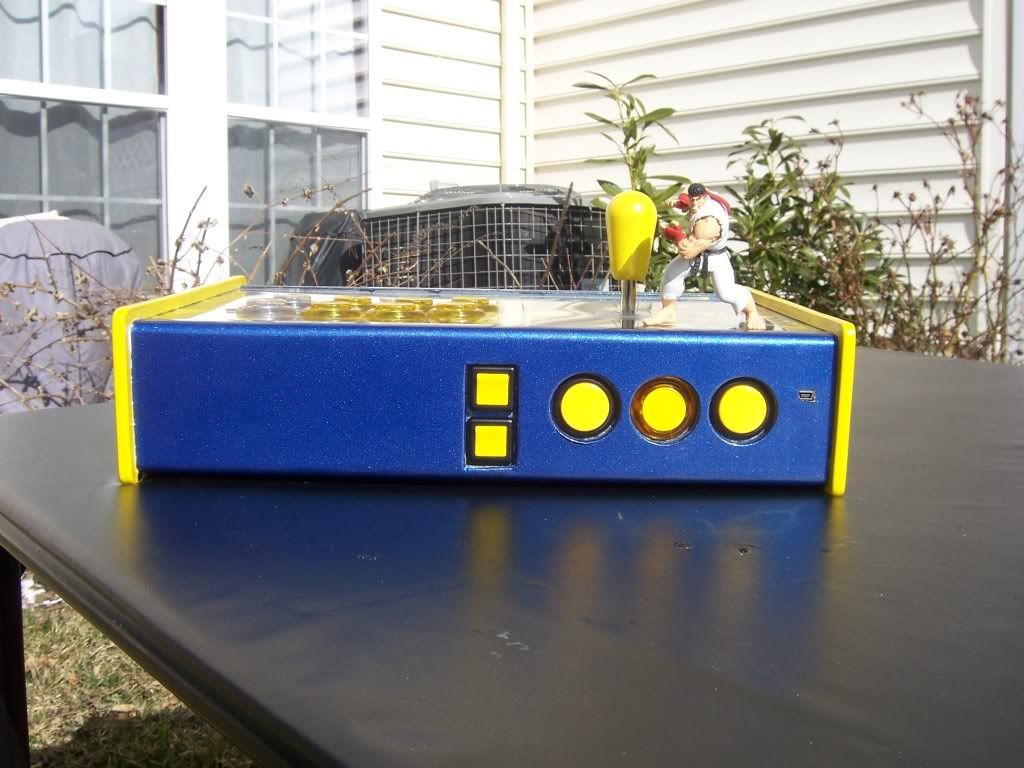
Rear shot showing painted switches, start, home (clear yellow) and select, and USB connector
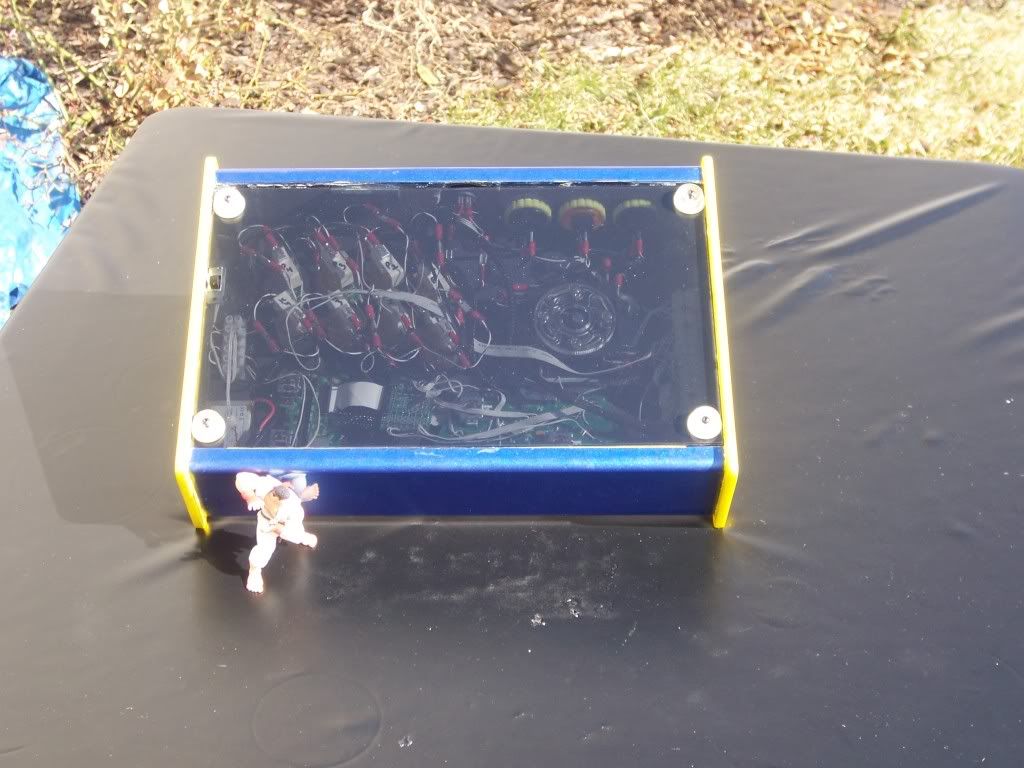
Bottom plexiglass panel with tint. Ryu scaring away ants...
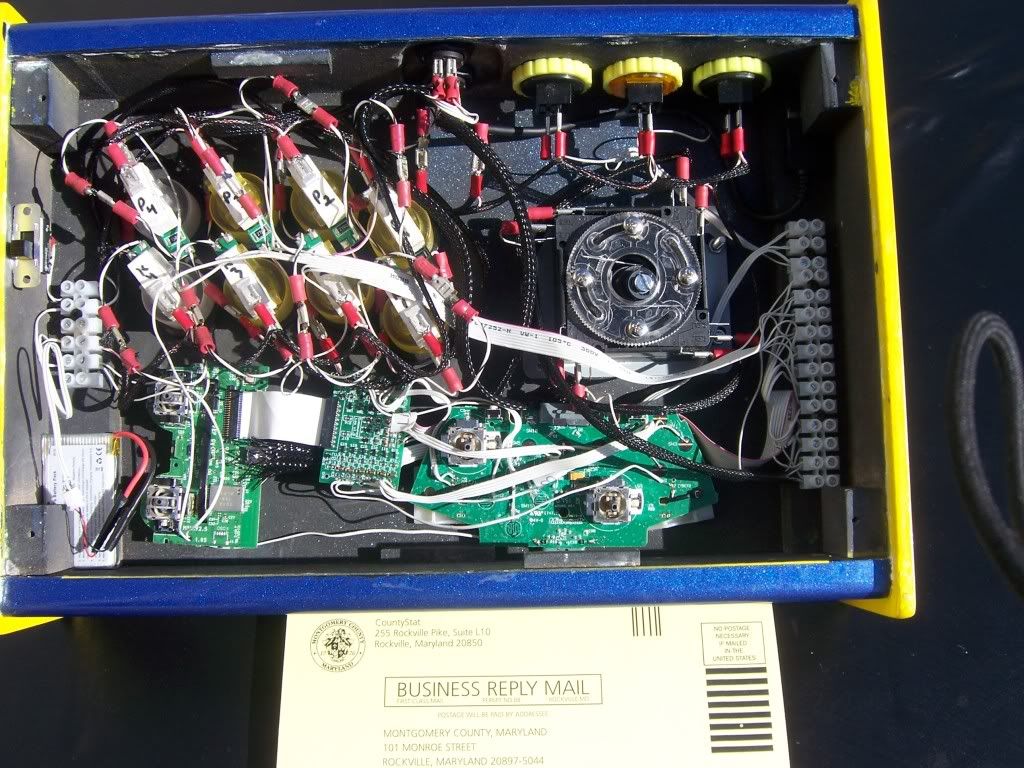
All the soldering, crimping, and sheething, in it's naked glory
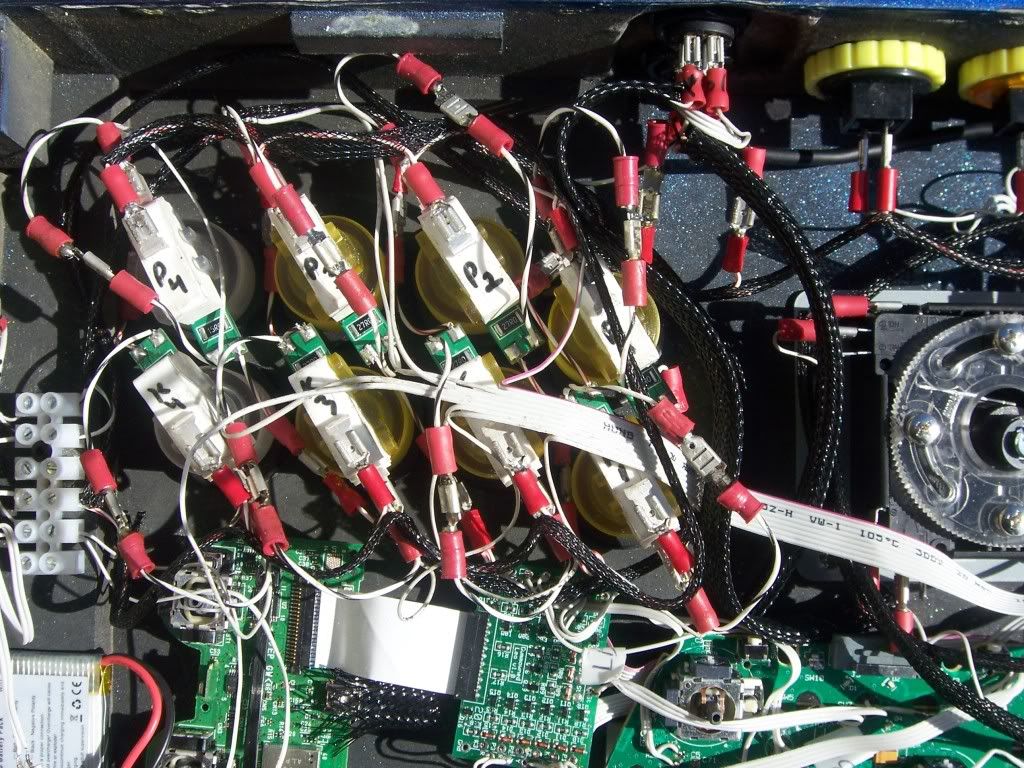
All the signal lines and LED lines. The power junction block is on the left
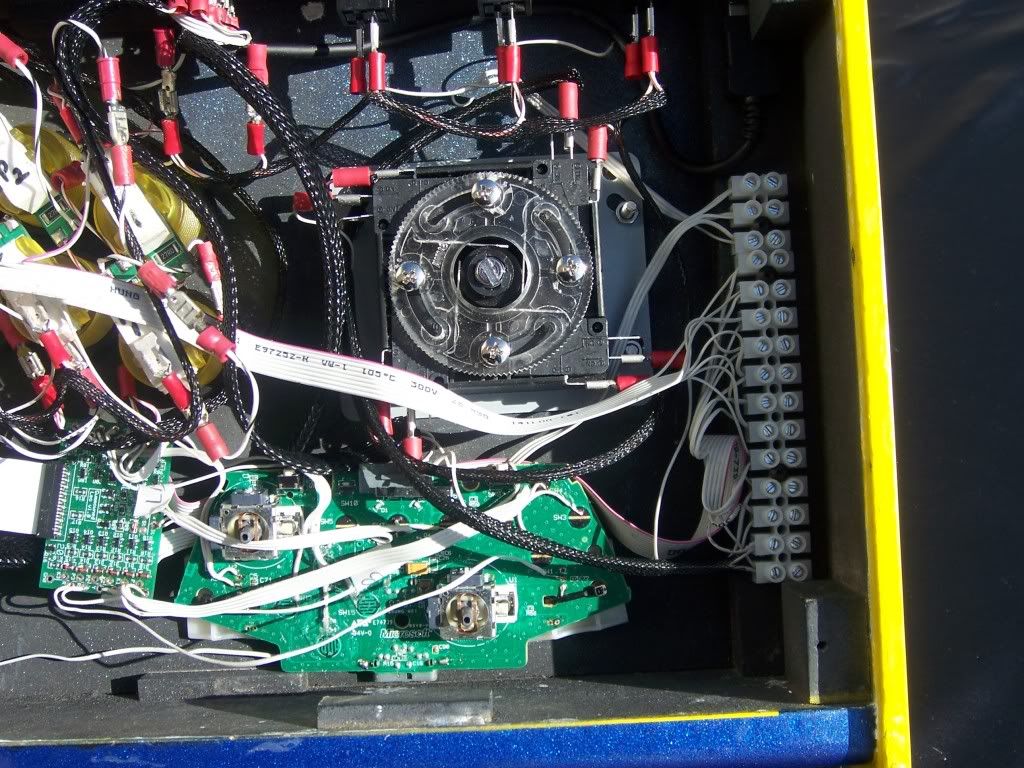
The signal line junction block, leo board and 360 PCB
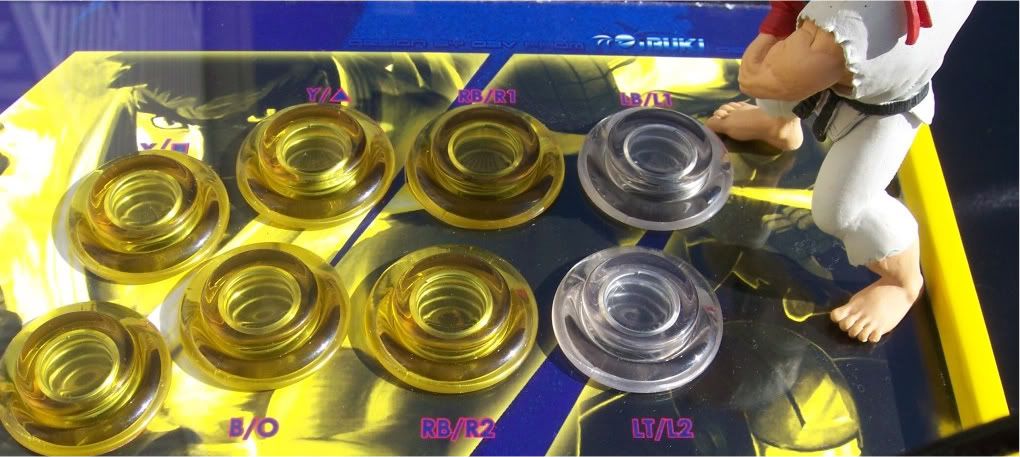
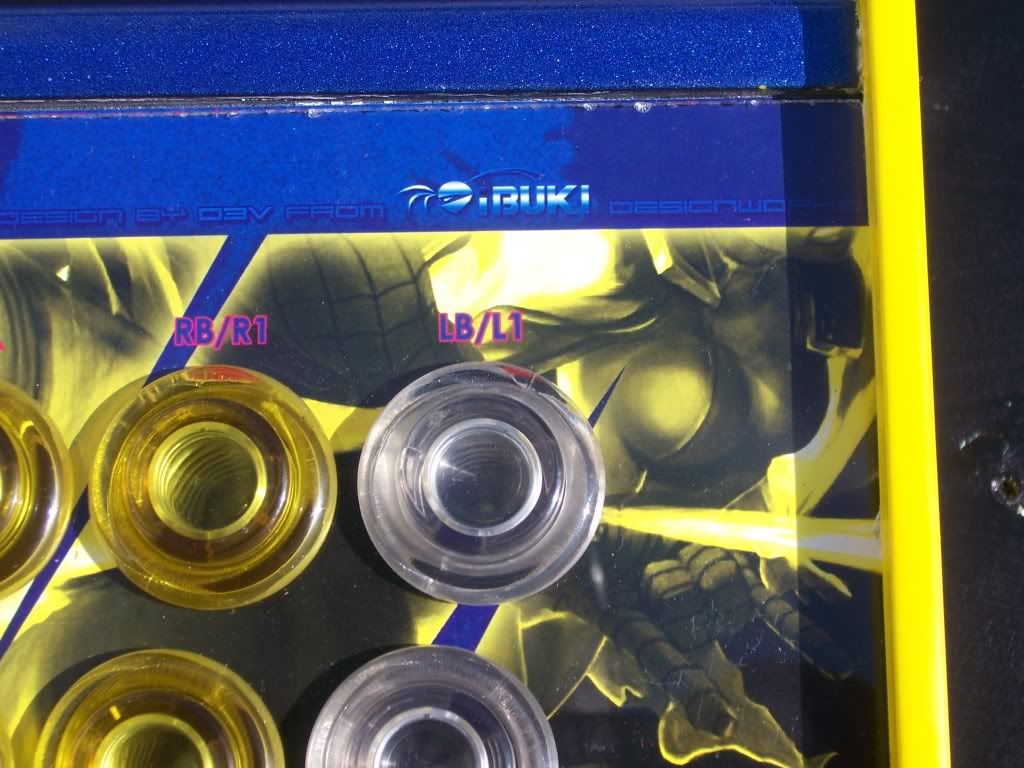
Closeup on the buttons with the labels
d3v's logo. First time on a custom. Huzzah!
Yellow paint. Polished to a mirror shine. Took long enough...
THIS is what happens when you take the time to wet sand. Looks better in person
All that left to do no was deliver the goods. I gave Nick a call to tell him his stick was finally ready. He showed up around 8:30 with his Xbox ready to go. After showing off Mass Effect 2 for an hour, he finally opened the box and had a look at the finished product. After admiring the art and craftsmanship, I had him fire up the PS3, which worked with no problem. At this point he didn't realize the buttons lit up. After a few rounds of MvC2, I had him flip the switch to turn the lights on. Needless to say, he was impressed. We then hooked the 360 up to take a quick video of everything in action:
Nick decided he liked the feel of the bubble top more than the bat top, so I made the switch for him. After all it took to get that bat yellow in the first place! I tell you.... But it's his stick so I'm not complaining. We played Mvc and SFIV until our fingers cramped and called it a night.
No comments:
Post a Comment